How to Fix a Leaky Faucet in Less Than an Hour
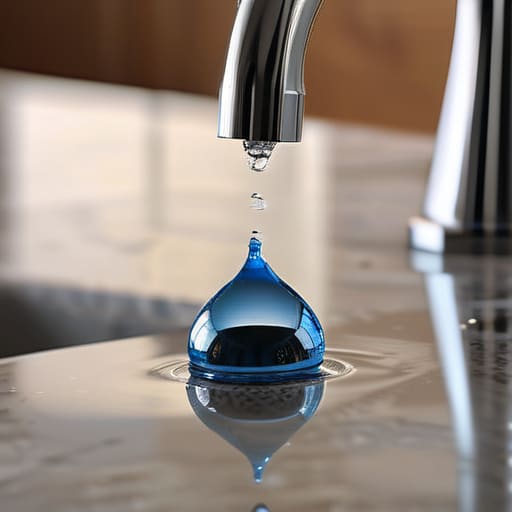
There I was, sitting at my desk at 11:00 PM, trying to focus on a freelance project deadline, when that rhythmic drip… drip… drip… from the kitchen sink started echoing through my apartment. It wasn’t just the noise; it was the mental weight of knowing one tiny thing was broken and out of my control. Most people think you need to call an expensive plumber or undergo a full bathroom renovation to solve it, but honestly, knowing how to fix a leaky faucet is usually just about a single worn-out washer and twenty minutes of your time.
I’m not going to give you a complex manual filled with jargon that makes your head spin. Instead, I want to show you how to tackle this with a minimalist approach—just the essential tools and the exact steps you need to stop the chaos. We’re going to skip the fluff and focus on a few manageable movements that will turn your noisy, stressful Tuesday back into a calm, functional space. Let’s get that drip silenced so you can actually hear yourself think again.
Guide Overview
Tools & Supplies
- Adjustable wrench for loosening nuts
- Screwdriver (Phillips or flathead) for removing handles
- Allen wrench for removing set screws
- Replacement washers or O-rings (1 set)
- Plumber's grease (1 small tube)
Step-by-Step Instructions
- 1. First things first, you’ve gotta shut off the water. Look under the sink for the oval-shaped valves and turn them clockwise until they stop. If you can’t find them, you’ll have to kill the main water supply to the house, but don’t panic—it’s just a quick turn and then you’re in control of the chaos.
- 2. Clear out your workspace. I usually grab a small towel or a rag to lay across the sink basin. This isn’t just about being tidy; it’s a strategic move to prevent any tiny screws or washers from bouncing down the drain and disappearing into the abyss.
- 3. Pop the decorative cap off the handle. Most faucets have a little plastic piece on top that hides the screw. Use a flathead screwdriver to gently pry it up. Once that’s out of the way, unscrew the handle itself. If it feels stuck, give it a little wiggle, but don’t force it too hard or you might snap something.
- 4. Get to the guts of the thing. You’ll see a metal stem or a cartridge sitting in the middle of the faucet assembly. Use an adjustable wrench to loosen the packing nut. Once that’s loose, you can pull the stem or cartridge straight up and out. This is the part that actually does the heavy lifting in your plumbing.
- 5. Inspect the culprit. Usually, a leak is just a worn-out rubber washer or an O-ring that’s seen better days. Take a close look at the bottom of the stem you just pulled out. If the rubber looks cracked, flattened, or just completely trashed, that’s your problem.
- 6. Head to the hardware store for a replacement. Take the old parts with you so you don’t have to guess the size—trust me, measure twice, buy once is the only way to avoid a second trip. Grab the exact same washer or cartridge and head back home.
- 7. Put everything back together in the reverse order. Drop the new part in, tighten the nut (but don’t go overboard—hand-tight plus a tiny nudge with the wrench is plenty), and pop the handle back on. Turn your water valves back on slowly, and give the faucet a test run to make sure your Tuesday is officially leak-free.
Identifying Common Causes of Faucet Leaks Before They Escalate
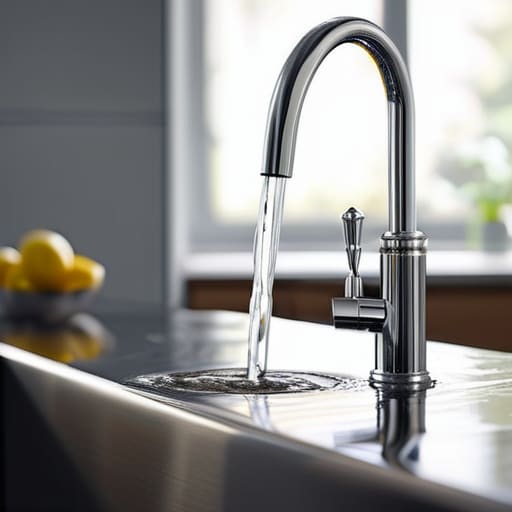
Before you go diving into the guts of your sink, it helps to play a little detective. Most of the time, a leak isn’t some massive structural failure; it’s usually just a tiny component that’s finally given up the ghost. If you notice water pooling around the base or a steady rhythm coming from the spout, you’re likely looking at one of the common causes of faucet leaks, like a worn-out O-ring or a degraded seal. I’ve learned that catching these small signs early is the difference between a quick ten-minute fix and a weekend-long headache.
The “where” is just as important as the “why.” If the water is seeping out from under the handle itself, you’re probably looking at the cartridge faucet replacement steps or a simple need to tighten the packing nut. On the other hand, if it’s a constant drip from the spout, you’ll likely need to replace faucet washer components that have hardened over time. Honestly, having a few basic plumbing tools for faucet repair sitting in a drawer makes this much less intimidating. It’s all about spotting the pattern before that tiny drip turns into a full-blown mess that ruins your flow.
Essential Plumbing Tools for Faucet Repair on a Tight Schedule
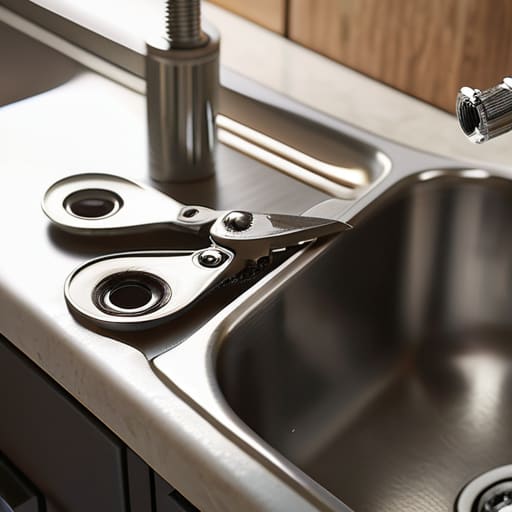
Look, you don’t need to turn your bathroom into a professional workshop to get this done. I’ve learned the hard way that wandering aimlessly through the hardware store aisle is a recipe for a wasted afternoon. To keep things efficient, you really only need a few reliable plumbing tools for faucet repair tucked into a small kit. A decent adjustable wrench, a set of screwdrivers (both Phillips and flathead), and some needle-nose pliers are your best friends here. If you’re dealing with a more modern setup, you might also need a specific hex key or a specialized puller, but let’s not overcomplicate things before we even start.
One thing I always keep in my pocket notebook is a reminder to grab a small container for organization. When you’re fixing a dripping kitchen sink, you’ll likely end up with a handful of tiny screws, springs, and O-rings. If you don’t have a dedicated spot for them, they’ll vanish into the abyss of your drain or under the sink, and suddenly a twenty-minute task turns into a frantic scavenger hunt. Having a simple magnetic tray or even just a few small bowls ready to go makes the whole process feel much more controlled and intentional.
A few things I learned the hard way (so you don't have to)
- Shut off the water before you even touch a wrench. I know, it sounds obvious, but there is nothing quite like the “chaos” of a sudden indoor fountain to ruin your focus on a Tuesday.
- Take photos of everything as you take it apart. I’m a digital native, but even I get confused about which washer goes where once the sink is empty. A quick snap on your phone saves a lot of guesswork later.
- Don’t over-tighten the new parts. It’s tempting to crank everything down to feel secure, but you can actually crack the housing or strip the threads. Aim for “snug,” not “brute force.”
- Clean the area while you’re in there. Since you’ve already got the faucet disassembled, use a little vinegar to clear out any mineral buildup or grit around the base. It’s a small, satisfying win that makes the repair last longer.
- Keep your old parts as a reference. If you aren’t 100% sure what size O-ring or cartridge you need, bring the old one to the hardware store. It’s much easier than trying to describe “that little rubber thing” to a stranger.
The TL;DR for a Dry Sink
Don’t let a tiny drip turn into a massive headache; catching it early saves you both money and a lot of unnecessary stress on a busy week.
You don’t need a professional plumber’s toolkit to get the job done—just a few basic tools and a little bit of patience will go a long way.
Focus on the small fix first. Once that leak is gone, your space feels a little more controlled and your Tuesday feels a lot more manageable.
One Less Thing to Worry About
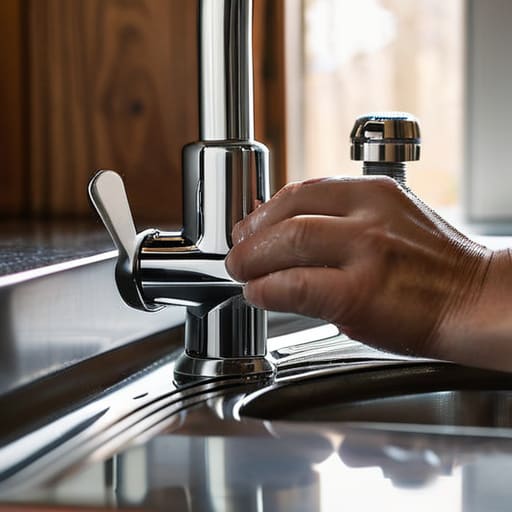
At the end of the day, fixing that leak isn’t about becoming a master plumber; it’s about recognizing the problem early and having the right tools ready to go. We went through the process of identifying the culprit, gathering the essentials, and actually getting our hands dirty with the repair itself. It might have felt a little daunting when you first heard that constant drip-drip-drip echoing in the kitchen, but you’ve successfully navigated the most frustrating part. By taking these small, practical steps, you’ve prevented a minor annoyance from turning into a massive, expensive headache that would definitely ruin your week.
I know it sounds a bit cliché, but there is something genuinely satisfying about fixing something with your own two hands. It’s that feeling of taking a chaotic element of your environment and bringing it back into alignment. My philosophy has always been that we don’t need to fix our entire lives at once; we just need to tackle the small stuff so we have the mental space for the big things. Now that the faucet is quiet, take a second to appreciate the silence. You handled it, you fixed it, and your Tuesday is officially a little bit smoother.