A Fun Family Project: Building a Birdhouse Together
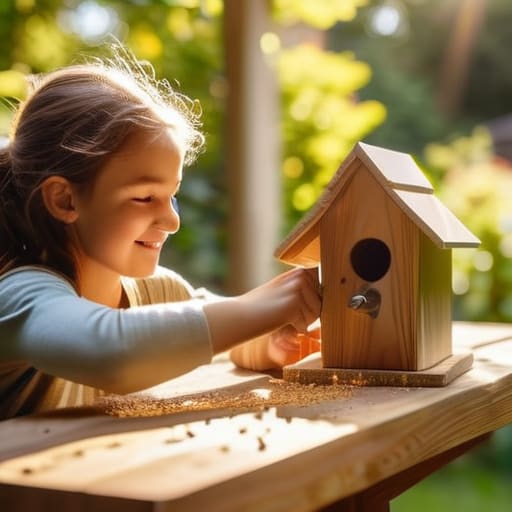
I was sitting on my balcony last Tuesday, staring at a pile of cedar scraps and a half-finished project, feeling completely overwhelmed by the idea of “mastering woodworking.” Most guides online make it seem like you need a garage full of expensive power tools and a degree in carpentry just to figure out how to build a birdhouse that doesn’t look like a total disaster. But honestly? That’s a lie. I realized that if I kept waiting for the perfect setup, I’d never actually build anything. I just needed to stop overthinking the blueprints and start focusing on the basic mechanics of getting wood to stay together.
In this guide, I’m skipping the fluff and the professional-grade gear requirements. I’m going to show you how to tackle this project using just the essentials, focusing on a few small, repeatable steps that actually lead to a finished product. We aren’t aiming for a museum-quality centerpiece here; we’re just looking to create a functional, cozy little home for some local birds. By the time we’re done, you’ll have a solid little structure and the realization that meaningful progress is much easier to achieve when you stop trying to be a master and just start being a builder.
Guide Overview
Tools & Supplies
- Hand saw or miter saw for cutting wood
- Hammer for assembling pieces
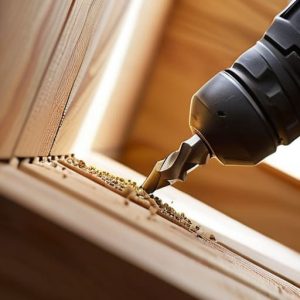
- Drill with small bit for pilot holes and entrance
- Measuring tape for accurate dimensions
- Untreated cedar or pine board (1 piece, 1x6x6')
- Galvanized nails (1 small box)
- Waterproof wood glue (1 small bottle)
Step-by-Step Instructions
- 1. First, grab some cedar or pine boards. I usually go for cedar because it’s naturally rot-resistant and doesn’t need a bunch of chemical stains that might mess with the birds. You don’t need anything fancy—just a single board about six feet long and six inches wide will do the trick. Measure twice, cut once, as the old saying goes, so grab your pencil and a square before you start hacking away.
- 2. Once you have your wood, it’s time to map out the pieces. You’ll need a floor, four walls, and a roof. I like to sketch this out in my notebook first just to visualize how they fit together. Aim for a floor that’s about 4×4 inches and walls that are roughly 8 inches tall. Don’t stress about being mathematically perfect; as long as the pieces are relatively even, the birds won’t care.
- 3. Now, let’s talk about the entrance. This is the most important part. Use a hole saw or a spade bit to drill a hole in one of your wall pieces. If you’re aiming for bluebirds, a 1.5-inch hole is usually the sweet spot. Just make sure you don’t make it too massive, or predators might find it easier to move in than the actual residents.
- 4. It’s time to start putting things together. I prefer using exterior-grade screws or galvanized nails because they won’t rust when it inevitably rains. Start by attaching your walls to the floor, then cap it off with the roof. If you want to make cleaning easier later on, consider using just one screw on one side of the roof so you can pivot it open once a year to clear out old nests.
- 5. Before you hang it up, give the whole thing a quick sand. You don’t need a professional finish, but you want to get rid of any nasty splinters that might snag a bird’s wing. I skip the paint entirely—it’s more work and less natural. Just a light sanding is enough to make it feel solid and intentional.
- 6. Finally, find a spot to mount your creation. You want somewhere that’s at least five to ten feet off the ground, ideally in a place that’s partially shaded to keep the interior from turning into a sauna. Secure it to a post or a tree, step back, and let the process do its thing. You’ve built something real, and that’s a pretty great way to spend an afternoon.
Choosing the Best Wood for Outdoor Birdhouses Without the Stress
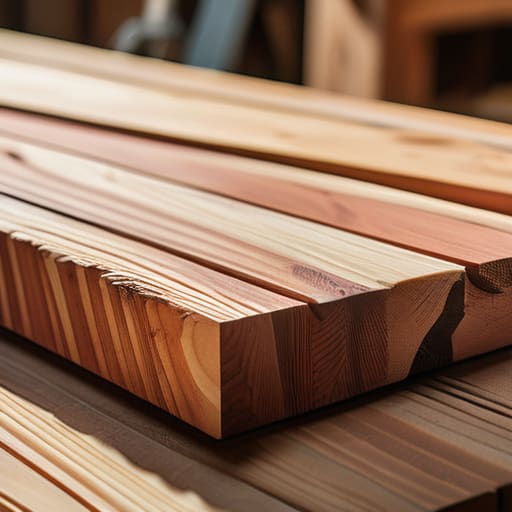
Look, I know the hardware store aisles can feel overwhelming, especially when you’re just trying to get a quick weekend project done. You don’t need to be a master carpenter to pick something that lasts. My rule of thumb? Skip the fancy, expensive hardwoods that require specialized treatments. For something like this, you really want to stick to the best wood for outdoor birdhouses, which usually means cedar or redwood. These woods have a natural resistance to rot and bugs, so they can handle a rainy Tuesday without falling apart, and they age beautifully without needing a constant maintenance schedule.
If you can’t find cedar, pine is a decent, budget-friendly runner-up, but you’ll need to be a bit more intentional about how you protect it. Whatever you choose, just make sure you aren’t using anything treated with heavy chemicals. If you decide to add a little flair, stick to safe birdhouse paint and finishes that are non-toxic. The birds aren’t going to care about your aesthetic choices, and honestly, a slightly weathered, natural look actually feels more at home in the garden anyway. Just keep it simple and let the wood do the heavy lifting.
The Essential Woodworking Tools for Birdhouses You Actually Need
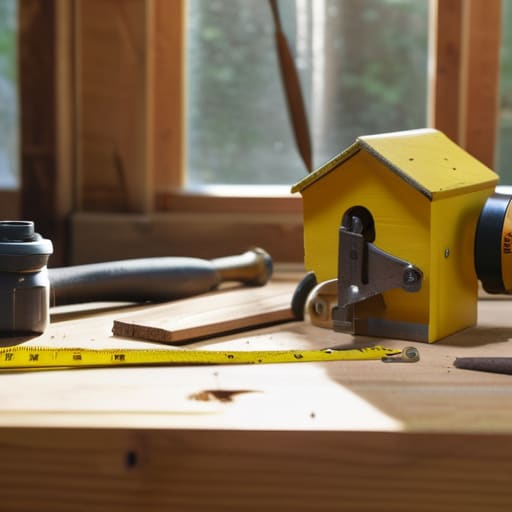
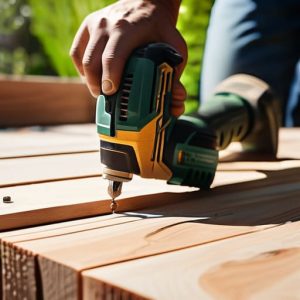
Look, I’ve learned the hard way that you don’t need a professional-grade workshop to get this done. You could spend a fortune on high-end machinery, but honestly? Most of that is just noise. For a project like this, you really just need a handful of reliable woodworking tools for birdhouses that won’t break the bank or take up your entire living room. A decent hand saw, a hammer, a tape measure, and some wood glue are your best friends here. If you can manage a cordless drill, you’re already ahead of the game, especially when it comes to attaching the birdhouse roof without splitting the wood.
One thing I always tell people: don’t let the “gear” aspect intimidate you. I used to think I needed a specialized setup for every little DIY project, but it’s much more about working with what you have effectively. If you’re missing a specific tool, see if a neighbor has one or check a local tool library. The goal isn’t to become a master carpenter overnight; it’s just to get the pieces together so you can get outside and enjoy the process. Keep your kit minimal, keep it functional, and focus on the task at hand.
Five ways to keep this from becoming a total headache
- Don’t aim for perfection on the first cut; if a board is slightly wonky, just lean into it or sand it down later. The birds won’t care about your craftsmanship, they just want a dry place to hang out.
- Skip the fancy paint and toxic stains. Stick to natural finishes or leave the wood raw so you aren’t accidentally poisoning the very residents you’re trying to host.
- Make sure you drill an entrance hole that actually fits your target bird. If it’s too big, predators move in; if it’s too small, your local bluebirds are going to be pretty annoyed.
- Add a few small drainage holes in the bottom. Trust me, you don’t want to end up building a tiny, wooden swimming pool when the next big rainstorm hits.
- Leave one side or a panel easy to unscrew. You’ll eventually need to clean out the old nesting material, and trying to do that through a tiny hole is a recipe for a very messy Tuesday.
The TL;DR for your backyard project
Don’t overthink the materials; just grab some cedar or redwood and call it a day so you can actually get to the building part.
You don’t need a professional workshop to do this right—if you have the basics and a bit of patience, you’re already halfway there.
Remember that perfection is the enemy of progress; even if the edges aren’t perfectly smooth, the birds won’t care as long as it’s sturdy and dry.
The Final Piece of the Puzzle
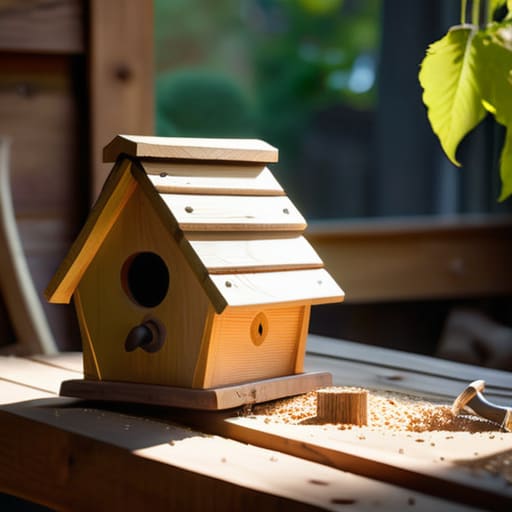
At the end of the day, you don’t need a professional-grade workshop or a rare piece of cedar to make this work. We’ve covered the basics: picking wood that won’t rot the second it rains, grabbing the few essential tools that actually matter, and following a simple assembly process that won’t leave you feeling overwhelmed. It’s really just about getting the basics right—making sure the entrance is the right size and the drainage is solid—so you can step away from the workbench and let nature take over. If your edges are a little rough or the paint isn’t perfectly straight, don’t sweat it. The birds aren’t going to care about your craftsmanship; they just want a safe place to land.
I know that sometimes, starting a project like this feels like just one more thing on an already overflowing to-do list. But there is something incredibly grounding about working with your hands for an hour, away from the glow of a laptop screen. Building this birdhouse isn’t about becoming a master carpenter; it’s about reclaiming a small slice of your time for something tangible and real. Once that first pair of birds moves in, you’ll realize that the effort was worth it. It’s a tiny win, a small bit of order in a messy world, and honestly, that’s exactly where the best stuff begins.