Mastering Spray Paint for a Smooth, Professional Result
I was staring at my coffee table—a chipped, boring piece of particle board that had seen better days—feeling that familiar wave of “I’ll just buy something new” defeat. I thought I needed a professional studio setup and a high-end compressor to fix it, but honestly, that’s just a lie we tell ourselves to avoid the mess. The truth is, learning how to spray paint isn’t about having the most expensive gear; it’s about mastering the rhythm of the movement and not letting the fear of a drip stop you from starting.
I’m not here to give you a lecture on industrial finishing techniques or sell you on a lifestyle overhaul. Instead, I want to show you the practical, slightly messy reality of getting a smooth finish on a budget. We’re going to break down the actual workflow—from the prep work that most people skip to the specific way you hold the can—so you can stop overthinking and start transforming your space. Let’s just focus on getting one project right this weekend.
Guide Overview
Tools & Supplies
- Spray paint cans for the primary coating
- Drop cloths to protect surfaces from overspray
- Sandpaper for smoothing the surface before painting
- Painter's tape for masking off edges
- Surface cleaner or degreaser to remove dirt
- Primer to ensure paint adhesion
- Spray paint in desired color and finish
Step-by-Step Instructions
- 1. First things first, you’ve got to prep the space. I can’t tell you how many times I’ve ended up with a fine mist of matte black settling on my favorite rug because I thought I could “just wing it” in the living room. Find a spot with plenty of airflow—an open garage or a balcony is perfect—and lay down some old newspapers or a cheap drop cloth. You want to create a little sanctuary where you can make a mess without it becoming a permanent problem.
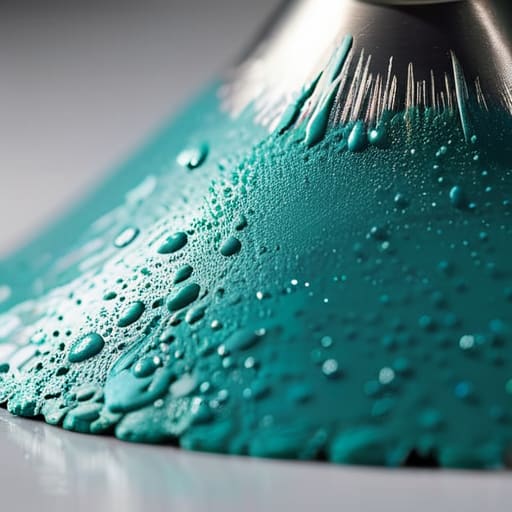
- 2. Once your workspace is set, it’s time to clean the object you’re working on. If you’re painting a piece of furniture or even a small decor item, dust and oils from your hands are the enemy of a smooth finish. Grab some mild soap and water or a bit of rubbing alcohol and wipe everything down until it’s completely spotless. If there’s any leftover grime, the paint is going to bead up and look like a disaster, and we’re not doing that today.
- 3. This is the part where I usually pull out my pocket notebook to double-check my list: masking. Use painter’s tape to cover up anything that absolutely shouldn’t be colored. If you’re painting a wooden chair, tape off the metal screws or any fabric parts. It’s a bit tedious, I know, but taking ten minutes to mask everything carefully now saves you three hours of trying to scrape dried paint off of tiny crevices later.
- 4. Now, give that spray can a really good shake. I know it sounds basic, but you need to hear that little mixing ball rattling around for at least a full minute. This ensures the pigment and the solvent are perfectly blended. If you don’t shake it enough, you’ll end up with “spitting,” where the can shoots out little clumps of unmixed paint that ruin the entire aesthetic.
- 5. When you’re ready to spray, remember the golden rule: thin coats are your best friend. Don’t try to cover the whole thing in one go; that’s how you get those ugly drips that look like tears. Hold the can about 8 to 12 inches away and move your hand in a steady, sweeping motion. Start the spray off to the side of the object, pass over it, and stop the spray once you’ve cleared the other side. It’s all about building layers.
- 6. Patience is the hardest part of this whole process, but you have to let the first coat dry before hitting it with a second. I usually set a timer on my phone so I don’t get distracted by a rabbit hole on YouTube. Once the first layer feels dry to the touch, go back in for a second (or third) light pass. This is how you get that professional, even finish without the mess.
- 7. Finally, once you’re happy with the color, let it cure. Just because it feels dry in twenty minutes doesn’t mean it’s ready to be handled or put back on a shelf. Give it at least a few hours—ideally a full day—to really set. If you rush this part, you might find a fingerprint permanently etched into your hard work, and we’re aiming for small wins, not more stress.
The Small Habits of Proper Spray Paint Surface Preparation
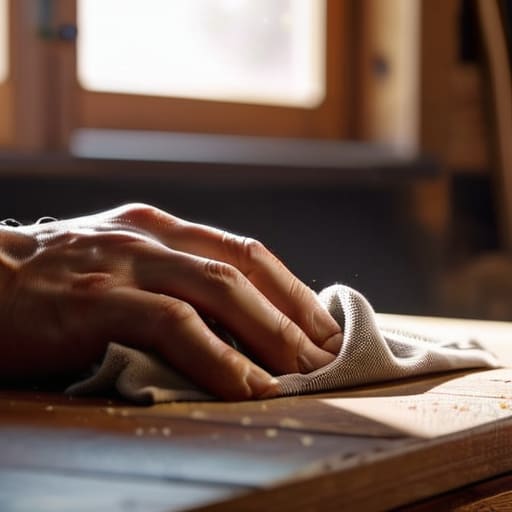
Honestly, the part where everyone wants to skip ahead to the actual color is the exact moment things usually go sideways. I’ve spent way too many hours trying to sand down bumps in a finish because I was too impatient to do the grunt work. Real spray paint surface preparation isn’t about perfection; it’s just about removing the obstacles that make the paint fail. If there’s even a tiny bit of dust, grease, or old flaky paint left on the surface, your new layer is going to struggle to bond. I always keep a microfiber cloth and some isopropyl alcohol handy—it’s a small, five-minute ritual that saves me from a massive headache later.
Once the surface is clean, don’t overlook the importance of a solid primer for spray painting. Think of it like the foundation of a house; if the base is shaky, nothing else matters. A good primer fills in those microscopic pores and gives the color something to actually grab onto. Also, please, for the love of everything, grab some decent spray paint safety equipment. I know it feels like overkill when you’re just working on a small lamp or a planter, but wearing a mask and working in a ventilated space is one of those non-negotiable habits that keeps the hobby fun instead of a health hazard.
Choosing the Best Spray Paint for Diy Projects
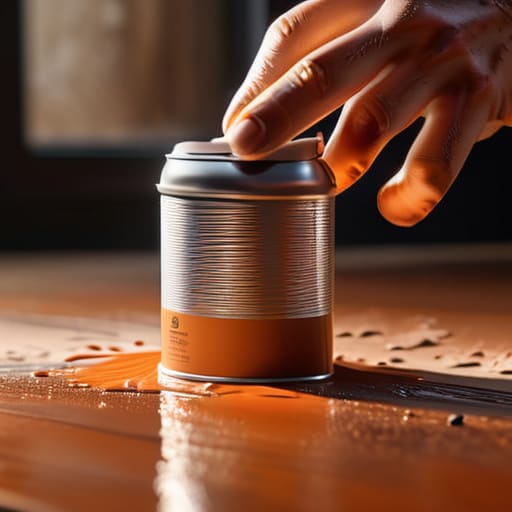
Honestly, picking up a can of paint feels easy enough until you’re staring at a wall of options at the hardware store. It’s tempting to just grab the cheapest one, but if you want to avoid the heartbreak of peeling paint three weeks from now, you have to be a bit more intentional. I’ve learned the hard way that finding the best spray paint for DIY projects usually means looking for something with a high pigment load and a consistent spray pattern. If the paint feels “thin” or watery, you’re going to end up fighting a losing battle against runs and uneven patches.
One thing I always tell myself (and my notebook reminders) is that the paint itself is only half the battle; the chemistry matters. If you’re working on something non-porous like metal or plastic, don’t skip the primer for spray painting. It acts as the glue between your surface and your color. Also, keep a close eye on the spray paint drying time listed on the back of the can. It’s incredibly tempting to add a second coat because the first one looks “mostly” dry, but rushing that window is the fastest way to ruin your hard work. Take it slow, let it breathe, and your future self will thank you.
Five Ways to Keep Your Project From Turning Into a Total Mess
- Don’t try to be a hero with one thick coat. I used to think more paint meant faster results, but all I ended up with were those annoying, thick drips that take forever to sand down. Aim for several light, misty layers instead. It takes a little longer, but it actually looks professional.
- Watch the weather, seriously. If it’s super humid or about to rain, just walk away. I’ve learned the hard way that moisture in the air can mess with how the paint settles, leaving you with a weird, textured finish that looks more like sandpaper than a smooth surface.
- Keep a “shake timer” in your head. You really need to shake those cans for at least a full minute before you even think about touching the trigger. If you don’t get the pigment fully mixed, you’ll end up with patches of color that look totally uneven.
- Master the “sweep,” not the “stare.” A common mistake is hovering the can over one spot for too long. You want to keep the can moving in a steady, continuous motion—starting the spray just before you hit the object and stopping just after you pass it.
- Protect your workspace like your life depends on it. Even if you’re just doing a small piece, spray paint travels further than you think. Lay down some old cardboard or drop cloths, and if you’re working indoors, make sure there’s a decent breeze moving through. Trust me, your lungs (and your floor) will thank you.
The Tuesday-Proof Checklist for a Better Finish
Don’t rush the prep work; spending an extra ten minutes cleaning and sanding a surface saves you two hours of frustration trying to fix drips later.
Focus on thin, even layers rather than trying to cover everything in one go—it’s much easier to add a second light coat than it is to fix a soggy, runny mess.
Keep your workspace simple and ventilated, and remember that a slightly imperfect finish is always better than a project that stays half-done because you got overwhelmed.
Finishing Strong (Without the Stress)
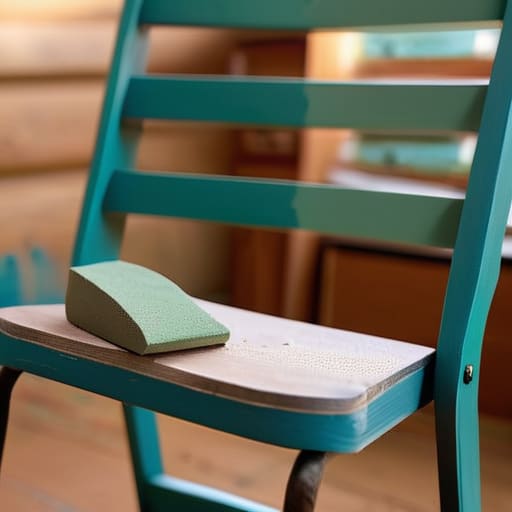
At the end of the day, a successful spray paint project isn’t about achieving some untouched, factory-perfect finish on your first try. It’s really about the groundwork you put in before you even touch the nozzle. If you took the time to prep your surface properly and picked a paint that actually suits your material, you’ve already done the heavy lifting. Remember, the secret is in those thin, even layers rather than trying to cover everything in one aggressive go. Don’t let a little bit of drip or a missed spot ruin the vibe; just treat it as part of the process and move on to the next task.
I know that looking at a half-finished, messy DIY project can feel a bit overwhelming when your to-do list is already miles long. But honestly, the goal isn’t to master a new professional craft by sunset; it’s just to see something through from start to finish. Whether you’re refreshing an old lamp or a piece of furniture, let the process be a way to find a little rhythm in your afternoon. You don’t need a flawless result to feel that sense of accomplishment. Just finish the job, clean your tools, and enjoy the fact that you actually made something happen today.