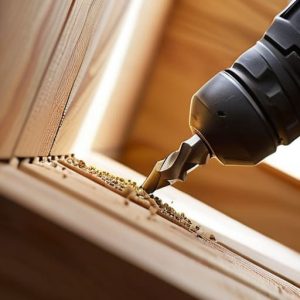
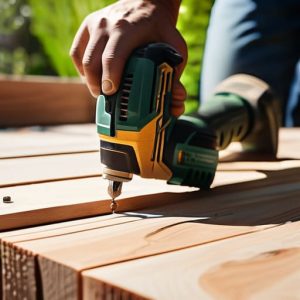
Drill Basics: Everything You Need to Know to Get Started
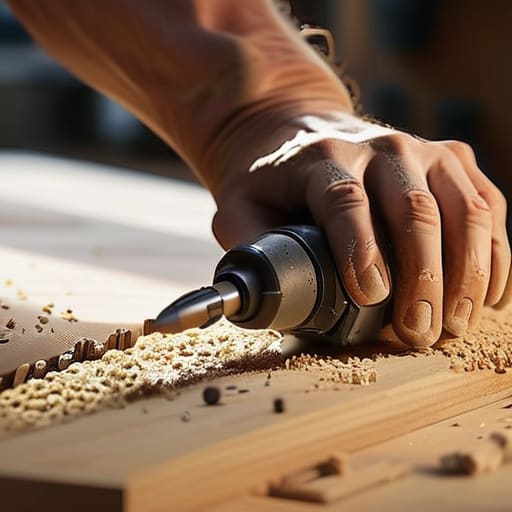
I was staring at my wall, a half-finished floating shelf mocking me, while my hands shook slightly holding a heavy, vibrating piece of hardware I barely understood. We’ve all been there—standing in the middle of a DIY disaster, wondering why the wood is splintering or why the screw is just spinning aimlessly. Most people think learning how to use a drill requires a garage full of expensive tools and a degree in engineering, but that’s just a recipe for unnecessary stress. In reality, it’s less about raw power and more about finding a steady rhythm with the machine.
I’m not here to give you a technical manual that reads like a textbook; I want to help you actually finish that project without losing your mind. We’re going to break this down into small, manageable wins, covering everything from picking the right bit to mastering that crucial pressure control. My goal is to move you past the intimidation factor so you can stop overthinking and start building. Let’s get through this one hole at a time and turn that “maybe someday” project into something you can actually use.
Guide Overview
Tools & Supplies
- Power Drill (Cordless or corded drill)
- Drill Bit Set (Various sizes for drilling and driving)
- Safety Glasses (1 pair)
- Workpiece (Wood, metal, or plastic)
- Screws or Anchors (As needed for project)
Step-by-Step Instructions
- 1. First things first, grab your drill and pick out the right bit. If you’re just hanging a picture, a standard twist bit is fine, but if you’re working with something tougher, you might need a masonry bit. I always keep a small organizer tray nearby so I don’t end up hunting through a junk drawer halfway through the task.
- 2. Once you’ve got your bit, pop it into the chuck—that’s the adjustable part at the very front. You’ll need to twist it to open the jaws, slide the bit in, and then tighten it back up. I usually give it a little extra tug to make sure it’s tight and centered so the bit doesn’t wobble when you start spinning.
- 3. Before you actually touch the surface, mark your spot. I use a pencil or even a tiny dot from a marker to show exactly where the hole is going. If you’re working with something prone to splintering, like soft wood, I like to tack a piece of masking tape over the spot first to keep things clean.
- 4. Now, get into position. Hold the drill firmly with both hands if you can—one on the handle and one on the back to steady it. You want to be perpendicular to the surface, meaning you’re aiming to go in at a perfect 90-degree angle. If you’re tilted, the hole is going to come out wonky, and nobody wants that.
- 5. Start slow. Don’t just pull the trigger and go full throttle immediately. Apply gentle, steady pressure and let the drill do the heavy lifting. If you feel the bit catching or getting stuck, back off the speed for a second. It’s all about that controlled, rhythmic movement.
- 6. Once you’ve reached the depth you need, pull the bit out while it’s still spinning. This helps clear out any dust or debris trapped in the hole, which makes the whole process feel a lot smoother. If you stop the rotation before pulling it out, you’ll likely end up with a messy, clogged hole.
- 7. Take a quick second to check your work. If the hole looks good, you’re set. If it’s a bit rough, don’t sweat it; just adjust your approach for the next one. It’s just one hole, and you’re already doing better than you were five minutes ago.
The Basics of Drill Bit Types and Uses
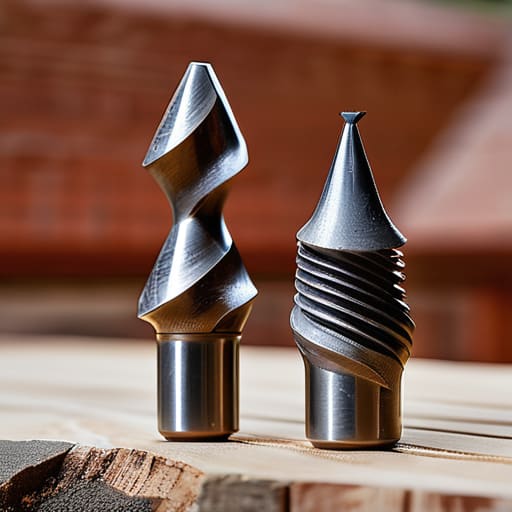
Before you actually pull the trigger, you need to talk about the bits. I used to think a drill was just a drill, but grabbing the wrong tip is the fastest way to ruin a project (or your sanity). If you’re working with timber, you’ll want standard twist bits, but if you’re tackling stone or brick, you absolutely need masonry bits—they have that distinct, wider tip designed to hammer through grit. One thing I learned the hard way is that drilling into masonry vs wood requires totally different energy; masonry bits need that heavy-duty impact, while wood bits are all about a clean, sharp slice.
If you’re working with something more delicate, like a thin piece of plywood or a piece of furniture, don’t just wing it. You’ll want to learn how to drill a pilot hole first. This just means using a tiny, thin bit to create a guide path so your actual screw doesn’t split the material as it goes in. It’s a small, five-second extra step that saves you from the heartbreak of a cracked board. Honestly, it’s all about that intentionality—taking a moment to prep so the actual work feels smooth rather than a struggle.
Essential Cordless Drill Safety Precautions
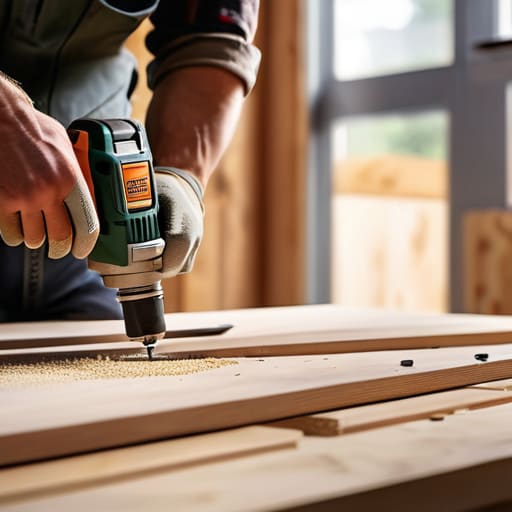
Look, I’m all for the “learn as you go” mentality, but when it comes to power tools, let’s not get too reckless. Before you even pull the trigger, you need to get serious about cordless drill safety precautions. The biggest mistake I see people make is treating the tool like a toy. Always keep your workspace clear of clutter—nothing ruins a project faster than tripping over a stray cable or a pile of scrap wood while you’re mid-motion. Also, please, for the love of everything, wear eye protection. I know it feels a bit extra when you’re just hanging a single picture frame, but a tiny splinter or a stray bit of metal flying into your eye is a one-way ticket to a very bad afternoon.
Another thing that trips people up is losing control of the tool itself. You really want to focus on your proper drill grip technique; keep a firm, two-handed stance if the task requires it, and never force the drill if it feels like it’s slipping. If you feel the bit binding or the motor straining, stop. It’s much better to take a second to reset than to have the drill kick back and wrench your wrist. Just stay mindful, keep your footing steady, and treat the tool with a little respect.
Pro Tips for When You’re Actually Ready to Start Drilling
- Mark your spot with a tiny pilot hole first. It feels like an extra step, but it stops the bit from wandering across your wood or wall like it’s lost in a grocery store.
- Don’t go full throttle immediately. Start slow to get the bit seated, then gradually increase your speed once you feel it biting into the material. It’s way less intimidating that way.
- Use your non-dominant hand to steady the workpiece or hold the surface if you’re drilling into something light. It keeps things from spinning or sliding right when you need precision.
- Keep an eye on your pressure. You want to lean into it, but you shouldn’t be wrestling the drill. If you’re pushing too hard, you’re probably using the wrong bit or the battery is getting low.
- Listen to the sound. A good drill has a steady, rhythmic hum. If it starts screeching or sounding strained, stop, check your bit, and take a breath. Better to pause for ten seconds than to ruin the project.
Small Wins for Your Next Project
Don’t sweat the fancy setups; just make sure you’ve got the right bit for the job and a steady grip before you pull the trigger.
Safety isn’t about being paranoid, it’s just about being prepared—keep your eyes on the work and your workspace clear so you can actually enjoy the process.
Remember that a drill is just a tool, not a magic wand; take it slow, listen to the machine, and focus on getting one clean hole at a time.
Small Wins and Steady Hands
Look, we’ve covered a lot of ground here. From picking the right bit so you don’t ruin your project, to keeping those safety precautions top of mind, the goal wasn’t to turn you into a master carpenter overnight. It was just about getting you comfortable enough to stop staring at that shelf you need to hang and actually get it done. Remember, it’s all about the prep: select your bit, check your battery, and keep a steady grip. If you respect the tool and take it one hole at a time, you’re already ahead of most people. It’s not about being perfect; it’s just about handling the task without making a mess of things.
At the end of the day, a drill is just a tool, but the confidence you get from using it is real. There’s something incredibly grounding about fixing something with your own two hands, especially when your digital life feels like it’s spinning out of control. Don’t feel like you need to tackle a whole renovation this weekend. Just pick one small thing, grab your drill, and make a little progress. Those tiny, successful projects are exactly how you build momentum. You don’t need a massive life overhaul to feel capable; sometimes, you just need to successfully drive one screw into a wall.