The Secret to Hanging Pictures Perfectly Every Single Time
I was sitting on my floor last Sunday, surrounded by a chaotic sea of bubble wrap and half-empty command strips, staring at a single, lonely frame like it was a math problem I couldn’t solve. We’ve been told that learning how to hang a picture requires a professional toolkit or some divine sense of spatial awareness, but honestly? That’s just a recipe for a ruined afternoon and a wall full of unnecessary holes. I spent way too long overthinking the exact millimeter of height before I realized that perfection is the enemy of a cozy home.
In this guide, I’m stripping away the intimidation factor and giving you the actual, messy reality of getting art onto your walls. I’m not going to lecture you on complex geometry; instead, I’ll show you my low-stress method for finding the right spot, choosing the right hardware, and avoiding that dreaded “crooked frame” look. We’re going to focus on small, repeatable steps that turn a daunting DIY task into a quick win for your space, so you can stop staring at blank walls and actually start enjoying your room.
Guide Overview
Tools & Supplies
- Hammer for driving nails or hooks
- Measuring tape for accurate placement
- Pencil for marking wall spots
- Level to ensure the picture is straight
- Picture hanging hardware (nails or hooks) 1 set
- Picture frame 1 unit
Step-by-Step Instructions
- 1. First, grab your frame and a piece of painter’s tape. Instead of guessing where the hook goes, stick a piece of tape on the back of the frame right where the hanging hardware sits. Use a pen to mark the exact spot on that tape. This saves you from that annoying “measure twice, fail once” loop that usually ends with a hole in the wrong place.
- 2. Decide where this thing actually lives. Don’t just aim for eye level because a textbook told you to; aim for where it feels right in the room. I usually find that if I’m standing in a doorway, I want the art to hit my line of sight naturally. Once you’ve picked the spot, take your tape with the markings and press it against the wall exactly where you want the frame to hang.
- 3. Now, grab your drill or a hammer. If you’re dealing with drywall, a simple nail or a small screw works fine, but if you’re feeling ambitious, use a wall anchor. Look at the marks you made on the tape on the wall and drive your nail right through them. It’s a tiny bit of chaos, but it’s way more reliable than trying to eyeball a straight line.
- 4. Take the tape off the wall and check your work. If the nail looks a little crooked, don’t sweat it—you can always nudge it. The goal here is momentum, not perfection. If the hardware is secure, you’re officially halfway to a finished room.
- 5. Gently hang the frame onto the nail or hook. Once it’s up, step back about five feet. This is the part where I usually pull out my notebook to jot down if I need to move anything else. If it looks slightly tilted, use a level (or just the “eye test” if you’re feeling brave) to straighten it out.
- 6. Finally, do a quick “wiggle test.” Give the frame a tiny nudge to make sure it’s sitting flush against the wall and isn’t going to slide off the moment you walk past it. If it stays put, you’re done. You just conquered a task that’s been sitting on your mental to-do list for weeks, and that’s a massive win for your Tuesday.
Picking Your Weapon a Picture Hanging Hardware Guide
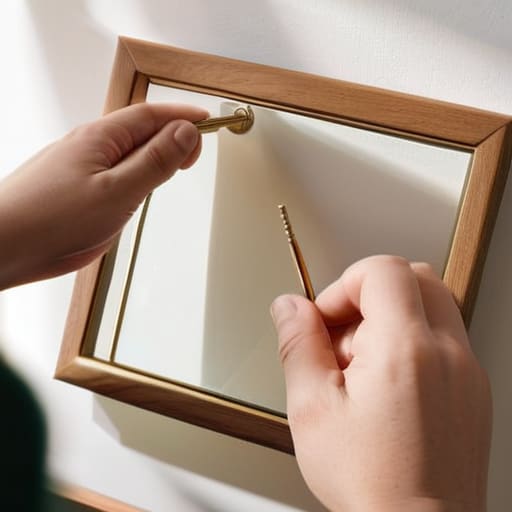
Look, I’ve spent way too many Saturday mornings staring at a pile of random metal bits from a hardware store, feeling completely overwhelmed. If you’re staring at a blank wall, don’t just grab the first thing you see. You really need a quick picture hanging hardware guide to save your sanity. If you’re dealing with something light—like a small print or a Polaroid—don’t even bother with a drill. Just go with command strips vs nails; honestly, for renters or people who change their minds every two weeks, the adhesive strips are a total lifesaver. They keep the wall intact and save you from that “oops, I made a hole” feeling.
However, if you’re trying to tackle those chunky, vintage wooden frames I love so much, you’ve got to step it up. Hanging heavy frames on drywall requires more than just a tiny tack; you’re going to want some sturdy anchors or even hitting a stud if you can find one. It’s all about weight distribution. I usually keep a small kit in my desk drawer with a few different screw sizes and anchors just so I’m not scrambling mid-project. It’s much easier to have the right tool ready than to realize halfway through that your frame is about to take a dive onto your floor.
Command Strips vs Nails Choosing the Smallest Win
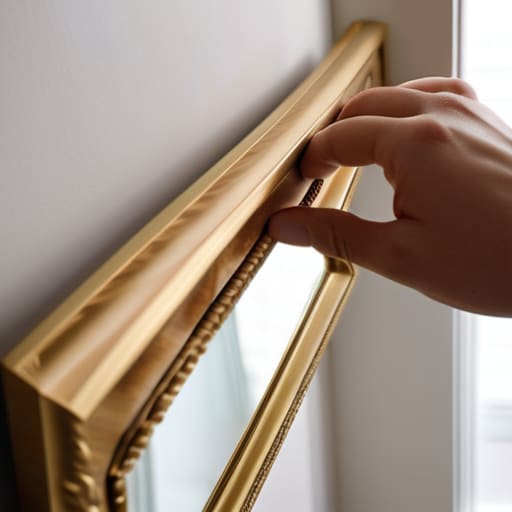
Honestly, the debate between command strips vs nails usually comes down to how much you actually trust your walls (and your landlord). If you’re living in a rental or you’re just feeling particularly cautious about making permanent holes in the drywall, Command Strips are your best friend. They’re great for lightweight prints or small frames that won’t cause a structural crisis. Just a heads-up, though: don’t get too ambitious. If you try to use them for hanging heavy frames on drywall, you’re basically asking for a midnight disaster involving shattered glass and a very sad floor.
On the flip side, nails are the old reliable. There’s a certain satisfaction in the thwack of a hammer that a sticky strip just can’t replicate. If you’re dealing with something substantial—think a chunky wooden frame or a heavy mirror—go with a nail or even a screw. It’s much more forgiving when things get heavy. My rule of thumb? Use the strips for the “low stakes” decor and save the hardware for the pieces that actually mean something to you. It’s all about choosing the right tool for the specific kind of chaos you’re willing to manage.
Small Wins to Avoid a Total Wall Meltdown
- Use a pencil, not a permanent marker. Trust me, you’re going to want to move that frame three inches to the left once you actually step back, and you don’t want a permanent dot staring at you from across the room.
- Level it with your eyes first, then use a level. Your brain is a liar when it comes to straight lines, especially after a long day of staring at a laptop screen. If it looks slightly tilted to you, it definitely is.
- Don’t forget the “eye level” rule. Most people hang art way too high. Aim for the center of the piece to be about 57 to 60 inches from the floor—basically, where your eyes naturally rest.
- Clear the clutter around the spot. It’s way harder to judge where a frame sits when there’s a pile of mail or a stray coffee mug in the way. Clear a little space so you can actually see the vision.
- Keep a little bit of painter’s tape handy. If you’re indecisive (and let’s be real, I am), tape a piece of paper cut to the size of your frame on the wall first. It lets you test the vibe without making a single hole.
The TL;DR for Your Walls
Don’t let the fear of a tiny hole stop you; if you’re renting or just indecisive, Command Strips are your best friend for a low-stakes win.
Measure twice, hammer once, and actually use a level—or at least a leveling app on your phone—so you aren’t staring at a crooked frame for the next three months.
Focus on the vibe, not perfection; a slightly off-center photo is better than a blank wall and a weekend wasted overthinking a single piece of decor.
The Final Look

At the end of the day, hanging a picture isn’t about achieving museum-grade precision or perfectly level lines that would make an architect weep. It’s just about getting that piece of art off the floor and onto the wall so you can actually enjoy your space. Whether you decided to play it safe with Command Strips to save your rental deposit or went full DIY with a hammer and some heavy-duty nails, you’ve done the work. You picked your hardware, measured twice (or once, if you’re feeling brave), and you actually followed through. That’s the real win here.
Don’t let the fear of a tiny hole in the drywall stop you from making your apartment feel like a home. If it’s a little crooked, just tilt it a fraction of an inch and call it “character.” The goal isn’t to create a perfect gallery; it’s to create a space that reflects who you are and makes your Tuesday feel a little more intentional. So, grab that frame, take a breath, and just get it on the wall. You’ve got this, and honestly, your walls deserve it.