Building Your Own Sturdy Garage Workbench
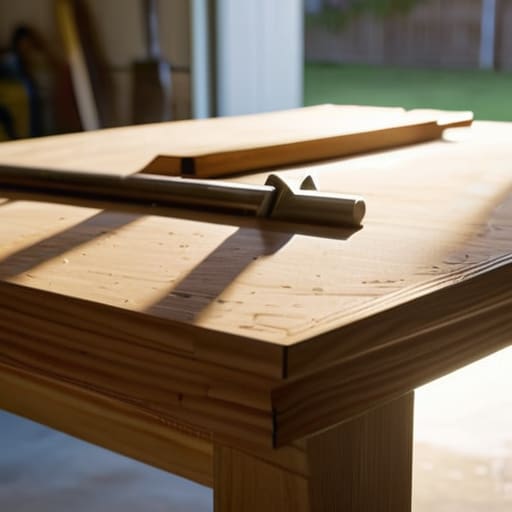
I was sitting on my floor last Tuesday, surrounded by a chaotic sea of tiny screws and disassembled mechanical keyboard switches, trying to steady a piece of wood against my knees. It was a mess, and honestly, it was embarrassing. I realized then that I had been putting off learning how to build a workbench because I thought I needed a massive, professional-grade workshop and a mountain of expensive power tools to even start. But here’s the truth: you don’t need a master craftsman’s studio to create a functional workspace; you just need one solid surface that doesn’t wobble when you’re working.
In this guide, I’m skipping the gatekeeping and the over-complicated blueprints that make DIY feel impossible. I’m going to show you a stripped-back, pragmatic approach to building a sturdy bench using basic materials you can actually find at a local hardware store. We aren’t aiming for a museum piece here; we are focusing on functional simplicity and getting you a reliable spot to work without the headache. Let’s stop overthinking the gear and just get something built that actually works for your space.
Guide Overview
Tools & Supplies
- Circular Saw or Miter Saw for cutting lumber
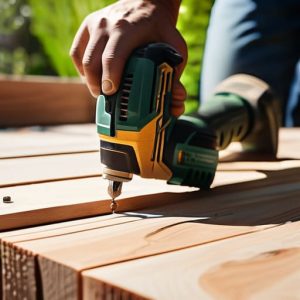
- Power Drill for driving screws
- Tape Measure for accurate marking
- Speed Square for ensuring straight lines
- Level to ensure a flat work surface
- 2×4 Studs (quantity 8-10)
- 4×4 Post (quantity 1) for heavy-duty legs
- 3/4 inch Plywood (1 sheet) for the tabletop
- 2.5 inch Wood Screws (1 box)
- Wood Glue (1 bottle)
Step-by-Step Instructions
- 1. First things first, grab a piece of scrap paper or open that pocket notebook of yours and sketch out a rough layout. You don’t need a blueprint from an architect; you just need to decide how much space you actually have in your corner and how high you want the surface to sit. I usually aim for about 36 inches, which is the sweet spot for most projects without killing your lower back.
- 2. Next, head to the hardware store and pick up some standard 2x4s and a sheet of 3/4-inch plywood. Don’t go overboard looking for exotic hardwoods right now; the goal is a functional workspace, not a museum piece. Grab a box of 2.5-inch wood screws because, honestly, nothing beats the reliability of a solid screw when you’re trying to keep things from wobbling.
- 3. Now, let’s get to the actual assembly by cutting your 2x4s into four sturdy legs and a series of frame pieces. If you don’t have a power saw, don’t sweat it—just ask the guys at the lumber yard to make the big cuts for you before you head home. Once you have your pieces, screw them together to create a rectangular frame that acts as the skeleton of your bench.
- 4. Once that frame is feeling solid, it’s time to attach the legs. I like to use a bit of wood glue in the joints before driving the screws in, because small extra steps like that make a massive difference in how long the bench lasts. Make sure everything is square and level before the glue sets, or you’ll be fighting a wobbly table for the next six months.
- 5. Now, lay your plywood sheet on top of the frame. This is the “skin” of your workbench, and it’s what’s going to take all the abuse from your tools and projects. I recommend screwing the plywood directly into the 2×4 frame every 8 to 12 inches to ensure it stays completely flat and doesn’t warp over time.
- 6. Finally, give the whole thing a quick sand with some medium-grit sandpaper just to get rid of any nasty splinters. You don’t need a professional finish; you just want a surface that won’t ruin your hands while you’re working. If you’re feeling fancy, you can wipe it down with a bit of linseed oil, but honestly, just getting it done is the real win here.
Finding the Right Lumber for Workbench Projects
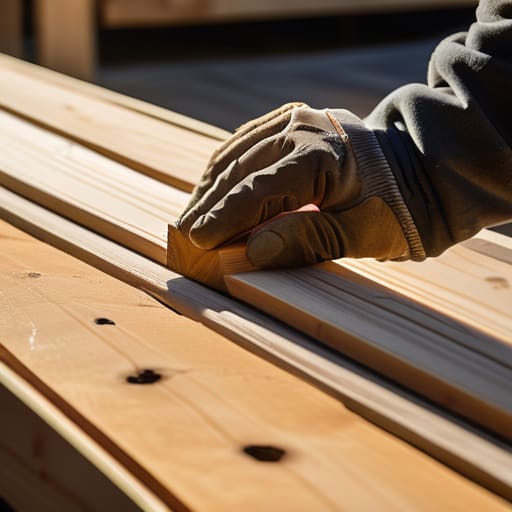
Honestly, walking into a lumber yard can feel a bit overwhelming if you aren’t prepared, but don’t overthink it. You aren’t building a fine mahogany dining table here; you’re looking for something that can take a beating. For most of my projects, I stick to construction-grade softwoods like pine or fir. They’re affordable, easy to find, and more than capable of supporting a heavy duty workbench design without breaking the bank. Just make sure you’re checking for straightness. Grab a piece, lay it on the floor, and look down the length like you’re aiming a rifle. If it’s bowed or twisted like a pretzel, leave it on the shelf.
When you’re selecting your lumber for workbench projects, weight is actually your best friend. A heavier table means less sliding around when you’re sawing or sanding. I usually opt for thick 2x4s or even 4×4 posts for the legs to ensure everything stays rock solid. If you’re following specific woodworking workbench plans, double-check your dimensions before you head to the checkout. There is nothing worse than getting home, setting up your essential woodworking tools, and realizing you’re two inches short on your bracing. Keep it simple, keep it heavy, and keep it straight.
Mastering Heavy Duty Workbench Design Without the Stress
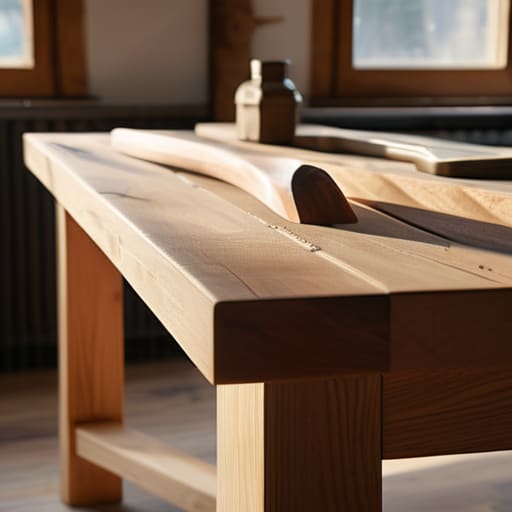
Look, I get the intimidation factor. When you start looking at professional heavy duty workbench design diagrams, it feels like you need a degree in structural engineering just to screw some boards together. But here’s the secret: you don’t need a massive, multi-tier industrial station to get the job done. Most of the time, a workbench that feels “heavy duty” is really just about managing weight and minimizing wobble. If you focus on a wide footprint and a low center of gravity, you’re already halfway there. Don’t get paralyzed by complex woodworking workbench plans that assume you have a warehouse; just aim for something that doesn’t shake when you’re hammering a nail.
The real trick to keeping the stress low is prioritizing stability over sheer size. I used to think I needed a massive slab of expensive hardwood, but I realized that solid joinery and thick legs matter way more than the fancy finish. If you’re building for heavy tasks, spend your energy on the base. A few extra bracing pieces or even just some heavy-duty corner brackets can turn a shaky table into a rock-solid station. It’s not about perfection; it’s about making sure that when you’re mid-project on a Tuesday afternoon, your workspace stays exactly where you put it.
Small tweaks to keep your build from becoming a headache
- Don’t aim for perfection on your first go; a workbench is a tool, not a piece of fine furniture, so focus on stability over a flawless finish.
- Measure twice, but honestly, just double-check everything before you hit that first screw—it saves so much frustration when you’re mid-assembly.
- Keep your workspace clear as you go; even if it’s just a tiny corner of your room, a little bit of order makes the actual building part way more enjoyable.
- Invest in decent clamps early on, because trying to hold heavy lumber steady with just your hands is a quick way to lose your calm.
- Think about your height before you commit to the frame; if you’re going to be spending hours at this bench, you don’t want to be killing your back by next Tuesday.
The "Tuesday" Approach to Your New Workspace
Don’t get paralyzed by the “perfect” workshop dream; just focus on getting one sturdy, functional surface built so you can actually start working.
Prioritize stability over aesthetics—a workbench doesn’t need to look like a Pinterest board, it just needs to stay still when you’re using it.
Treat your build like a series of small wins, moving from lumber selection to assembly one manageable step at a time rather than trying to master heavy-duty construction in a single afternoon.
Getting It Done
At the end of the day, building this workbench isn’t about having a professional-grade studio or a massive garage filled with high-end power tools. It’s really just about the fundamentals we talked about: picking the right lumber that won’t warp on you, keeping your design heavy-duty enough to actually handle some real work, and not letting the sheer scale of the project paralyze you. You don’t need to master every woodworking technique known to man to get a stable, functional surface in your space. Just focus on getting the structure solid and making sure it serves the specific tasks you have lined up for it. Once those basics are locked in, the rest is just fine-tuning.
I know how it feels when you look at a pile of raw wood and a half-finished plan and feel like you’re just making a mess. But remember, this bench is going to evolve with you. It’s going to get scratched, stained, and worn down as you actually start using it to create things. Don’t wait for some mythical “perfect setup” to arrive before you start your next project. Just grab your tools, clear off a little space, and build the foundation you need to get moving. You’ve got this.