Weatherstripping Your Doors to Lower Your Energy Costs
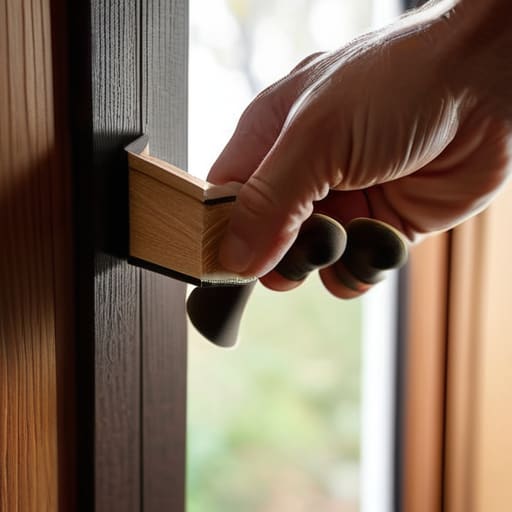
I was sitting at my desk last Tuesday, trying to focus on a client’s project timeline, when I realized I wasn’t actually shivering from the AC—I was shivering because of a literal invisible thief stealing all the warmth from my apartment. Every time the wind picked up outside, I could hear that annoying, high-pitched whistle coming from the hallway. I used to think that fixing a drafty entrance required a massive, expensive home renovation or a professional contractor, but that’s just not true. Honestly, most of the time, you don’t need a whole new door; you just need to get serious about weatherstripping a door to reclaim your space.
I’m not here to give you a lecture on thermal dynamics or suggest you buy a thousand dollars’ worth of industrial sealant. Instead, I want to show you how to tackle this with a few basic tools and maybe twenty minutes of your time. We’re going to walk through the no-nonsense way to identify where the air is leaking and how to apply the right materials so it actually stays put. Let’s get your environment sorted so you can get back to your day.
Guide Overview
Tools & Supplies
- Measuring tape for door dimensions
- Scissors or utility knife for trimming
- Screwdriver for securing door sweeps
- Weatherstripping roll or strips (adhesive or tension-based)
- Door sweep (if installing at the bottom)
- Cleaning solution or rubbing alcohol for surface prep
Step-by-Step Instructions
- 1. First things first, you need to figure out exactly where the air is escaping. I usually grab my pocket notebook and a flashlight to do a quick “audit.” Close the door, turn off the lights inside, and have someone shine a light from the other side. Wherever you see light peeking through the cracks, that’s your primary target. It’s much easier to fix a specific gap than to just slap adhesive everywhere and hope for the best.
- 2. Once you know the problem areas, it’s time to clean the surface. This is the part most people skip, but if you don’t do it, your new weatherstripping will peel off within a week. Grab some isopropyl alcohol and a clean rag, and wipe down the door frame where the seal will sit. You want to remove every bit of dust and old residue so the adhesive actually sticks like it’s supposed to.
- 3. Next, measure your space. Don’t just eyeball it; that’s how you end up with awkward gaps that let the cold in anyway. Take a tape measure and get the length of the top and both sides of the door frame. I like to write these numbers down immediately so I’m not standing there in the middle of the project trying to remember if it was 72 or 74 inches. Precision is everything here.
- 4. Now, pick your material. If you’re dealing with a standard gap, a simple foam tape works fine, but if you want something that actually lasts, I’d suggest the V-strip or a more substantial rubber seal. Cut your material to the lengths you measured earlier using sharp scissors. Try to make your cuts as clean as possible to avoid any jagged edges that might prevent a tight seal.
- 5. Start applying the strip, beginning at the top corner. Peel back just a few inches of the adhesive backing, press the strip into place, and then slowly work your way down. If you peel the whole thing off at once, you’re going to end up with a tangled mess. It’s a bit of a slow process, but patience pays off when you want a seamless look.
- 6. For the bottom of the door, you might need a door sweep instead of just tape. This is a different beast entirely, usually involving a strip of metal or plastic that screws into the bottom of the door itself. Check if your door has enough clearance so that the sweep doesn’t drag too hard on the floor, which can eventually damage your threshold.
- 7. Finally, do a test run. Close the door and feel around the edges with your hand to see if you can still feel a breeze. If you feel a draft, you might need to slightly adjust the position or add a bit more material to that specific spot. It’s all about that incremental adjustment until the room finally feels quiet and cozy.
Choosing the Right Types of Door Weatherstripping Materials
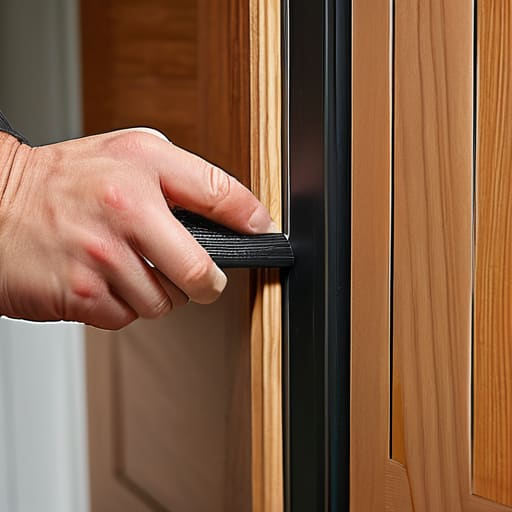
Before you head to the hardware store, you need to realize that not all seals are created equal. It’s easy to grab the first roll of foam you see, but if you want actual results, you have to match the material to the specific gap you’re trying to plug. For those annoying cracks around the sides and top of the frame, I usually lean toward adhesive-backed foam or rubber strips. They’re super easy to work with and great for preventing air leaks around doors that most people overlook. If you’re looking for something a bit more heavy-duty that won’t degrade after a single season, go for silicone; it’s more expensive, but it stays flexible even when the temperature swings wildly.
Then there’s the bottom of the door, which is usually the biggest offender. This is where you move away from simple strips and look into a door sweep installation guide or a more robust door bottom seal. If your door has a significant gap between the wood and the floor, a heavy-duty U-shaped rubber seal is going to be your best friend. It’s one of those small, energy efficient home improvements that actually pays for itself by keeping your AC or heat where it belongs. Just take a quick measurement of the door’s thickness before you buy anything—there’s nothing more frustrating than getting home with a seal that’s just a fraction too small.
A Practical Door Sweep Installation Guide for Messy Lives
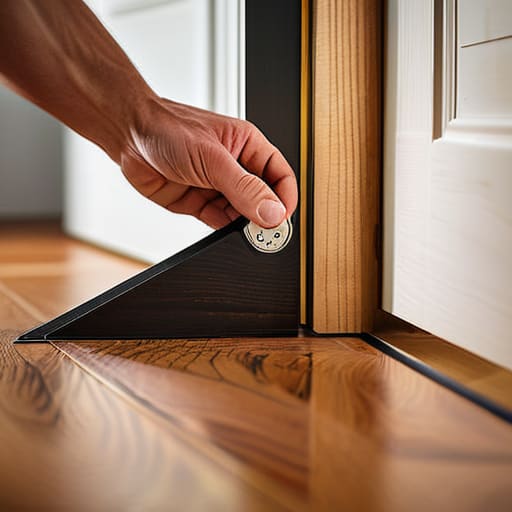
Look, I know the idea of a “home improvement project” usually sounds like a weekend-long nightmare of sawdust and frustration. But a door sweep is different. It’s one of those low-effort, high-reward wins that actually makes sense when you’re just trying to keep your living space cozy. If you’re following this door sweep installation guide, the biggest mistake I see is people overthinking the measurements. Grab your physical notebook—or just your phone—and measure the width of your door twice before you even think about reaching for the adhesive. You want a snug fit, not a struggle.
When you’re actually getting down to the door bottom seal installation, don’t rush the cleaning phase. If there’s dust or grit on the bottom of the door, that adhesive is going to fail by next Tuesday, and you’ll be right back where you started. Wipe it down with a bit of rubbing alcohol and let it dry completely. It’s a tiny, extra step, but it’s the difference between a permanent fix and a sticky mess on your floor. Think of it as investing ten minutes now to save yourself from a drafty, annoying headache later this winter.
A few things I learned the hard way (so you don't have to)
- Clean your door frame like your life depends on it. I know, it sounds extra, but if you try to stick new foam or rubber onto a layer of old dust and grime, it’s going to peel off by Wednesday. Grab a damp cloth and some rubbing alcohol—it takes two minutes and saves you a massive headache later.
- Don’t go overboard with the thickness. It’s tempting to buy the thickest, fluffiest weatherstripping you can find to “guarantee” a seal, but if it’s too bulky, you’ll end up fighting your door every time you try to close it. You want a seal, not a wrestling match.
- Do the “Light Test” to find the real culprits. Turn off the lights in your hallway during the day and look for slivers of light peeking through the door edges. Where you see light, you’re losing heat (and money). Those are your target zones.
- Test your door’s “swing” before you commit. Before you peel the backing off any adhesive strips, hold them up against the frame to make sure they don’t interfere with the latch or the door closer. There’s nothing more frustrating than finishing a project only to realize your door won’t actually stay shut.
- Keep a little extra material on hand. If you’re doing a DIY job, you’re almost certainly going to mismeasure one strip or cut a corner too short. Having a spare roll in your junk drawer prevents that mid-project trip to the hardware store that kills all your momentum.
The TL;DR for a draft-free Tuesday
Don’t overthink the materials; just match the strip to the gap and focus on getting a tight seal rather than making it look perfect.
Small wins matter—spending twenty minutes on a single drafty door is a massive victory for your comfort and your energy bill.
Keep your tools handy and your workspace minimal so the project doesn’t turn into a chaotic afternoon of searching for things you don’t actually need.
The Small Win You Deserve
At the end of the day, weatherstripping isn’t about achieving some perfect, showroom-ready home; it’s about the practical reality of keeping your space comfortable. We’ve covered the essentials—from picking the right adhesive foam to getting that door sweep installed without losing your mind. It’s a mix of a little bit of prep work, the right materials, and a few minutes of focused effort. Once you’ve sealed those gaps, you aren’t just stopping a draft; you’re actually reclaiming your environment from the elements. It’s one of those rare DIY tasks where the effort is minimal, but the immediate, tangible payoff is huge.
I know that when your to-do list is a mile long, spending an hour on a door seal might feel trivial. But I’ve learned that these little victories matter. There is something deeply satisfying about closing a door and feeling that sudden, quiet stillness—the sound of the outside world just fading away. Don’t feel like you need to tackle a whole house renovation this weekend. Just fix one drafty spot, settle into your space, and let that small win carry you through the rest of your week. You’ve got this.