Repurposing Household Items Into Unique Diy Planters
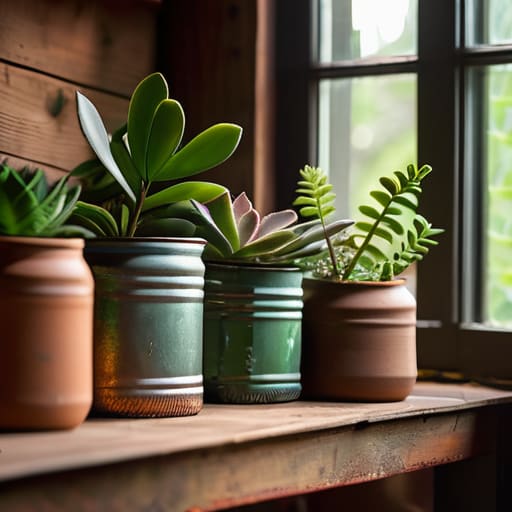
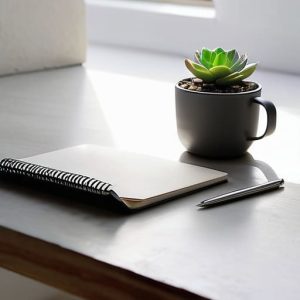
I was staring at a pile of empty tomato sauce tins and a half-dead succulent on my desk last Tuesday, feeling that familiar sense of overwhelm. My apartment felt less like a sanctuary and more like a collection of disorganized tasks I hadn’t tackled yet. I realized then that I didn’t need a massive home renovation or a trip to a high-end boutique to bring some life into my workspace; I just needed some simple diy planters to bridge the gap between chaos and calm. Most people think you need a workshop full of expensive tools to make something look intentional, but the truth is that beauty usually lives in the repurposed stuff you already have sitting in your recycling bin.
In this guide, I’m skipping the complicated Pinterest projects that require a degree in engineering and focusing on what actually works for a busy schedule. I’ll show you how to turn everyday objects into functional, aesthetic homes for your plants without breaking your budget or wasting your entire weekend. We’re going to focus on low-effort, high-reward setups that fit into a minimalist lifestyle. No fluff, no unnecessary spending—just a straightforward way to add a little bit of green to your routine, one tin can at a time.
Guide Overview
Tools & Supplies
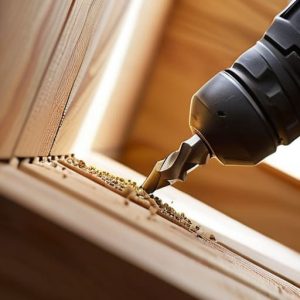
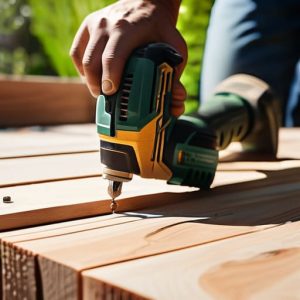
- Drill with spade bit for drainage holes
- Measuring tape for sizing materials
- Scissors or utility knife for cutting
- Recycled container (tin can, plastic bottle, or wooden crate) x 1
- Potting soil (small bag) x 1
- Small plants or seeds x 1-3
- Decorative paint or twine for covering x 1
Step-by-Step Instructions
- 1. First, I always start by scavenging for my “vessels.” You don’t need to run out and buy expensive ceramic pots; honestly, some of the best looking planters I’ve made came from old tin cans or even those sturdy glass jars from your favorite pasta sauce. Just make sure you give them a good scrub with some warm soapy water first so you aren’t growing plants in old marinara.
- 2. Once you’ve picked your containers, you’ll need to tackle the drainage situation. This is the part people usually skip, but it’s non-negotiable if you want your plants to actually survive. If you’re using a tin can or glass, grab a hammer and a large nail (or a drill if you have one handy) and carefully create a few small holes in the bottom. It feels a little destructive, but your plants will thank you later when their roots aren’t sitting in a swamp.
- 3. Now, let’s talk aesthetics. Since I’m a fan of that minimalist, lo-fi look, I usually go for something subtle. You can wrap your cans in leftover twine, spray paint them a matte sage green, or even just leave them raw for an industrial vibe. If you’re feeling a bit more creative, you can use some leftover acrylic paint to add simple geometric shapes, but don’t feel pressured to make it a masterpiece; the goal is just to make it feel like it belongs in your space.
- 4. Grab a bag of decent potting mix—and I mean actual potting soil, not just dirt from the backyard—and start filling your containers. I like to leave about an inch of space at the top so when you water the plant, the liquid doesn’t just spill over the sides and create a mess on your desk. It’s these tiny adjustments that keep your workspace feeling organized rather than chaotic.
- 5. It’s time to get your hands dirty. Gently take your plant out of its original plastic nursery pot, loosen the roots slightly with your fingers, and nestle it into your new DIY planter. Pack the soil around it firmly but not too tight—you want it to feel secure without crushing the life out of the root system.
- 6. Finally, give your new little green roommate its first drink. Use a small watering can or even just a recycled water bottle to soak the soil until you see a little bit of moisture peeking through those drainage holes we made earlier. Set it in a spot that gets the right amount of light, and just take a second to appreciate that you actually made something functional today.
Budget Friendly Planter Projects for a Better Tuesday
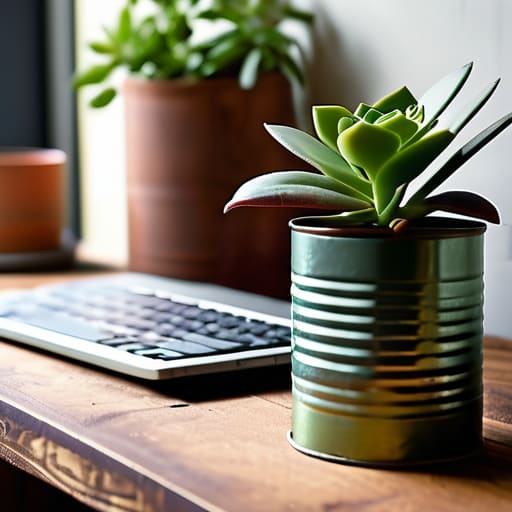
If you’re feeling a bit overwhelmed by the idea of a massive garden overhaul, let’s scale it back. You don’t need a trip to a high-end nursery to see some green on your desk. I’ve found that upcycled container gardening is honestly the best way to start when you’re low on funds but high on motivation. I actually started my first little setup using nothing but old tin cans from my kitchen—I just cleaned them up, poked a few drainage holes in the bottom, and they looked surprisingly intentional once I sat them on my desk.
For something a little more modern, you can try recycled plastic bottle planters. It sounds a bit “science fair project,” I know, but if you cut them horizontally and paint them in a matte, minimalist finish, they look incredibly sleek. It’s a quick way to get some life into a corner of your apartment without spending a dime.
The goal here isn’t perfection; it’s just about creating a small pocket of calm in your workspace. Even if it’s just one tiny pot on your windowsill, that small bit of progress makes a massive difference when your Tuesday feels like it’s spiraling.
Upcycled Container Gardening Without the Life Overhaul
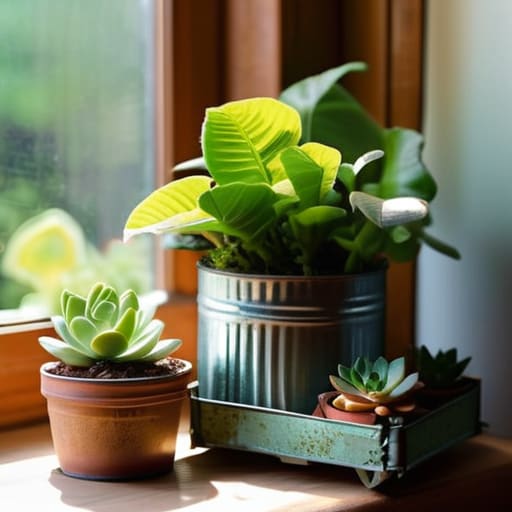
Look, I get it. You want the greenery, but you don’t want to spend your entire Saturday at a hardware store or staring at a mountain of specialized tools. That’s where upcycled container gardening actually becomes a superpower rather than a chore. Instead of buying expensive ceramic pots that just end up breaking or feeling too “precious” to use, look around your apartment. I’ve found that the best way to start is by looking at what you’re already about to throw away.
For instance, if you’re working with limited space on a windowsill, recycled plastic bottle planters are a total game-changer. You just snip the bottom, poke a few drainage holes in the base, and suddenly you have a lightweight home for some herbs. It’s not about making something museum-quality; it’s about the small satisfaction of seeing something grow in something you rescued from the bin. If you want something a bit more aesthetic for a desk setup, try some simple indoor succulent pot crafts using old tin cans or even those heavy glass jars from your morning coffee. It keeps the process low-stakes, low-cost, and—most importantly—completely manageable for a busy Tuesday.
Low-Stakes Tips for Keeping Your Greenery (and Your Sanity) Alive
- Don’t skip the drainage. I learned this the hard way with a ceramic mug I thought looked “aesthetic” until my succulent turned into mush. If your container doesn’t have a hole at the bottom, grab a drill or find a way to create one.
- Keep your soil simple. You don’t need a chemistry degree or a bag of specialized boutique dirt. Just grab a decent all-purpose potting mix from the hardware store; it’s much easier to manage when you’re just trying to get through a busy week.
- Think about light before you buy the plant. It’s tempting to grab a beautiful fern because it looks good on a desk, but if your apartment is basically a cave, that plant is going to stress you both out. Match the plant to your window, not your Pinterest board.
- Group your containers together. If you have a few small DIY planters, clustering them on a single tray or shelf makes them feel like a deliberate “moment” rather than just a bunch of random clutter scattered around your living space.
- Forgive yourself when a plant dies. Seriously. Even with my best setups, I lose things sometimes. It’s not a failure of your lifestyle; it’s just a sign to try a different plant or a different container next time. Keep it low pressure.
The Low-Stakes Summary
Don’t aim for a botanical masterpiece; just start with one container that fits your current space and energy level.
Upcycling isn’t about being perfect, it’s about seeing the potential in the junk you already have sitting in your kitchen or garage.
Remember that the goal is a little more greenery in your daily view, not a massive weekend project that leaves you feeling burnt out.
The Small Win at the End of the Day
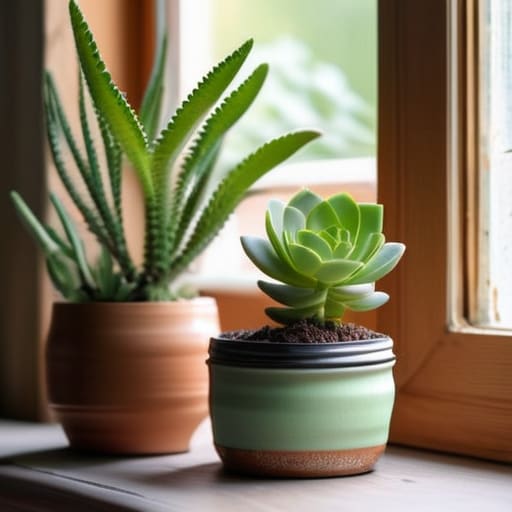
At the end of the day, making your own planters isn’t about becoming a master gardener or having a Pinterest-perfect balcony. It’s really just about taking those random things sitting in your recycling bin—the old tin cans, the cracked mugs, or those sturdy plastic containers—and giving them a second life. Whether you went the budget-friendly route with some simple paint or dove into a full upcycling project, you’ve managed to turn a bit of clutter into something that actually breathes. You’ve proven that you don’t need a massive budget or a huge amount of free time to add a little life to your workspace or your windowsill.
Don’t feel like you have to plant an entire jungle by tomorrow morning. If all you did today was clean out a jar and find a spot for it on your desk, that counts as a win. The goal here isn’t perfection; it’s just about making your immediate environment feel a little more intentional and a little less chaotic. Life is going to get messy, and your schedule is probably going to blow up at some point this week, but having a small, green thing growing in a container you made yourself? That’s a reliable bit of joy you can count on. Just start small, and let the rest follow.