How to Easily Remove Scratches From Wood Furniture
I was sitting at my desk last Tuesday, mid-way through a frantic project deadline, when I caught the light hitting that jagged white line across my favorite walnut coffee table. My first instinct was total panic—the kind where you think you’ve just permanently ruined a piece of furniture you actually care about. But here’s the thing: most people think you need a full workshop and a professional sander to deal with surface damage, but that’s just not true. Learning how to fix scratched wood doesn’t require a complete life overhaul or a massive budget; it’s really just about finding the right small, repetitive steps to smooth things over.
I’m not going to give you a lecture on advanced woodworking or suggest you buy a hundred dollars’ worth of specialized tools you’ll never use again. Instead, I want to show you how to handle those annoying marks using simple, functional methods that actually work when your schedule is already too full. We’re going to walk through a few low-stress ways to buff out those imperfections so you can get back to your day without that nagging feeling of clutter and chaos. Let’s just focus on making it look decent again, one small step at a time.
Guide Overview
Tools & Supplies
- Sandpaper (various grits for smoothing)
- Microfiber cloth (for dust removal)
- Wood filler or wax stick (1 tube/stick depending on scratch size)
- Wood stain or touch-up marker (1 pen/small bottle to match color)
Step-by-Step Instructions
- 1. First things first, you need to figure out exactly what you’re dealing with. Grab a clean cloth and wipe down the area to get rid of any dust or stray crumbs. If the scratch is just a surface-level scuff that hasn’t actually broken the wood grain, you might get lucky with just a little bit of furniture polish or even a walnut. If you rub the meat of a walnut over the scratch, the natural oils can often mask the damage almost instantly.
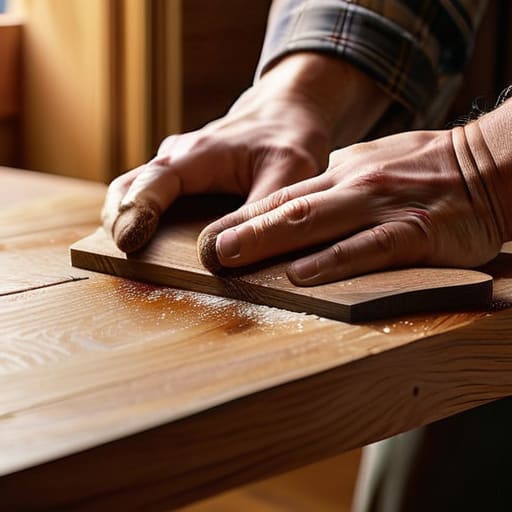
- 2. If it’s a deeper scratch that’s actually dug into the wood, we need to get a bit more tactical. I usually grab a piece of fine-grit sandpaper—we’re talking 220 or even 320 grit—because anything coarser is going to ruin the finish you already have. Gently sand the area around the scratch, moving with the grain of the wood, not against it. You aren’t trying to sand the whole thing down; you’re just smoothing out the jagged edges so the repair can actually take hold.
- 3. Once you’ve sanded it, clear away all that fine dust with a tack cloth or a slightly damp microfiber towel. This part is huge because if there’s any grit left behind, your repair is going to feel gritty and uneven. I always make sure the surface is completely bone-dry before I move on to the next step, otherwise, the wood filler won’t bond properly.
- 4. Now, it’s time to fill the gap. Depending on how much “void” there is, you can use a wood filler that matches your furniture’s color. I like to use a small putty knife to press the filler firmly into the scratch. Don’t worry about making it perfect right away; just focus on getting the material deep into the crevice so there aren’t any air pockets left behind.
- 5. Let the filler dry completely. This is the part where my “project coordinator” brain wants to rush, but trust me, you can’t skip this. Check the packaging for the recommended time, but I usually give it a few hours. Once it’s set, take that fine-grit sandpaper again and lightly buff the surface until the filler is perfectly flush with the rest of the wood. It should feel smooth to the touch when you run your finger over it.
- 6. If the color looks a little off—which happens a lot with DIY fixes—you can use a furniture touch-up marker or a tiny bit of wood stain to blend it in. I find that a light, feathered touch works best here. Don’t go heavy-handed; it’s much easier to add more color than it is to strip it back if you go too dark.
- 7. Finally, we need to seal the deal and bring back that glow. Apply a thin layer of furniture wax or a compatible polish over the repaired spot. This doesn’t just protect your hard work; it helps the repaired area blend seamlessly back into the original finish. Buff it out with a clean cloth until it looks natural and intentional, rather than a patch job.
Mastering Wood Filler Application Techniques for Messy Tuesdays
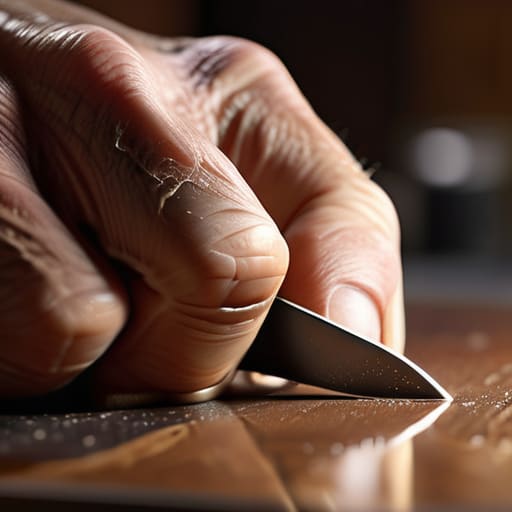
Look, I get it. You’re halfway through this, the wood filler is starting to dry, and suddenly it looks more like a construction site than a home repair. When things get a little chaotic, the secret isn’t in how much product you use, but in how you manage the layers. Instead of trying to fill a deep gouge in one massive go, try working in thin, incremental passes. This is one of those essential wood filler application techniques that saves you from that frustrating “sinkhole” effect where the filler shrinks as it cures. If you find yourself fighting a losing battle with a massive chunk, just stop, let it set, and come back to it. Small wins matter more than speed here.
Once you’ve got the filler level, the real magic happens during the transition back to the original look. Don’t rush the sanding phase; if you’re off by even a millimeter, the light will hit that spot and scream “I fixed this!” Use a fine-grit sandpaper to slowly work toward buffing out wood imperfections until the surface feels seamless under your fingertips. If you’re worried about the color looking like a patch job, take a moment to test your pigment on a hidden corner first. Matching wood stain colors is more of an art than a science, so treat it like a slow experiment rather than a high-stakes deadline.
Matching Wood Stain Colors to Hide the Small Stuff
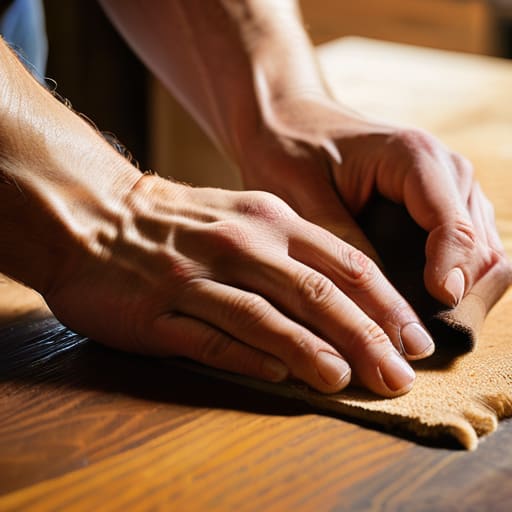
This is usually where things get a little nerve-wracking. You’ve done the hard work of filling the gaps, but now you’re staring at a patch that looks like a different planet than the rest of your desk. When it comes to matching wood stain colors, my best advice is to avoid the “one and done” mentality. Most stains look much darker once they actually soak into the grain, so if you’re testing a color, grab a scrap piece of similar wood or even a hidden spot on the underside of the furniture first. It’s much better to under-apply and layer it up than to go too heavy and realize you’ve just created a permanent dark blotch.
If you can’t find an exact match in a can, don’t panic—you can actually “cheat” a bit. I like to use a combination of different stain shades or even high-quality wood markers to build depth. Think of it like color grading a photo; you’re just trying to blend the tones so the eye doesn’t snag on the repair. Once you’ve got the color looking close, your final step in restoring wood finish is to gently blend the edges. A light touch with a soft cloth will help the new stain melt into the old, making those once-obvious marks just another part of the piece’s history.
A few extra tricks for when the scratches just won't quit
- Don’t rush the drying time. I know it’s tempting to move straight to sanding, but if your wood filler is even slightly tacky, you’re just going to end up with a gummy mess that makes the scratch look worse. Give it a full night to settle.
- Use the grain to your advantage. When you’re rubbing in a stain or a marker to hide a mark, always follow the natural direction of the wood lines. Going against the grain is a one-way ticket to making a small blemish look like a giant mistake.
- Keep a “test scrap” nearby. If you’re working on a piece you actually care about, grab a piece of leftover wood from the same project to test your color match first. It’s way better to mess up a scrap than your favorite coffee table.
- Less is almost always more with sanding. I used to go in heavy with the sandpaper, but you end up leveling the whole surface instead of just the scratch. Start with a very fine grit and just lightly graze the area until it feels smooth to the touch.
- Keep your workspace clean of dust. It sounds basic, but if you’re sanding and then immediately applying a finish, even a tiny bit of leftover sawdust will get trapped in the stain. A quick wipe with a tack cloth makes a massive difference in how professional it looks.
The bottom line for your furniture
Don’t aim for perfection; just aim for “good enough” to make the scratch disappear into the grain so you can get back to your day.
Small, consistent steps—like light sanding and careful filling—beat a rushed, heavy-handed repair every single time.
Keep a small kit of stain markers or touch-up pens on hand; it makes fixing those inevitable little accidents way less of a project.
Bringing It All Back Together
At the end of the day, fixing those scratches isn’t about achieving some impossible level of perfection; it’s just about managing the wear and tear that comes with actually living in your space. We’ve gone through the grit of sanding, the precision of applying wood filler, and the slightly nerve-wracking process of matching stains to make sure the repair actually blends in. It might feel like a lot of extra steps when you’re just trying to get through a busy week, but taking that extra ten minutes to buff out a scratch is much better than letting it sit there and bother you every time you sit down to work. It’s all about small, intentional fixes that keep your environment feeling intentional rather than chaotic.
If you’re feeling a bit frustrated because the scratch didn’t vanish instantly, don’t sweat it. I’ve spent way too many late nights hunched over a vintage keyboard trying to get a single screw to sit right, and I know that sometimes the first attempt is just a learning curve. The goal isn’t to have a showroom-ready house; the goal is to have a home that feels cared for, even when things get a little scuffed up. Just take it one small step at a time, and remember that progress is better than perfection. You’ve got this, and your furniture will thank you for it.