Your First Macramé Project: Making a Simple Wall Hanging
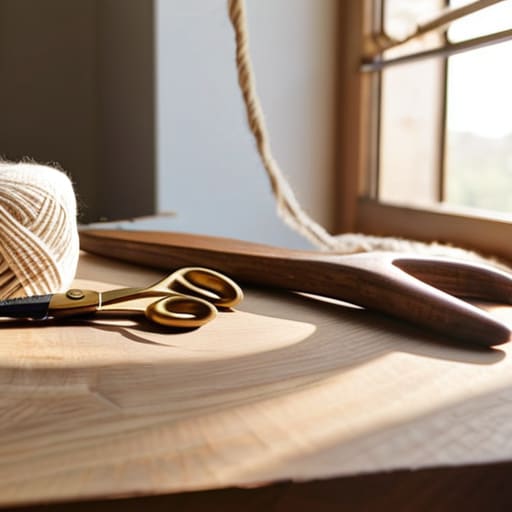
I was sitting on my floor last Tuesday, surrounded by a chaotic nest of tangled cotton cord and feeling completely defeated by a YouTube tutorial that promised “instant results.” My hands were cramped, my workspace was a mess, and I was convinced I lacked the “artistic soul” required to make anything even remotely decent. But here’s the truth about macrame for beginners: it isn’t about having a natural gift for design or creating a Pinterest-perfect masterpiece on your first try. It’s actually just a series of repetitive, rhythmic motions that help quiet the noise in your head.
Forget the expensive, high-end kits and the intimidating, complex patterns that look more like architectural blueprints than hobbies. In this guide, I’m stripping everything back to the basics so you can actually enjoy the process without the burnout. I’ll show you the only three knots you really need to know, how to set up a functional workspace that won’t drive you crazy, and how to find your flow. We aren’t aiming for perfection here; we’re just aiming to make something cool one knot at a time.
Guide Overview
Tools & Supplies
- Scissors for clean cord cuts
- Measuring tape to plan cord lengths
- S-hooks or a dowel to hang work
- Cotton macrame cord (3mm or 4mm) 50-100 meters
- Wooden dowel or ring 1 unit
Step-by-Step Instructions
- 1. First things first, you need to clear some space on your desk or kitchen table. I usually set up my workspace near a window because good lighting makes everything easier, but the most important part is having a sturdy dowel or a piece of driftwood and some S-hooks. You can’t really knot anything if your cords are just tangling on the floor, so find a way to hang your workspace at eye level so you aren’t hunching over like a gargoyle.
- 2. Next, let’s talk about the cord. Don’t go out and buy the most expensive, heavy-duty nautical rope you can find; that’s a recipe for hand cramps. Grab some 3mm or 4mm cotton macrame cord—it’s soft, it’s forgiving, and it’s much easier to manipulate when you’re just starting out. Cut about eight strands of cord, each roughly two feet long, and loop them through your dowel using a lark’s head knot. This is basically just folding the cord in half and pulling the loop over the wood, and it’s the foundation for almost everything else.
- 3. Now we get into the actual “knotting” part, which sounds intimidating but is actually pretty rhythmic once you get the hang of it. Your first goal is the Square Knot. To do this, take four strands: the two outer ones are your “working cords” and the two middle ones are your “filler cords.” You’ll take the left cord, cross it over the middle ones to make a shape like a “4,” then take the right cord, pass it over that left cord, under the middle ones, and up through the loop on the left. It feels a little clunky at first, but it’s purely muscle memory.
- 4. Once you’ve mastered the left side, just flip the logic and do the same thing starting from the right. This creates the classic, balanced square knot that looks so clean in professional pieces. If you find yourself getting frustrated because the knot looks lopsided, don’t sweat it. Just untie it, take a breath, and try again. I’ve spent way too many hours staring at a single knot while trying to fix a vintage keyboard, so I know exactly how that “stuck” feeling goes.
- 5. After you’ve done a few rows of square knots, try adding some Half Hitch knots to create some texture or a border. This is where you take one cord and wrap it tightly around the other cords to create a diagonal line or a frame. It’s a bit more precise, but it’s the secret sauce that makes a piece of macrame look like actual art rather than just a bunch of hanging strings.
- 6. As you work your way down, keep a small trash bin or a dedicated spot for your cord scraps nearby. I like to keep my workspace minimal and intentional so I don’t feel overwhelmed by the mess. If the project starts feeling like a chore instead of a way to unwind, just stop. The beauty of macrame is that it’s a slow process, and there is absolutely no rule saying you have to finish a whole wall hanging in one sitting.
- 7. Finally, once you’re happy with the length, it’s time for the most satisfying part: the trim. Grab a sharp pair of fabric scissors and carefully cut the bottom of your cords to create a clean edge. You can leave them straight for a modern, geometric look, or trim them into a v-shape for something a bit more bohemian. Once you’ve trimmed it, hang it up and take a second to actually look at what you made—even if it’s imperfect, it’s yours.
Selecting Essential Macrame Supplies Without the Overwhelm
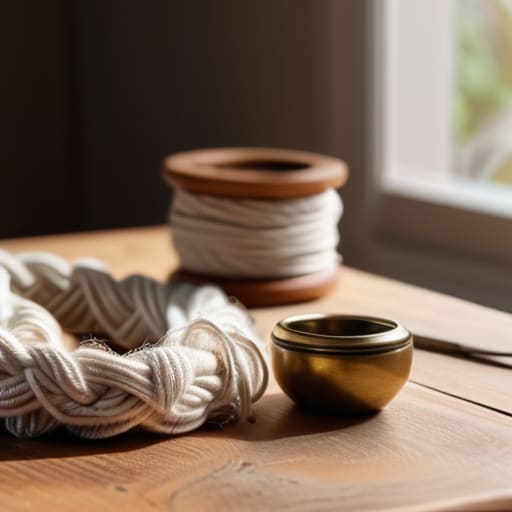
Look, I get it. You walk into a craft store or scroll through an online marketplace and suddenly you’re staring at fifty different shades of beige and a dozen different textures. It feels like you need a PhD just to pick a string. But honestly? You don’t. When I first started trying to find a rhythm with this, I wasted way too much money on “aesthetic” cords that were actually a nightmare to work with. My advice is to keep it simple: just grab some high-quality cotton rope for macrame. Look for something with a 3mm or 4mm thickness; it’s substantial enough to hold its shape but won’t tire your hands out while you’re practicing your first few knots.
As for the rest, you really only need the basics to get moving. A pair of sharp fabric scissors, a wooden dowel or even a sturdy fallen branch from your last walk, and a bit of masking tape to hold things in place on your desk. Don’t feel pressured to buy those fancy specialized macrame stands right away. Most of my favorite essential macrame supplies are things I already had in my junk drawer. The goal isn’t to build a professional studio; it’s just to get enough gear on the table so you can finally start that first project.
Mastering Cotton Rope for Macrame One Knot at a Time
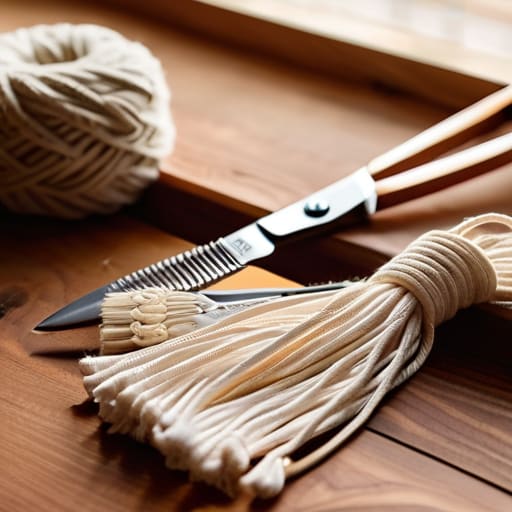
Once you’ve got your tools laid out, the real magic—and the real frustration—usually comes down to the rope itself. I learned the hard way that not all strings are created equal. If you’re diving into your first beginner macrame wall hanging project, I highly recommend sticking with single-strand cotton rope. It’s soft, it’s forgiving, and most importantly, it’s easy to brush out if you want to add those trendy, feathery fringes. Avoid the super shiny, synthetic stuff for now; it tends to slip around while you’re trying to work, which is just an extra layer of stress you don’t need on a Tuesday night.
When you’re practicing a square knot tutorial, the texture of your cotton rope for macrame actually dictates how much “grip” you have. A slightly thicker, 3mm or 4mm cord gives you much more tactile feedback, making it easier to feel if your tension is consistent. If your knots look wonky, it’s rarely your skill—it’s usually just that your tension is uneven. Don’t aim for perfection on your first go. Just focus on getting the rope to behave, and let the rhythm of the knots become second nature.
Five ways to keep your sanity while you knot
- Don’t aim for perfection on your first try. Your first few pieces are going to look a little wonky, and honestly? That’s fine. It’s part of the process. Just focus on getting the rhythm of the knots down rather than making something Instagram-ready.
- Clear a dedicated workspace, even if it’s just a tiny corner of your desk. Having a specific spot where your cords don’t get tangled with your laptop charger makes the whole experience feel way more intentional and way less like a mess you have to clean up later.
- Use a clipboard or a heavy book to hold your work steady. There is nothing more frustrating than trying to tie a knot while your entire project slides across the table. A little bit of weight goes a long way in keeping things manageable.
- Watch the tension of your hands. It’s easy to pull way too hard when you’re concentrating, which makes your project look stiff and uneven. Try to find a steady, medium pull—think of it like a relaxed habit rather than a high-stress task.
- Keep a “mistake pile” nearby. If you mess up a knot, don’t try to force it to work. Just snip it, untangle it, or start that section over. It’s much better to reset a single cord than to spend an hour fighting a knot that’s already gone sideways.
The TL;DR: Keeping It Simple
Don’t get paralyzed by the gear; start with one decent cord and a single knot, because perfection is the enemy of actually finishing something.
Focus on the rhythm of the movement rather than the end result—macrame is as much about the quiet, repetitive process as it is about the wall hanging.
Your first few pieces might look a little wonky, and that’s fine. Just keep your hands moving and remember that even the best makers started with a messy knot.
The Beauty of the Messy Middle
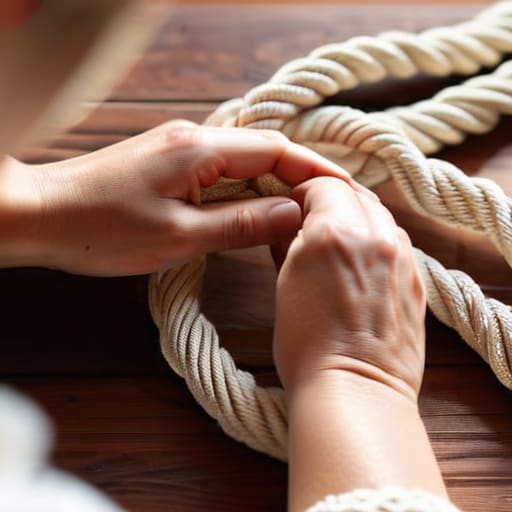
Look, if your first few attempts look more like a tangled bird’s nest than a boho wall hanging, that is totally fine. We’ve covered the basics: picking the right supplies so you aren’t drowning in gear, and getting comfortable with the weight and texture of cotton rope. The most important thing I’ve learned is that you don’t need a perfect setup to start; you just need a bit of cord and the willingness to embrace the learning curve. Once you move past the initial frustration of untangling knots, you’ll realize that macrame isn’t about technical perfection—it’s about the rhythm of the process and seeing a physical shape emerge from nothing but string.
At the end of the day, don’t let the pressure of “DIY perfection” stop you from even trying. I know how it feels when you’re staring at a blank project and feeling like you’re going to mess it up, but honestly? Just keep knotting. There is something incredibly grounding about working with your hands after a long day of staring at a screen. Macrame is just another way to find a little bit of quiet order in a loud world. So, grab your rope, clear off your desk, and just see where the knots take you. You’ve got this.