Making Custom Curtains Without Ever Touching a Sewing Machine
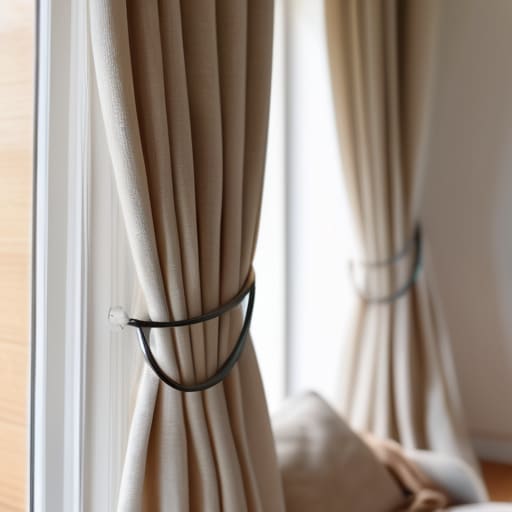
I was staring at my living room window last Tuesday, surrounded by half-empty coffee mugs and a stack of freelance invoices, feeling completely defeated by a bare, depressing pane of glass. I had this idea that I needed to master a sewing machine and buy expensive linen to make things look “adult,” but honestly, that felt like too much of a mountain to climb on a random weekday. The truth is, you don’t need a degree in interior design or a studio full of equipment to pull off diy curtains that actually look good. I realized that trying to make everything look like a Pinterest-perfect showroom is exactly what makes home projects feel so exhausting.
In this guide, I’m stripping away the fluff and the intimidating technical jargon. I’m going to show you how to create functional, decent-looking window treatments using methods that won’t leave your apartment looking like a craft store exploded. We’re focusing on low-effort, high-impact wins—the kind of small projects that make your space feel more like a home without demanding a complete life overhaul. Whether you’re using tension rods or a bit of simple fabric, let’s just get those windows covered so you can finally breathe easier in your own space.
Guide Overview
Tools & Supplies
- Fabric scissors for clean edges
- Sewing machine for stitching hems
- Measuring tape for precision
- Pins to hold fabric in place
- Iron to press seams flat
- Fabric (2-3 yards depending on window size)
- Thread (1 spool matching fabric color)
- Curtain tape or header tape (1 roll)
- Sewing pins (1 pack)
Step-by-Step Instructions
- 1. First things first, grab a tape measure and your notebook. You need to measure your window width and height, but here’s the trick: measure twice, cut once. I know, it’s a cliché, but nothing kills the vibe faster than realizing your “perfect” fabric is three inches too short. I usually add about two inches to the width for each side so the fabric has a little room to breathe when it’s actually hanging.
- 2. Next, head to the fabric store. Since we’re keeping this low-stakes, don’t feel pressured to find something incredibly expensive or intricate. Look for something with a bit of weight to it—linen blends or heavy cotton work great—because they hang better without needing a professional steamer. Just pick a pattern that makes you feel a little more at home when you walk into the room.
- 3. Once you’re back at your desk (or your kitchen table), lay the fabric out flat. If you aren’t feeling confident with a sewing machine, don’t sweat it. You can use iron-on hem tape to create clean edges without ever touching a needle. It’s a total lifesaver for those of us who just want the result without the technical headache.
- 4. Now, let’s talk about the top edge. You have two real options here: a rod pocket or using clip rings. If you want the easiest possible route, just fold the top inch of the fabric over and use that hem tape to create a sturdy sleeve for the curtain rod to slide through. It’s simple, it’s functional, and it works every single time.
- 5. Before you hang anything, do a quick “gravity check.” Drape the fabric over a chair or hang it temporarily to see how it falls. If it looks a bit wonky, adjust your folds now. It’s much easier to tweak the shape while it’s laying flat on your floor than it is once it’s already up on the wall.
- 6. Finally, get those rods up. If you’re renting, look for tension rods that don’t require drilling into the walls. Slide your new curtains on, adjust the height until they hit that “just right” spot—not dragging on the floor, but not hovering awkwardly either—and take a second to appreciate the win. You just turned a bare window into a real room.
Measuring Windows for Curtains Without the Mid Week Meltdown

Look, I get it. Staring at a blank wall and a tape measure can feel surprisingly heavy, especially when you’re already juggling a dozen other things. The secret to measuring windows for curtains without losing your mind is to stop aiming for perfection and start aiming for function. Grab that little pocket notebook I’m always talking about and write down three numbers: the width of the window, the width of the entire wall space you want to cover, and the distance from the rod to the floor. Don’t try to do the math in your head while you’re halfway through a coffee; just get the raw numbers down first.
One thing people always trip up on is depth. If you’re planning on using a specific curtain rod hardware guide to pick out your brackets, make sure you account for how far the rod will sit away from the wall. You don’t want your beautiful new fabric bunching up against the glass because you didn’t leave enough breathing room. If you’re feeling overwhelmed by the scale of it all, just focus on one window at a time. It’s much easier to manage a single small task than to try and solve your entire living room layout in one frantic afternoon.
Smart Fabric Selection for Curtains That Actually Work
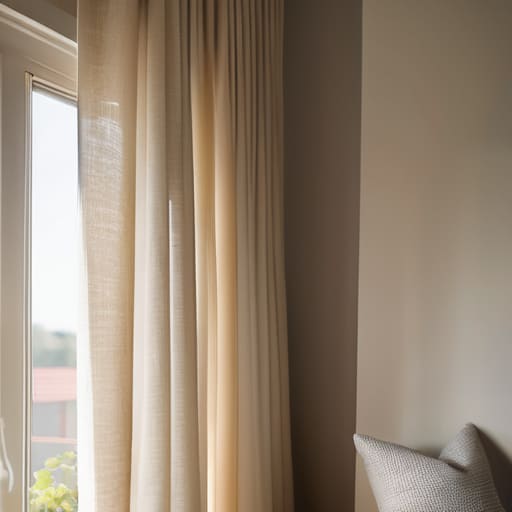
Look, I know the temptation to just grab whatever scrap of linen is sitting in the corner of your closet, but your windows deserve a little more thought than that. When you’re diving into fabric selection for curtains, I always suggest thinking about the “vibe” versus the actual utility. If you’re trying to block out the morning sun so you can actually focus on your freelance deep-work sessions, a heavy velvet or a thick cotton weave is your best friend. If you just want to soften the light without making your apartment feel like a cave, go for something breezy like a light linen blend.
The real pro tip, though, is to avoid the stress of a sewing machine if you’re already feeling overwhelmed. You don’t need to go full professional tailor to get a clean look. Grab some iron-on hem tape for curtains instead. It’s a total lifesaver for those of us who want the aesthetic of custom window treatments without the three-hour struggle with a bobbin. It keeps the edges crisp and straight, making the whole project feel intentional rather than just a “crafty” afterthought. Just keep it simple—the goal is a cozy space, not a perfectionist’s nightmare.
Five Ways to Keep This Project From Becoming a Weekend Disaster
- Don’t aim for perfection on your first try. If your hem is a little wonky or the stitching isn’t a straight line, just let it be. The goal is to get some fabric over the window so you can actually relax in your space, not to win a design award.
- Buy more fabric than you think you need. There is nothing more soul-crushing than being halfway through a hem and realizing you’re two inches short because you tried to be too efficient with your cuts.
- Use heavy-duty clips or pins while you’re working. Trying to hold fabric in place with just your hands is a recipe for a meltdown. Get some good pins so you can actually step away to grab a coffee without the whole thing collapsing.
- Iron everything. It sounds tedious, but if you don’t iron your fabric before you start cutting and sewing, your curtains will look like a crumpled mess instead of a deliberate design choice. It’s the difference between “DIY” and “just messy.”
- Think about the light before you commit. If you’re making these for a bedroom, go for something thicker to block out the morning sun. If it’s for a workspace, keep it light so you aren’t sitting in a cave all afternoon.
The Low-Stress Summary
Don’t aim for perfection; just focus on getting some fabric up so your room feels finished and cozy.
Measure twice, but don’t let the math ruin your evening—accuracy matters, but your peace of mind matters more.
Pick fabrics that actually fit your lifestyle, whether that’s something heavy to block out the sun or something light that doesn’t require constant ironing.
The Finish Line (and the New View)
Look, if your first attempt at hanging these doesn’t look like something straight out of an architectural digest, that is totally fine. We covered the essentials: getting your measurements right so you aren’t guessing, picking a fabric that actually suits your lifestyle, and following the steps without letting the stress take over. The goal here wasn’t to master professional upholstery; it was to take control of your space using whatever tools you had on hand. Once you get those rods up and the fabric settles, you’ll realize that the effort was worth it just to see a bit of intentionality in your living room.
At the end of the day, DIY projects like this are less about the curtains themselves and more about the small wins we stack up throughout the week. It’s easy to feel overwhelmed by the idea of “renovating” or “improving” your life, but real change usually happens in these tiny, manageable increments. You didn’t just hang some fabric; you reclaimed a corner of your world. So, take a second to actually sit in that room, look at what you made, and realize that you’re more than capable of handling the messy parts of making a house feel like a home.