Transform Your Kitchen by Repainting Your Cabinets
I was standing in my kitchen last Tuesday, staring at these heavy, honey-oak cabinets that felt like they were absorbing all the light in my apartment, when I realized I didn’t actually need a $20,000 renovation to feel like I could breathe again. Most DIY influencers will tell you that you need a professional-grade spray booth and a week of uninterrupted time to see results, but honestly? That’s a lie that keeps people from even starting. Learning how to paint kitchen cabinets isn’t about achieving some impossible, showroom-perfect finish on your first try; it’s about finding a rhythm that doesn’t turn your home into a construction zone for a month.
I’m not here to sell you on a “total life transformation” through home decor. Instead, I want to show you a realistic workflow that fits into the cracks of a busy week. We’re going to skip the fluff and focus on the actual mechanics—the sanding, the priming, and the specific ways to avoid those annoying drip marks that make you want to quit. This is a guide for the rest of us who just want a space that feels a little more intentional, one small, manageable step at a time.
Guide Overview
Tools & Supplies
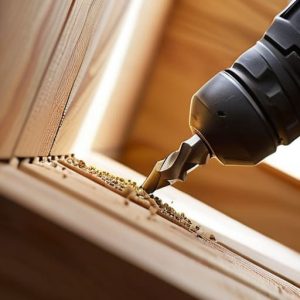
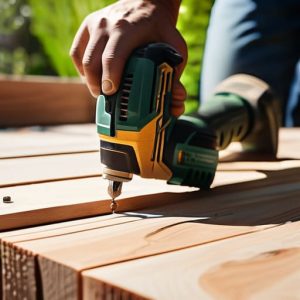
- Screwdriver/Drill to remove hardware and doors
- Sandpaper (120-220 grit) for smoothing surfaces
- Microfiber cloth to remove dust and debris
- High-quality angled brush for edges
- Small foam roller for smooth finishes
- Cabinet degreaser or TSP to clean surfaces
- Primer (1-2 gallons) to ensure adhesion
- Cabinet-grade paint (1-2 gallons)
- Painter's tape to protect countertops and walls
Step-by-Step Instructions
- 1. First things first: you have to take everything off the doors and drawers. I know, it feels like a massive chore, but trying to paint them while they’re still hanging is a recipe for a complete disaster. Grab a small plastic bag or a container and label everything—use a piece of painter’s tape to mark which hinge goes to which door. Trust me, you do not want to be playing Tetris with your hardware three days from now when you’re exhausted.
- 2. Once you have the hardware off, it’s time to clean. Kitchen cabinets are basically magnets for grease and old cooking oils, and if you don’t get that gunk off, your paint is going to peel right off within a month. Use a heavy-duty degreaser or even just some warm water and dish soap to scrub every inch. It’s tedious, but think of it like resetting your workspace before a big project; you can’t build anything good on a dirty foundation.
- 3. Now comes the part most people try to skip: sanding. You don’t need to sand them down to the bare wood, but you do need to scuff up the surface so the primer has something to actually grip onto. Grab a medium-grit sandpaper and just go over everything until the shine is gone. It’s a great time to put on a lo-fi playlist, grab a coffee, and just find your rhythm in the repetitive motion.
- 4. After you’ve dusted off all that fine sawdust, it’s time to prime. Don’t be tempted to use a “paint + primer in one” for this specific job; cabinets take a lot of abuse, so you want a dedicated primer that can seal everything in. Apply a thin, even coat. It might look a little streaky or weird at first, but don’t panic—that’s just the primer doing its job to prepare the canvas.
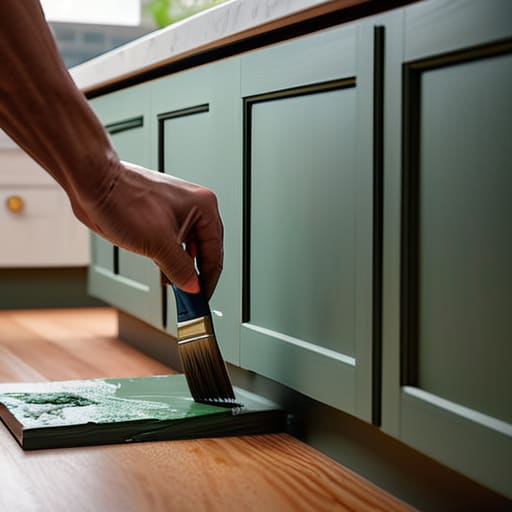
- 5. This is where the magic happens: the actual painting. I highly recommend using a high-quality cabinet enamel and a small foam roller for those smooth, professional-looking finishes. The secret is to work in thin layers. If you try to glob it on to save time, you’re going to end up with drips that will drive you absolutely insane. It’s better to do three thin, easy coats than one thick, messy one.
- 6. While you’re waiting for the paint to dry, take a second to clean up your tools and organize your space. There is nothing worse than finishing a long day of work only to realize you have to scrub dried paint off your brushes tomorrow. Once the paint is fully cured—and I mean really dry, so give it a full day—you can start reattaching your hardware and putting the doors back on.
- 7. Finally, give everything a gentle wipe down and admire the work. It won’t look like a professional showroom immediately, and that’s okay. The goal wasn’t perfection; the goal was making something better than it was yesterday. Now, go enjoy your refreshed kitchen and maybe order some takeout, because you definitely earned it.
Mastering the Prep How to Prep Cabinets for Painting
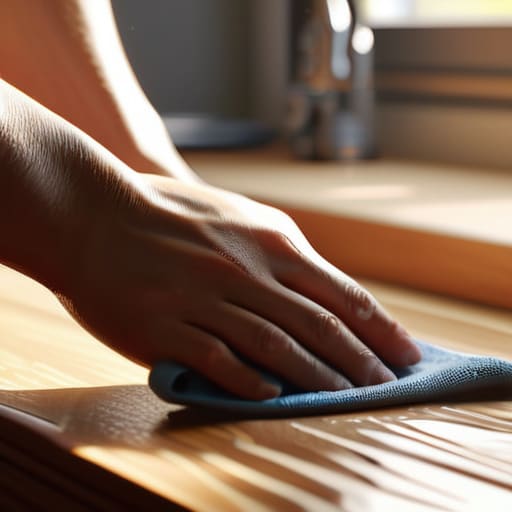
Look, I’ll be real with you: most people fail at this project not because they’re bad painters, but because they treat the prep work like a chore they can rush through. I’ve been there. I once tried to skip the deep clean on a project, and the finish ended up looking like a textured topographical map. If you want a smooth result, you have to treat how to prep cabinets for painting as the most important part of the entire process. It’s not just about wiping away crumbs; it’s about stripping away every trace of grease and old wax so your new layer actually has something to bite into.
Once you’ve got the surfaces clean, it’s time to talk about the grit. You don’t need to sand your cabinets down to the bare wood unless they’re heavily damaged, but you do need to scuff them up. I usually recommend a light hand with some medium-grit sandpaper—it’s more about creating “tooth” for the primer than anything else. While you’re at it, double-check your cabinet painting supplies checklist to make sure you have high-quality tack cloths on hand. Wiping away that fine dust is the secret to preventing brush marks on cabinets later on. If you leave even a tiny bit of dust behind, your finish will feel gritty, and that’s a headache you definitely don’t need on a Tuesday.
The Essentials Your Realistic Cabinet Painting Supplies Checklist
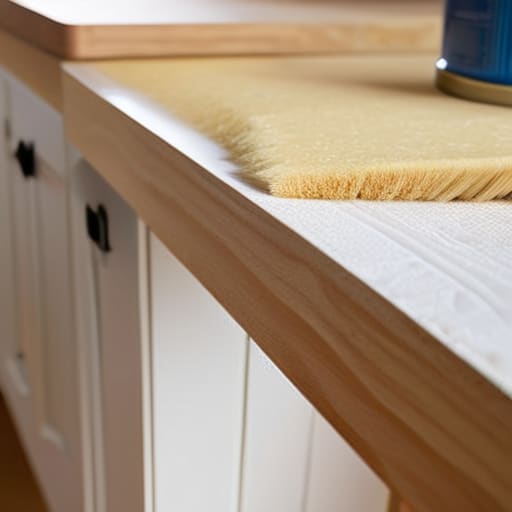
Look, I’ve learned the hard way that a DIY project can go from “fun weekend hobby” to “expensive mistake” real fast if you show up to the hardware store without a plan. You don’t need to buy every gadget in the aisle, but you do need the right foundation. My personal cabinet painting supplies checklist starts with the tools that actually touch the surface. Forget the cheap, bristly brushes that leave streaks; invest in a high-quality synthetic brush and a small microfiber roller. This is the secret to preventing brush marks on cabinets and getting that smooth, professional finish that doesn’t look like a finger-painting accident.
The most important thing to wrap your head around is the distinction between cabinet primer vs paint. I know, it feels like an extra step when you’re already tired, but skipping primer is how you end up with peeling paint in three months. You want a dedicated primer that grips the surface, especially if you’re working over old varnish. When it comes to the finish itself, don’t settle for standard wall paint. You need to find the best paint for kitchen cabinets—something with a durable, enamel-like finish that can actually handle the occasional coffee spill or a stray elbow. Get the good stuff; your future self will thank you.
Small Wins: 5 Pro Tips to Keep the Project From Spiraling
- Don’t try to do the whole kitchen in one weekend. If you’re working a full-time job or have a life, just aim to finish the doors first. It’s way easier to manage the chaos when you aren’t staring at a pile of half-painted wood in your living room.
- Test your colors on a scrap piece of wood, not just a tiny swatch on the wall. Lighting in kitchens is weird—what looks like a soft cream in the hardware store might look like neon butter under your LED under-cabinet lights.
- Resist the urge to skip the drying time between coats. I know, it’s tempting to rush so you can finally use your stove again, but if you apply the second coat too early, you’re basically just inviting a sticky mess that will never fully cure.
- Invest in a decent high-quality brush for the detail work. A cheap, scratchy brush is the fastest way to turn a relaxing DIY afternoon into a frustrating battle against visible bristles and uneven texture.
- Keep a “chaos kit” nearby—just a small box with extra painter’s tape, some microfiber cloths, and a trash bag. When you inevitably spill a drop of primer or realize you’ve lost a screw, you won’t have to stop your momentum to hunt through your junk drawer.
The Tuesday Takeaways: Keeping it Simple
Don’t let the scale of the project paralyze you; the secret isn’t in the perfect finish, but in the prep work you did yesterday.
You don’t need a professional studio setup, just the right functional tools and a steady, patient pace.
Remember that a “good enough” job finished today is better than a “perfect” job that’s been sitting in your head for three months.
The Finish Line (And What Comes Next)
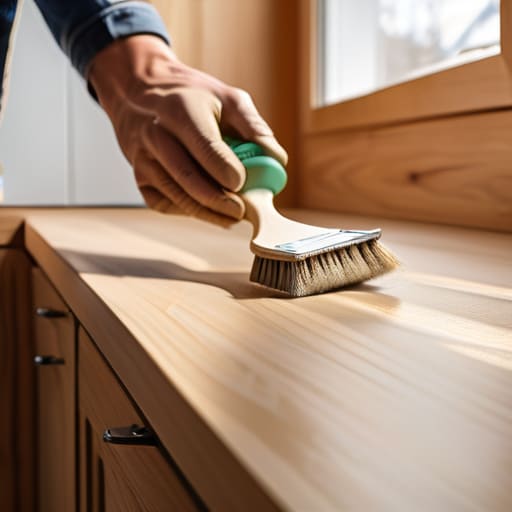
Look, I know how this goes. You’ve spent the last few days covered in dust, surrounded by degreaser, and probably questioning every life choice that led you to a weekend of sanding. But if you stuck to the plan—really focused on that thorough cleaning and didn’t rush the drying times—you’ve already done the hardest part. You didn’t just slap some color on old wood; you respected the process. By prioritizing the prep work and choosing the right tools, you’ve ensured that this isn’t just a quick fix that’s going to peel in six months. You’ve built a foundation that actually lasts.
At the end of the day, this project isn’t really about having a Pinterest-perfect kitchen. It’s about the fact that you decided to show up for your space and make something happen. There’s a specific kind of quiet satisfaction in looking at a room and knowing you improved it with your own two hands, one brushstroke at a time. Don’t get discouraged if a corner looks a little wonky or if you have to touch up a spot next week. That’s just part of the messiness of real life. You handled the project, you handled the chaos, and honestly? You handled Tuesday just fine.