Pro Tips for Painting a Room Like a Professional
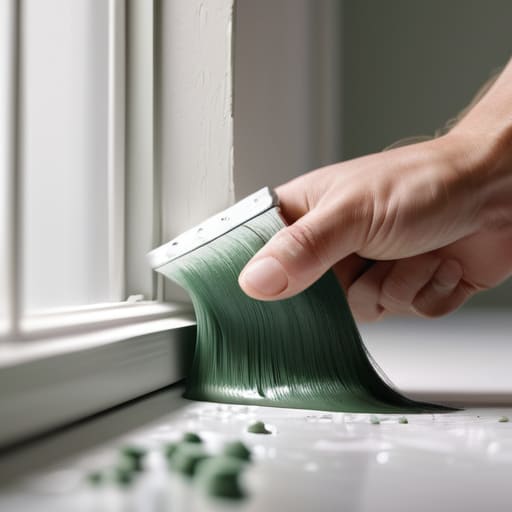
I was sitting on my floor last Tuesday, surrounded by half-empty paint cans and enough plastic drop cloths to cover a small stadium, staring at a single, uneven streak of “muted sage” on my wall. I had this grand vision of a Pinterest-perfect sanctuary, but instead, I just felt completely overwhelmed by the sheer mess of it all. Most people will tell you that learning how to paint a room is all about expensive tools and professional-grade techniques, but honestly? That’s a lie that keeps people from even starting. The truth is, you don’t need a masterclass or a massive budget; you just need a realistic plan that doesn’t turn your entire life into a construction zone.
In this guide, I’m stripping away the fluff and the intimidating DIY jargon to show you the actual, messy process. We’re going to walk through the essential steps of how to paint a room without the unnecessary stress or the impulse to buy every gadget at the hardware store. I’ll share my personal shortcuts for prep work, the specific gear that actually matters, and how to manage your energy so you don’t burn out by noon. Let’s just focus on getting one wall done right and building from there.
Guide Overview
Tools & Supplies
- Paint roller and tray for large surfaces
- Angled brush for edges and corners
- Painter's tape for masking edges
- Drop cloths to protect flooring
- Interior paint (1-2 gallons)
- Painter's tape (1 roll)
- Sandpaper (fine grit)
- Spackle (small container for holes)
Step-by-Step Instructions
- 1. First, I need to be honest: the prep work is actually the most important part. Don’t just dive in with a brush; grab some painter’s tape and a drop cloth. I like to clear out as much furniture as possible from the center of the room so I have a clear path to move. If you can’t move the big stuff, just push it to the middle and cover it with a sheet. It’s much better to spend twenty minutes taping off the baseboards now than to spend two hours scrubbing white paint off your floorboards later.
- 2. Next, give your walls a quick once-over with a damp cloth or a sponge. If you’ve had posters up or just general city dust settling, the paint won’t want to stick to a dirty surface. I usually keep a small microfiber cloth in my pocket for this. It’s a tiny, repetitive task, but it’s what makes the difference between a finish that looks professional and one that starts peeling off in a month.
- 3. Now, grab your putty knife and some spackle to fix those annoying little holes from old nails or command strips. I know, it feels like a distraction, but seeing those tiny imperfections once the new color goes on is the fastest way to lose your motivation. Sand those spots down until they’re completely flush with the wall. It’s a bit of a meditative process if you just focus on one small patch at a time.
- 4. Time to start “cutting in.” This is just a fancy way of saying you’re going to paint the edges where a roller can’t reach—like around the ceiling, the corners, and the trim. I usually use a small, angled brush for this. Don’t try to do the whole room at once; just work in manageable sections so the edge stays wet when you move on to the big stuff. It prevents those weird, jagged lines that make you want to start over.
- 5. Once the edges are set, grab your roller and start on the main walls. I like to use the “W” technique: paint a large W shape on a section of the wall, then fill it in without lifting the roller. This helps distribute the paint evenly so you don’t end up with those annoying streaks. It’s all about rhythm. Just keep a steady pace and don’t overwork the paint once it starts getting tacky.
- 6. If you’re changing colors significantly—like going from a dark navy to a light sage—you’re almost certainly going to need a second coat. I know it’s tempting to stop after one layer because you’re tired, but trust the process. Wait for the first coat to dry completely (check the can for specific times, don’t guess) before you go in again. That second coat is where the color actually starts to look real and intentional.
- 7. Finally, the most satisfying part: the reveal. Once everything is dry, peel that painter’s tape off at a 45-degree angle while the paint is still slightly fresh. If you wait until it’s bone-dry and brittle, you might pull some of the paint with it. Clean your brushes, put your tools back in their spots, and just take a breath. You didn’t overhaul your entire life today; you just fixed one room, and that’s a massive win.
Mastering the Prep How to Prep Walls for Painting
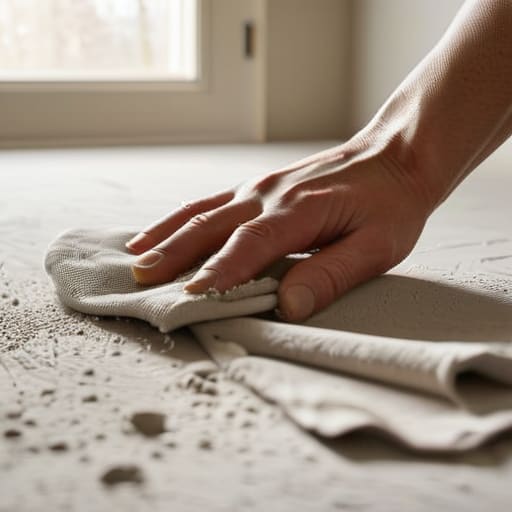
Look, I know the urge to just dive straight in with a roller is real, especially when you’ve finally picked out that perfect shade. But if you skip the prep, you’re basically setting yourself up for a messy, frustrating Saturday. When I’m figuring out how to prep walls for painting, I treat it like cleaning a mechanical keyboard—if there’s grit or dust underneath, the whole thing is going to feel off. Start by wiping down your walls with a damp cloth to get rid of any lingering dust or cobwebs. If you’re dealing with scuffs or holes, a little bit of spackle and some light sanding will make the surface feel seamless.
Once the walls are clean, it’s time to get tactical with your setup. This is where most people get sloppy, but if you want that professional look, you have to master how to use painter’s tape correctly. I always suggest applying the tape, then running a damp cloth or a putty knife over the edge to ensure it’s truly sealed. This prevents that annoying “bleed” where the color seeps under the line. Before you even open a can, double-check your painting supplies checklist to make sure you actually have the drop cloths and sandpaper you need. Trust me, nothing kills the vibe faster than having to stop mid-flow because you’re missing a basic tool.
The Essential Painting Supplies Checklist for Messy Days
Look, I’ve learned the hard way that a “quick weekend project” can turn into a total disaster if you’re running to the hardware store every twenty minutes for something you forgot. There is nothing that kills my momentum faster than realizing I don’t have enough drop cloths to protect my floor. My personal painting supplies checklist always starts with the basics, but I prioritize quality over everything else. If you’re skimping on the tools, you’ll spend more time fixing streaks than actually enjoying the process.
When it comes to the actual application, don’t just grab the cheapest option in the aisle. Investing in the best paint brushes for walls makes a massive difference in how much effort you actually have to put in; a good brush holds more paint and leaves a much cleaner edge. Also, please, for the love of everything, buy more painter’s tape than you think you need. Learning how to use painter’s tape correctly—specifically by pressing the edges down firmly with a putty knife—is the only way to ensure you aren’t peeling off your fresh coat along with the tape later. It’s all about those small, intentional steps that keep the mess contained.
Five Ways to Keep Your Sanity (and Your Floors) Intact
- Test your colors on a small patch of the wall first. Lighting in a room changes like crazy from morning to night, and that “perfect” beige can look like a depressing gray by 4 PM. Better to realize it’s a dud on a tiny square than on the whole room.
- Don’t skimp on the painter’s tape. I’ve learned the hard way that the cheap stuff is a nightmare. Get the good brand that actually stays put; it’s much easier to spend an extra five bucks now than to spend your Tuesday scraping dried tape off your baseboards.
- Work in small, manageable sections. If you try to tackle the entire room in one frantic burst, you’re going to end up with streaks and a massive headache. Just focus on one wall or even one corner at a time. It makes the project feel way less overwhelming.
- Keep a damp rag in your back pocket. Seriously. You’re going to drip, and you’re going to make mistakes. Being able to wipe away a stray drop immediately saves you from a massive cleanup session later when the paint has already dried into a permanent mistake.
- Listen to something that actually keeps you grounded. I usually put on a long-form podcast or a lo-fi playlist. Painting is repetitive work, and if you don’t have the right background noise, you’ll find yourself staring at the wall wondering why you even started this in the first place.
The Tuesday Takeaways
Don’t let perfectionism stall your progress; it’s better to have one clean, finished corner than a half-painted room and a massive headache.
The prep work is where the real magic happens—if you rush the cleaning and taping, you’ll just spend the rest of the week fixing avoidable mistakes.
Keep your workspace manageable by working in small, focused bursts rather than trying to tackle the entire room in one chaotic sprint.
The Finished Product (and the Cleanup)
At the end of the day, painting a room isn’t about achieving some flawless, showroom-quality perfection on your first try. It’s about the process—from the tedious work of taping off the baseboards to that final, satisfying roll of color across the ceiling. If you followed the prep steps and kept your supplies organized, you’ve already done the hardest part. Even if there’s a tiny drip near the corner or a spot where the coverage looks a little thin, don’t sweat it. Just focus on closing the loop by cleaning your brushes and putting your gear away. Taking those extra ten minutes to tidy up means you won’t wake up to a mess tomorrow morning, and that’s a huge win for your future self.
I know it feels like a lot of effort just to change a color on a wall, but there’s something deeply grounding about seeing a physical change in your environment that you created with your own hands. It turns a chaotic space into something that actually feels like yours. Don’t feel like you need to repaint the entire apartment to feel refreshed; sometimes, just one intentional corner is enough to shift your entire mood. Remember, you aren’t just applying pigment to drywall; you’re curating your headspace. Take a second to sit in the new light, grab a coffee, and just appreciate the quiet of a job well done.