Everything You Need to Know About Making Homemade Candles
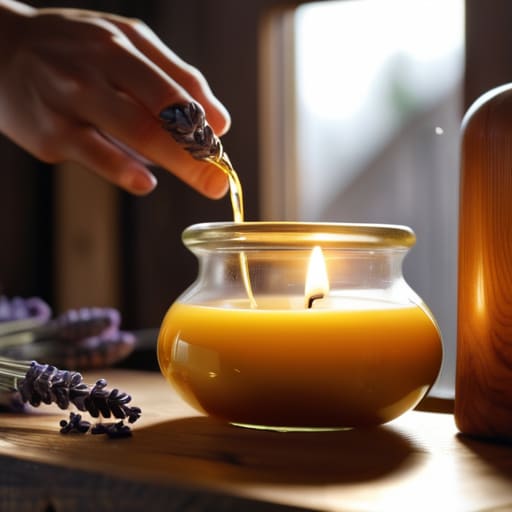
I was staring at my kitchen counter last Tuesday, surrounded by a sticky, half-melted disaster of soy wax and a wick that refused to stay centered, wondering why I even bothered. Most people think you need a professional studio or a massive budget to start, but the truth is that learning how to make candles is actually much more about managing the mess than following a rigid, perfect formula. I used to think I needed all the fancy equipment upfront, but I’ve realized that the best way to learn is to just embrace the trial and error of a single, quiet afternoon.
In this guide, I’m skipping the intimidating chemistry lectures and the “lifestyle influencer” fluff. Instead, I’m going to show you the low-stakes, practical way to get your first batch done without turning your entire apartment into a wax graveyard. We’ll cover the essential gear you actually need, how to handle scents without losing your mind, and the small, repetitive steps that turn a chaotic project into a reliable ritual. Let’s just focus on getting that first flame burning right.
Guide Overview
Tools & Supplies
- Double boiler or heat-proof bowl for melting wax
- Thermometer to monitor wax temperature
- Pouring pitcher for easy handling
- Wick centering tool or clothespin to hold wicks
- Soy or paraffin wax (1-2 lbs)
- Candle wicks (set of 5-10)
- Fragrance oils (1 oz)
- Glass jars or tins (2-4 units)
- Candle dye (optional)
Step-by-Step Instructions
- 1. First things first, you need to gather your gear. Don’t go out and buy a professional-grade studio; just grab some soy wax flakes, a few cotton wicks, some heat-safe glass jars, and a thermometer. I usually keep a dedicated old saucepan just for this so I don’t accidentally ruin my actual cooking gear.
- 2. Once you’ve got your supplies, it’s time to prep the containers. Take your jars and make sure they are completely dry and clean. If you’re using wicks, use a tiny bit of melted wax or a glue dot to secure the wick to the exact center of the bottom of the jar. If it’s crooked, the whole thing is going to burn unevenly, and that’s just more stress you don’t need.
- 3. Now, let’s get that wax melting. Set up a double boiler—basically a smaller pot inside a larger one filled with water—to keep the heat steady and prevent the wax from scorching. Slowly pour your flakes in and watch the thermometer; you’re aiming for around 185°F. It’s a bit of a slow process, but watching the solid flakes turn into a clear liquid is actually pretty therapeutic.
- 4. While the wax is heating up, decide on your scent. If you’re using essential oils or fragrance oils, wait until the wax has cooled down just a little bit (around 160°F) before stirring them in. If you add them while the wax is boiling hot, you might burn off the scent, leaving you with a candle that smells like absolutely nothing.
- 5. This is the part where you need a little patience. Slowly pour the wax into your prepared jars, leaving about half an inch of space at the top. Try to pour as steadily as possible to avoid creating air bubbles. Once they’re poured, let them sit on a flat surface and don’t touch them until they are completely solid.
- 6. Finally, once the candles have set and cooled completely, it’s time for the trim. Take a pair of scissors and snip the wicks so they sit about a quarter-inch above the wax. I like to write the scent and the date on a small piece of tape on the bottom of the jar—it’s a small habit that helps me remember what I made when I’m digging through my supplies months later.
Sourcing Your Soy Wax Candle Making Supplies Without the Overwhelm
Look, I get it. You open a search tab to find some candle making equipment for beginners, and suddenly you’re staring at a rabbit hole of industrial-grade melting pots and specialized laboratory thermometers. It feels like you need a PhD just to make something that smells like sandalwood. My advice? Stop. You don’t need a professional studio setup to get started on a Tuesday night. Start with the basics: a simple double boiler (or even just a heat-safe pitcher sitting in a pot of simmering water), some glass jars you already have in your kitchen, and a decent scale. The goal isn’t to build a factory; it’s just to get some wax moving.
When it comes to the actual ingredients, try to avoid the temptation of buying massive bulk quantities of everything right away. It’s easy to get swept up in the aesthetic of it all, but I’ve learned that quality beats quantity every single time. Instead of grabbing twenty different scents, pick two or three high-quality essential oils for scented candles that you actually enjoy breathing in. It keeps your workspace tidy and your budget intact. If you can, find a local craft supplier or a reliable online shop that specializes in small-batch kits. It takes the guesswork out of the process and ensures you aren’t stuck with a mountain of supplies you’ll never actually use.
Finding the Right Wick Types for Different Waxes and Moods
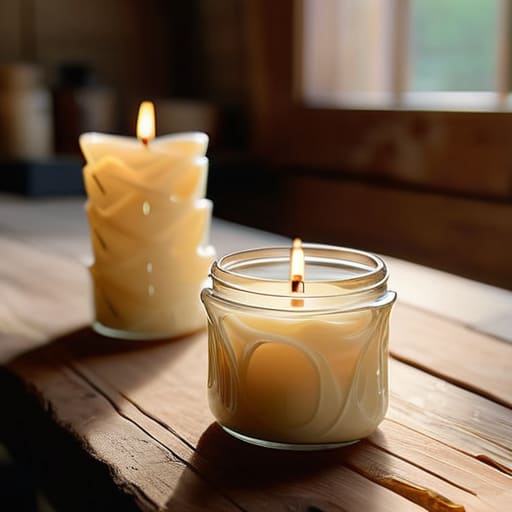
This is where things usually get a little technical, but don’t let it intimidate you. Think of the wick as the engine of your candle; if it’s too small, you get a tiny, pathetic puddle of wax, and if it’s too big, you’ll get a flame that looks like it’s trying to signal a rescue helicopter. When you’re looking into wick types for different waxes, the most important thing to remember is that soy wax is a bit of a diva. It’s denser and harder to burn than paraffin, so it generally requires a slightly larger or more specialized cotton wick to ensure the flame can actually pull the wax up properly.
I’ve learned the hard way that matching your wick to your container size is a total game-changer. If you’re using a wide glass jar, you might actually need to “double wick” it or find a specific braided cotton option to get an even melt pool. It’s all about that consistent burn. If you’re planning on adding essential oils for scented candles later on, a well-matched wick is even more crucial because it helps distribute that scent through the heat without burning it off too quickly. Just take a second to check the diameter of your jars before you commit—it saves a lot of trial and error down the line.
The Little Things That Save Your Sanity (and Your Kitchen)
- Don’t try to be a chemist on your first go. Use a thermometer every single time you melt wax; guessing by eye is how you end up with a cracked surface or a scent that just disappears into thin air.
- Give your candles actual time to settle. I know it’s tempting to light one immediately to see if it smells good, but let them cure for at least a week—especially with soy—or you’re going to be disappointed by the burn.
- Prep your workspace like you’re prepping for a deadline. Lay down some old newspaper or a silicone mat before you even touch the wax; cleaning up spilled soy from a countertop is a way bigger headache than it’s worth.
- Center your wicks with intention. Use a little clothespin or even a popsicle stick to keep that wick perfectly straight while the wax cools, otherwise, you’ll end up with a lopsided mess that burns unevenly.
- Keep your scent loads realistic. It’s easy to think “more fragrance equals better candle,” but if you overdo it, the wax won’t hold the oil properly and you’ll just have a greasy, smoky situation on your hands.
The Low-Stress Summary
Don’t sweat the perfectionism; your first few candles might look a little wonky, but that’s just part of the process of finding your rhythm.
Focus on the quality of your basics—getting your wax type and wick size right is way more important than having a hundred different scents on day one.
Treat candle making as a way to slow down, not just another task on your to-do list; it’s about the ritual, not just the finished product.
The Small Win of a Perfect Burn
At the end of the day, making your own candles isn’t about achieving some professional, factory-grade perfection on your first try. It’s about the process—getting your soy wax temperature just right, choosing a wick that actually holds its own, and finally seeing that flame flicker to life in a vessel you picked out yourself. You’ve navigated the supply lists and the technical bits of wick sizing, and honestly, that’s the hardest part. If your first batch looks a little wonky or the scent isn’t quite as loud as you hoped, don’t sweat it. Just treat it as a low-stakes experiment and keep moving forward.
I know how easy it is to get caught up in the idea that we need to master a new skill perfectly before we can actually enjoy it. But my philosophy has always been that we just need to better handle Tuesday, and for me, that means finding joy in these tiny, tactile projects. Making a candle is a way to reclaim a little bit of control and create something tangible in a world that feels increasingly digital and fleeting. So, light that first candle, take a breath, and remember that progress is better than perfection. You’ve got this.