A Beginner’s Guide to Building a Basic Bookshelf
I was sitting on my floor last Tuesday, surrounded by a graveyard of half-empty coffee mugs and a stack of books that looked like they were about to stage a coup against my tiny apartment. I realized then that I didn’t need a massive, expensive renovation or a professional workshop to fix the chaos; I just needed to figure out how to build a bookshelf that actually fit my life. Most people think you need a degree in carpentry or a garage full of power tools to pull this off, but honestly? That’s a total myth. You don’t need to be a master craftsman to create something functional; you just need to show up and measure twice.
In this guide, I’m skipping the overly complicated jargon and the “perfect” Pinterest-style projects that feel impossible to replicate. Instead, I’m sharing the exact, stripped-back method I use to get things done when my space feels cluttered and my time is limited. We’re going to walk through the essential tools, the smartest way to source your wood, and the simple assembly steps that won’t leave you feeling defeated. This isn’t about building a masterpiece for a museum; it’s about finding order in your own space, one sturdy shelf at a time.
Guide Overview
Tools & Supplies
- Circular saw or hand saw to cut wood to size
- Power drill to drive screws and pilot holes
- Measuring tape for precise dimensions
- Sandpaper to smooth surfaces
- 1×4 or 1×6 lumber (approx. 4-5 boards)
- Wood screws (1.5 inch, one box)
- Wood glue for strong joints
- Wood stain or paint for finishing
Step-by-Step Instructions
- 1. First things first, you need to get your supplies together without turning your living room into a construction site. Grab some plywood or pine boards, a drill, some wood glue, and a handful of screws. I always keep a physical checklist in my notebook for this part because once I start drilling, my brain tends to drift toward what I’m making for dinner.
- 2. Next, we’re going to measure and cut. If you don’t have a saw at home, honestly, just have the hardware store do the heavy lifting for you. Tell them exactly what dimensions you want for your side panels and shelves. It saves a ton of unnecessary stress and ensures your cuts are actually straight, which is something I struggle with more than I’d like to admit.
- 3. Now, let’s prep the joints. Apply a thin, even line of wood glue to the edges where the shelves will meet the side panels. Don’t go overboard—you don’t want a glue explosion—but remember that the glue is what actually holds the structure together once the screws are in. It’s the little details that prevent the whole thing from wobbling later.
- 4. Time to start drilling. I like to pre-drill small pilot holes before driving the screws in. This is a non-negotiable step for me because it prevents the wood from splitting, which is a total vibe killer when you’re halfway through a project. Line up your shelves, hold them steady (maybe ask a friend or use a couple of heavy books to prop them up), and drive those screws in slowly.
- 5. Once the frame is standing, we need to tackle the backboard. A thin sheet of plywood nailed to the back of the unit might seem tedious, but it’s what gives the bookshelf its structural integrity. Without it, your beautiful new creation will likely lean to the left like a tired college student during finals week.
- 6. Finally, give it a quick sand. Grab some medium-grit sandpaper and go over the edges until they feel smooth to the touch. You don’t need a professional finish; you just want to make sure you don’t snag your favorite sweater on a stray splinter. If you’re feeling fancy, you can add a stain, but for me, a simple clear coat is plenty to make it feel finished.
Mastering the Basics Measuring and Cutting Lumber

Look, I know the idea of picking up a saw feels intimidating, but measuring and cutting lumber is really just about managing your expectations. When I first started tinkering with my desk setup, I thought I needed a professional workshop. In reality, you just need to be meticulous. My biggest piece of advice? Measure twice, cut once isn’t just a cliché; it’s a survival tactic. If you’re working from custom bookcase plans, don’t rush the math. Grab your physical notebook, scribble down your dimensions, and double-check them against the actual wood in your hands. The wood might be slightly bowed or imperfect, and your plan needs to account for that reality.
When it comes to the actual cutting, don’t feel like you need every high-end gadget in existence. Most essential woodworking tools for beginners—like a decent hand saw or a basic circular saw—are more than enough to get the job done if you take your time. The trick to a sturdy bookshelf design starts here; if your cuts aren’t square, nothing else will line up later, and you’ll end up fighting the project instead of enjoying it. Keep your workspace clear, stay focused on the line, and remember that even a tiny mistake is just a chance to learn how to sand it out later.
Selecting Your Woodworking Tools for Beginners
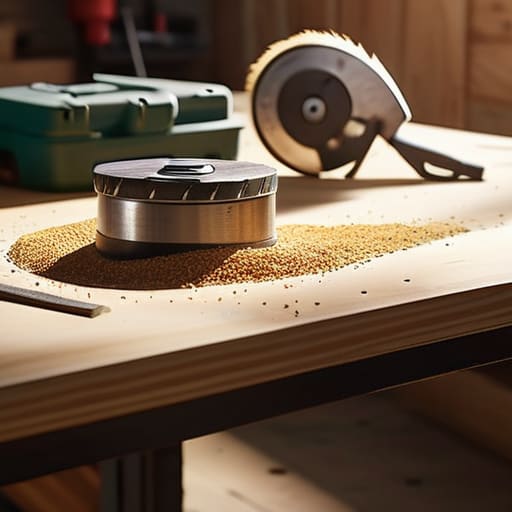
Look, I know the hardware aisle at the local shop can feel like a sensory overload. You walk in looking for one screwdriver and walk out feeling like you need a PhD in metallurgy just to pick a saw. When you’re first diving into woodworking tools for beginners, my best advice is to resist the urge to buy the “pro” version of everything. You don’t need a $500 miter saw to get this done. Start with the essentials: a decent cordless drill, a reliable tape measure (the kind that doesn’t snap back and hit your knuckles), and a basic orbital sander. If you have those, you’re already halfway to a finished product.
The real secret to a sturdy bookshelf design isn’t actually the fancy machinery; it’s having the right secondary tools to keep things square. Grab a few clamps—seriously, you can never have too many clamps—and a speed square. These little guys are what prevent your project from turning into a leaning tower of Pisa. I usually keep a small kit of these basics tucked away in my workspace, right next to my notebook, because having the right tool within arm’s reach makes the whole process feel less like a chore and more like a rhythm.
The Little Things That Save Your Sanity (and Your Shelves)
- Measure twice, cut once, then measure a third time. It sounds like a cliché for a reason—there is nothing more soul-crushing than realizing your “perfect” shelf is exactly two millimeters too short for the space you carved out.
- Don’t skip the sanding phase. I know, it’s tedious and it feels like you’re wasting time, but running your hand over a smooth, finished surface makes all the difference between a “DIY project” and something you actually want to keep in your living room.
- Use a square. Seriously. If your corners aren’t perfectly 90 degrees, the whole thing is going to start leaning like it’s had one too many drinks, and trying to fix a wobbly structure later is a headache you don’t need.
- Account for the weight of what you’re actually storing. If you’re planning on filling this with heavy hardcovers rather than just light decor, you’ll need thicker wood or extra support in the middle so the shelves don’t bow under the pressure.
- Embrace the imperfections. If a screw head is slightly visible or a grain pattern looks a bit weird, don’t spiral. That’s just the character of a piece you actually built with your own hands on a random Tuesday.
The Tuesday Takeaways
Don’t aim for perfection on your first go; focus on getting the measurements right and the structure solid, because a slightly imperfect shelf is better than a pile of wasted wood.
Invest in a few decent tools rather than a massive, expensive kit—you only need the basics to get the job done well.
Break the build into small, manageable chunks so you don’t feel overwhelmed by the whole project at once.
The Final Polish
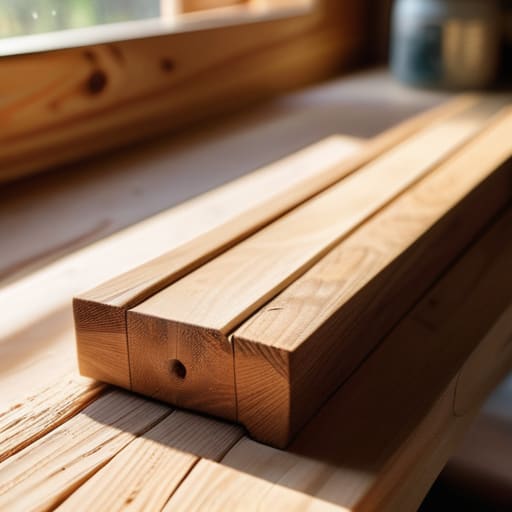
At the end of the day, building this bookshelf isn’t about achieving some level of professional carpentry perfection. It’s about the fact that you actually sat down, measured your lumber, and worked through the messy middle part where things usually go wrong. You’ve gone from staring at a pile of raw wood to having a structured piece of furniture that actually serves a purpose in your space. Whether your cuts aren’t perfectly 90 degrees or your finish is a little uneven, you’ve successfully navigated the most important part: moving from intention to action.
I know that sometimes, when you’re staring at a project halfway through, it feels easier to just go buy something pre-made from a big-box store. But there is a specific kind of quiet satisfaction that comes from knowing exactly how every screw and board in your room works. Don’t let the fear of a minor mistake stop you from starting the next thing. Real life is messy, and your projects will be too, but that’s where the real magic happens. Now, go clear some space on that new shelf—you’ve definitely earned it.