A Step-by-step Guide to Building Raised Garden Beds
I was standing in my tiny backyard last April, staring at a patch of uneven, stubborn dirt and a pile of cedar planks, feeling completely overwhelmed by the sheer scale of the project. I had this vision of a lush, organic sanctuary, but the reality felt more like a chaotic mess of hardware store receipts and confusing dimensions. Most people will tell you that learning how to build a raised garden bed requires a master’s degree in carpentry or a massive, expensive tool shed, but honestly? That’s just noise. I realized that if I wanted to actually grow something, I didn’t need a professional setup; I just needed a way to make sense of the wood and the soil without losing my mind in the process.
In this guide, I’m stripping away the complicated jargon and the “pro-level” fluff to give you a realistic blueprint. We’re going to focus on the essential tools, the right materials, and a workflow that won’t leave you exhausted by Sunday afternoon. My goal is to show you that mastering how to build a raised garden bed is really just about managing the small details so you can get back to the part that actually matters: watching things grow.
Guide Overview
Tools & Supplies
- Measuring tape for marking wood lengths
- Power drill for driving screws
- Hand saw or miter saw for cutting boards
- Level to ensure even ground
- Untreated cedar or pine boards (4-6 pieces)
- Galvanized wood screws (1 box)
- Garden soil and compost (mixed bags)
- Landscape fabric or cardboard (for base)
Step-by-Step Instructions
- 1. First things first, you need to grab your materials. I’m not a huge fan of anything overly complicated, so I usually stick to untreated cedar or redwood if the budget allows, because they handle moisture like a champ without needing nasty chemicals. Grab some 2×6 or 2×12 boards, a box of exterior-grade wood screws, and a drill. Honestly, just don’t overthink the dimensions—a 4×4 foot square is usually the sweet spot for reaching the middle without breaking your back.
- 2. Once you have your wood, it’s time to do some quick math and cutting. If you aren’t using a local hardware store’s cutting service, you’ll need a miter saw or a simple hand saw. I like to measure twice and cut once, mostly because I hate wasting good wood on a mistake. Lay your boards out on a flat surface (like your driveway or a patch of grass) to make sure everything looks symmetrical before you even touch the drill.
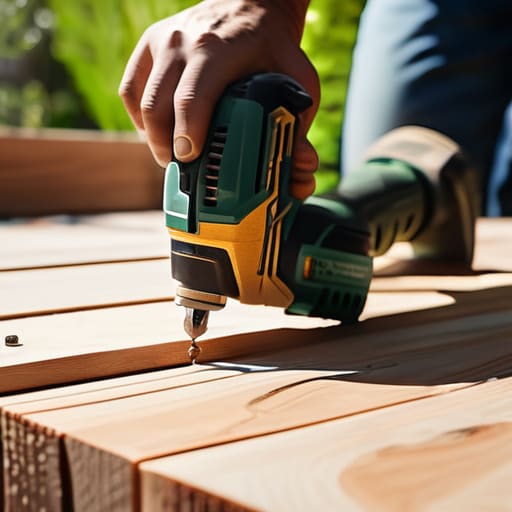
- 3. Now, let’s get into the assembly. Line up your side boards against your end boards to form a rectangle. I find it way easier to pre-drill small pilot holes first; if you skip this, you’ll almost certainly split the wood, and that’s a headache nobody needs on a Saturday morning. Drive your screws in through the face of one board into the edge of the next, making sure everything is flush and tight.
- 4. Before this thing goes in the ground, you need to prep the site. Pick a spot that actually gets some sun—most veggies are a bit sun-hungry—and clear out the big weeds or rocks. I usually just mow the area down really short. If you’re feeling extra thorough, you can lay down some cardboard at the bottom of the frame to smother any grass underneath, which is a total lifesaver for preventing weeds from creeping up later.
- 5. Set your frame in place and check it with a level if you have one. If one side is higher than the rest, your water is going to pool in one corner, and that’s a recipe for root rot. Once it’s sitting flat, you can drive a couple of wooden stakes into the corners on the outside to keep it from shifting while you’re filling it up.
- 6. The final boss is the soil. Don’t just grab the cheapest dirt from the pile at the garden center; your plants will hate you for it. I swear by a mix of compost, peat moss, and vermiculite. It’s a bit more of an investment upfront, but it makes the actual growing part so much more effortless. Just dump it in, level it off, and you’re officially ready to plant something.
Cedar vs Pressure Treated Lumber Choosing Your Foundation
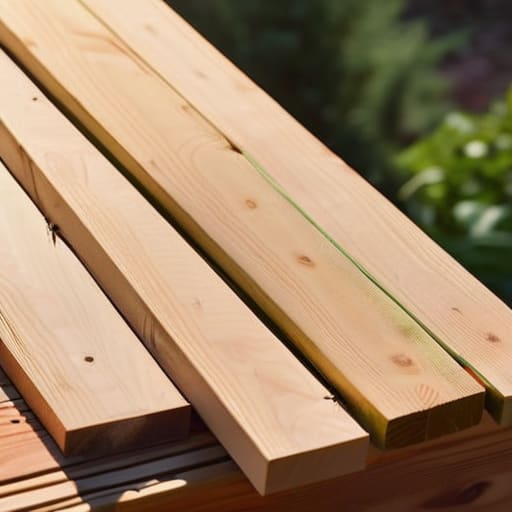
This is usually where I see people get stuck, staring at a stack of lumber at the hardware store and feeling a bit overwhelmed. When it comes to the whole cedar vs pressure treated lumber debate, there isn’t a single “right” answer, just what works for your budget and your peace of mind. If you’ve got the extra cash, I almost always lean toward cedar. It’s naturally rot-resistant and doesn’t require any nasty chemical treatments, which feels a lot better when you’re growing things you actually plan to eat. Plus, it has that nice, clean aesthetic that fits my minimalist vibe.
On the flip side, if you’re working with a tighter budget or just want to get moving quickly, pressure-treated wood is a tempting option. Most modern treated lumber uses much safer chemistry than the old stuff from decades ago, but if you’re a purist, you might still feel a little uneasy about it. If you do go this route, just keep a layer of landscape fabric at the bottom to create a bit of a buffer. Ultimately, finding the best wood for raised beds is about balancing longevity with your personal values. Just pick one, get it in the ground, and don’t let the decision paralysis stop you from actually getting your hands dirty.
The Perfect Raised Bed Soil Mix Ratio for Small Wins
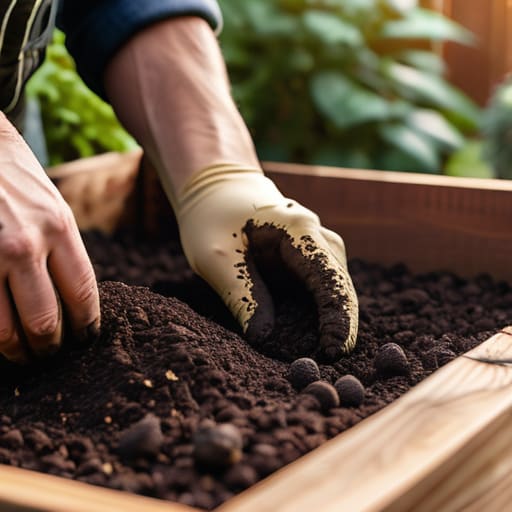
Once you’ve sorted out your lumber, the next thing that usually hits me is the realization that I have to actually fill this thing with dirt. It’s easy to get overwhelmed by the sheer volume of soil you need, but don’t fall into the trap of just grabbing whatever cheap, heavy topsoil is sitting at the bottom of a bag at the local hardware store. That stuff is usually packed too tight, which leads to major issues with raised bed drainage solutions later on. If your soil doesn’t breathe, your plant roots are basically going to be gasping for air.
Instead of overcomplicating it, I swear by a simple, reliable raised bed soil mix ratio that has saved my sanity more than once: one part high-quality compost, one part peat moss (or coconut coir), and one part vermiculite. This combo gives you that perfect, fluffy texture that holds moisture without turning into a muddy swamp. It’s all about creating an environment where the heavy lifting is done by the soil, not you. If you get this foundation right, you’re already halfway to a successful harvest, even if you’re just starting with a single small bed.
Five Small Tweaks to Keep Your Garden from Becoming a Chore
- Don’t go too deep. I used to think I needed massive, waist-high beds, but honestly? A 12-inch height is plenty for most veggies and way easier on your back (and your wallet) when you’re just starting out.
- Think about your reach. There is nothing worse than realizing you have to climb into your garden to weed it. Keep your beds no wider than four feet so you can reach the middle from either side without breaking a sweat.
- Level the ground before you commit. It feels like a minor detail, but if your bed is sitting on a slant, your water is going to pool in one corner and leave the rest of your plants thirsty. Take ten minutes to flatten the patch first.
- Prep for the “uninvited guests.” If you have critters or even just persistent weeds, line the bottom with a layer of cardboard. It smothers the grass underneath and eventually breaks down, making it a seamless part of the ecosystem.
- Plan for where the water goes. I’ve learned the hard way that placing a bed in a spot that turns into a swamp after a heavy rain is a recipe for root rot. Pick a spot with decent drainage so you aren’t fighting the elements every Tuesday.
The TL;DR: Keeping It Simple
Don’t let the scale of the project paralyze you; start with one single bed, get it right, and let the momentum carry you into next season.
Prioritize your soil over everything else—you can have the fanciest cedar frame in the world, but if your dirt is junk, your plants won’t care.
Choose materials that fit your actual life and budget, whether that’s the premium longevity of cedar or the quick-fix practicality of treated wood.
Small Wins and Soil
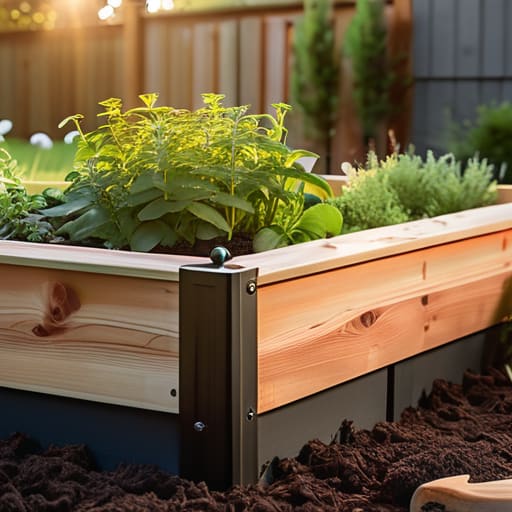
At the end of the day, building a raised bed isn’t about achieving some master gardener status or creating a Pinterest-perfect backyard oasis. It’s really just about the logistics: picking the right wood, getting that soil ratio dialed in, and actually getting your hands dirty. Whether you went with the classic cedar route or kept it budget-friendly with treated lumber, you’ve already done the hardest part by actually starting. You’ve moved from the “thinking about it” phase to the “it’s actually sitting in my yard” phase, and honestly, that’s where the real progress happens.
Don’t let the fear of a dead tomato plant or a messy corner stop you from planting that first seed. Gardening is messy, unpredictable, and sometimes a little bit frustrating, but that’s exactly why it works. It’s the perfect way to step away from the digital noise and focus on something tangible. Just remember that you don’t need a massive farm to feel connected to the earth; you just need one single bed and a little bit of patience. Take it one seedling at a time, and let the rest grow as it will.