Building a Practical Compost Bin for Your Backyard
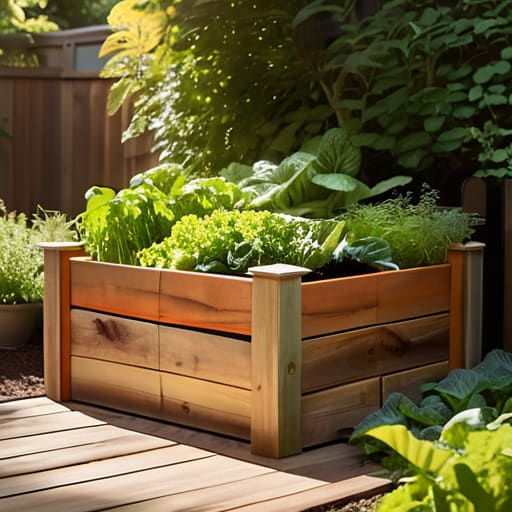
I was standing in my tiny kitchen last Tuesday, staring at a pile of coffee grounds and wilted kale, feeling that familiar wave of “eco-guilt” because I had no idea where to put my scraps. Most people think you need a massive backyard, a high-tech rotating tumbler, or a PhD in soil science to start composting, but that’s honestly such a myth. I spent way too much time overcomplicating things before I realized that learning how to make a compost bin doesn’t have to be this grand, expensive project. It’s really just about creating a small, intentional space for your leftovers to do their thing.
In this guide, I’m skipping the complicated chemistry lessons and the “perfect garden” idealism. Instead, I’m going to show you how to build a low-stakes, functional bin using stuff you probably already have lying around your apartment or garage. We’re going to focus on a setup that actually fits into a busy schedule without smelling like a landfill or taking over your entire life. My goal is to give you a no-nonsense blueprint so you can stop stressing about waste and just start building better habits, one banana peel at a time.
Guide Overview
Tools & Supplies
- Drill with 1/4 inch bit for aeration holes
- Handsaw or utility knife for cutting materials
- Measuring tape for accurate sizing
- Plastic storage bin (18-30 gallons)
- Drill bits for ventilation
- Small stones or gravel for drainage base
- Potting soil or finished compost to kickstart process
Step-by-Step Instructions
- 1. First, let’s talk about your setup. You don’t need a fancy, expensive wooden structure to get started. Honestly, the easiest way to begin is by grabbing a sturdy plastic bin—something like an old storage tote you might have in the back of a closet. Just make sure it’s opaque; if light gets in, it can mess with the decomposition process.
- 2. Now, we need to talk about airflow, because a compost bin without air is just a smelly box of rotting food. Grab a drill and start making small holes all over the sides, the bottom, and even the lid. You want plenty of ventilation so the microbes can actually breathe while they do their thing.
- 3. Once your bin is prepped, it’s time to build the foundation. You shouldn’t just throw scraps directly onto the bottom. Instead, grab some dried leaves, small twigs, or even shredded cardboard to create a “brown” base layer about two or three inches deep. This helps with drainage and keeps things from getting too soggy.
- 4. This is where the actual magic happens: the layering. Think of it like a lasagna. You’ll alternate between “greens” (your nitrogen-rich kitchen scraps like coffee grounds and veggie peels) and “browns” (carbon-rich stuff like dried leaves or newspaper). The golden rule is to keep it roughly two parts brown to one part green. If it starts smelling weird, you probably just need more brown material.
- 5. To keep the process moving, you need to give the pile a little attention every week or so. Use a small hand shovel or even a sturdy stick to turn the pile every few days. This introduces oxygen back into the center, which speeds up the breakdown and prevents that unpleasant, swampy smell from taking over.
- 6. Moisture management is the final, subtle piece of the puzzle. Your compost should feel like a wrung-out sponge—damp to the touch, but not dripping wet. If it feels too dry, give it a light sprinkle with the watering can; if it’s too wet, just toss in some more shredded paper to soak up the excess.
- 7. Finally, just be patient. You aren’t going to have nutrient-rich soil by tomorrow morning. It takes time, but if you stay consistent with these small movements, you’ll eventually have a pile of dark, earthy compost that’s perfect for your plants. It’s a slow process, but seeing that cycle in action is surprisingly satisfying.
The Minimalist Compost Bin Materials List for Real Life
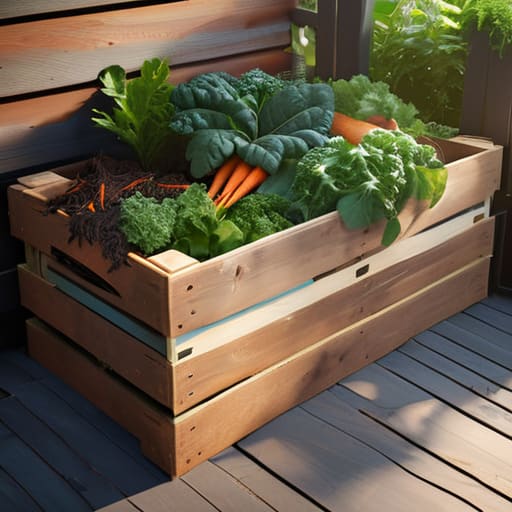
Look, I’m not here to tell you to go out and buy a $200 designer composting system that looks like a piece of modern art. If you’re anything like me, you just want something that works without taking up half your living space or your entire weekend. When I was putting together my own compost bin materials list, I realized that the best approach is to keep it incredibly low-stakes. You don’t need specialized industrial equipment; a simple plastic bin with some drilled holes or even a repurposed wooden crate will do the trick. The goal isn’t perfection; it’s just giving your scraps a place to go.
The real secret isn’t in the container itself, but in how you manage the air inside. You need to prioritize aeration for compost bins to keep things from getting that weird, swampy smell we all dread. A few extra holes drilled into the sides or a small hand trowel to occasionally stir the pile makes a massive difference in the organic waste decomposition process. If you’re working with a tiny apartment, don’t sweat it—you can always pivot to a small-scale vermicomposting setup later. For now, just grab some basic, sturdy materials and get started.
Finding Your Ideal Compost Bin Dimensions for Beginners
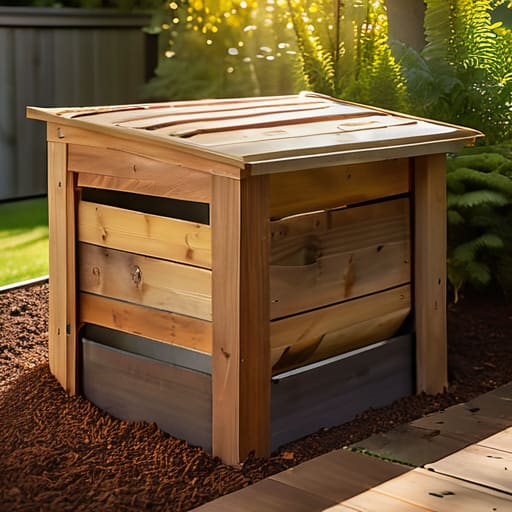
Look, I get it—when you’re staring at a pile of hardware store bins, it’s easy to feel like you need to engineer a masterpiece. But here’s the reality: if you go too small, you’ll be feeding it every five minutes and it’ll never get hot enough to actually work. If you go too massive, you’re basically committing to a part-time job managing a mountain of rot. For most of us just starting out, I’ve found that aiming for something in the 3x3x3 foot range is the sweet spot. It’s large enough to hold enough mass to kickstart the organic waste decomposition process, but small enough that you won’t feel overwhelmed by it on a random Tuesday.
The goal isn’t to build a monument; it’s to create a space where things can actually happen. If you’re working with a tiny balcony or a studio apartment, don’t sweat it—you might want to skip the backyard composting methods for now and look into a vermicomposting setup guide instead. But if you have a patch of dirt, just remember that volume equals momentum. You want enough room to layer your greens and browns without having to constantly shuffle things around just to find a spot for your coffee grounds. Keep it simple, keep it manageable, and don’t overthink the math.
5 Ways to Keep Your Compost from Becoming a Total Mess
- Don’t aim for perfection with your ratios. I used to stress about the exact science of “greens vs. browns,” but honestly? Just try to make sure you aren’t dumping only food scraps in there. Throw in some ripped-up cardboard or dried leaves whenever you can to keep things from getting too soggy.
- Give it some air. If your bin starts smelling like something died in your kitchen, it’s probably because it’s too compacted. Grab a pitchfork or even just a sturdy stick and give it a quick stir once a week. Oxygen is the secret ingredient that keeps the bad smells away.
- Keep it small and manageable. One of my biggest mistakes early on was building a massive bin that I couldn’t keep up with. If you don’t have enough scraps to fill a giant container, it’ll just sit there and rot poorly. Start small so you actually stay consistent.
- Watch the moisture levels. You want your compost to feel like a wrung-out sponge—damp, but not dripping. If it’s bone dry, the microbes won’t work; if it’s a swamp, it’ll stink. It’s a fine line, but once you get the feel for it, you’ll nail it.
- Mind the “no-go” zone. To keep your bin from attracting unwanted roommates (like rodents or flies), skip the meat, dairy, and oily leftovers. Stick to veggie scraps, coffee grounds, and paper. It’s a little more restrictive, but it makes the whole process way less chaotic.
The TL;DR for Your New Compost Habit
Don’t aim for a perfect ecosystem on day one; just focus on getting a consistent flow of scraps into a bin that actually fits your space.
Keep it simple with your materials—if you can find it at a local hardware store or even in your garage, it’s probably good enough to start.
Remember that composting is a marathon, not a sprint; it’s more about showing up with your kitchen scraps every week than mastering the science of soil immediately.
Don't Sweat the Small Stuff
At the end of the day, building your first bin isn’t about achieving perfect, scientific soil composition or having a backyard that looks like a professional farm. It’s really just about getting those kitchen scraps out of your trash and into a system that actually works for your space. Whether you went with a tiny DIY bin for your balcony or a slightly larger setup for a small yard, the goal was simply to start something manageable. You’ve got your materials, you’ve figured out the dimensions that won’t overwhelm your routine, and you’ve stripped away the unnecessary complexity that usually keeps people from even trying. Just remember that a little bit of trial and error is part of the process, so don’t let a messy corner or a slow decomposition rate discourage you.
I know how it feels when a new project starts to feel like just another “to-do” item weighing you down, but try to view this as a way to find a little rhythm in the chaos. Composting is one of those small, repetitive habits that actually pays off, turning something that feels like waste into something genuinely useful. You don’t need to master the entire ecosystem by next Tuesday; you just need to keep showing up for the process. Once you see that first bit of dark, rich soil, you’ll realize that making a difference doesn’t have to be a massive, exhausting overhaul. It’s just about making better choices, one small bin at a time.