Creating a Custom Garden Trellis for Your Climbing Vines
I was standing in my tiny patch of dirt last Saturday, staring at a pile of tangled tomato vines that looked more like a green disaster zone than a garden, wondering why I ever thought I could do this alone. Most DIY guides make it seem like you need a professional-grade workshop and a weekend of heavy lifting just to give your plants some support, but honestly? That’s a total myth. Learning how to build a garden trellis shouldn’t feel like a massive engineering project that drains your energy and your bank account. I’ve realized that if you approach it with a bit of pragmatism, it’s actually just about getting a few sturdy pieces in the right place so your plants have a way to climb.
In this guide, I’m stripping away all the unnecessary fluff and complicated blueprints. I’ll show you a low-stress, functional method to get a structure up and running without needing a degree in carpentry. We’re going to focus on simple materials, minimal tools, and a design that actually survives the weather. My goal is to help you find that small win in the backyard so you can stop worrying about the mess and start enjoying the growth.
Guide Overview
Tools & Supplies
- Measuring tape for accurate cuts
- Handsaw or miter saw for wood processing
- Drill with bits for assembly
- Screwdriver or driver bit for fasteners
- Cedar or pressure-treated wood slats (4-6 pieces)
- Wooden stakes or 2×4 posts (2 pieces)
- Exterior grade screws (1 box)
- Garden twine or wire (1 roll)
Step-by-Step Instructions
- 1. First, grab your materials. You don’t need a trip to the high-end garden center for this; just some untreated cedar or redwood stakes (they hold up better against rot) and some jute twine. I usually keep a small stash of garden twine in my utility drawer because you’ll definitely end up needing more than you think.
- 2. Clear a little patch of ground where you want the trellis to live. Don’t worry about making it perfect, but try to find a spot that gets decent sunlight. Once you’ve cleared the weeds, mark your corners with a little pebble or a stick so you don’t lose your place while you’re hauling the heavy stuff.
- 3. Drive your main vertical stakes into the ground. You want them deep enough—about 8 to 12 inches—so they don’t tip over the second a heavy vine starts climbing. If the ground is super hard, don’t fight it; just take a breather and come back with a mallet or a heavy rock.
- 4. Now, we’re going to create the “ladder” effect. Take your twine and tie it to the top stake, then wrap it around to the next stake, creating a horizontal line. Repeat this all the way down. It doesn’t have to be perfectly level or symmetrical; honestly, a little intentional imperfection makes it look more organic and less like a construction site.
- 5. For extra support, you can add a few thinner bamboo poles horizontally between your main stakes. This gives your plants more “grip” points. I find that if I’m working with something heavy like cucumbers, having that extra bit of structure prevents the whole thing from sagging mid-season.
- 6. Once the frame is up, give it a gentle shake test. If it feels sturdy, you’re good to go. If it wobbles, just push the stakes a little deeper or add a second stake for reinforcement. The goal isn’t a masterpiece; it’s just a reliable skeleton for your plants to grow on.
- 7. Finally, tuck your first seedling or vine near the base of the twine. You can lightly guide it upward, but let the plant do most of the heavy lifting. There’s something really satisfying about seeing that first green shoot actually start to climb something you built with your own hands.
Essential Garden Trellis Materials List for Real Life
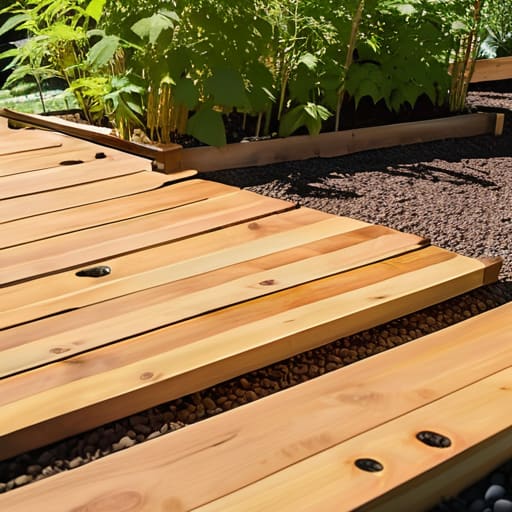
Before you head to the hardware store, let’s talk about what you actually need versus what the fancy catalogs try to sell you. I’ve learned the hard way that overcomplicating your garden trellis materials list is the fastest way to turn a fun Saturday into a stressful expense. If you’re looking for something sturdy but low-maintenance, I usually lean toward cedar or pressure-treated wood. They handle the rain and sun way better than cheap pine, which tends to rot before you even get your first tomato plant established. If you’re on a tighter budget, even some heavy-duty bamboo stakes can work, provided you don’t mind replacing them in a year or two.
The real secret to longevity, though, isn’t just the wood; it’s the hardware. Don’t skimp on the screws. I always grab galvanized or stainless steel fasteners because standard ones will rust and snap right when your vines start getting heavy. When you’re thinking about different vertical gardening solutions, remember that the weight of the plant grows exponentially as the season progresses. You want a structure that feels a little overbuilt at the start. It’s much better to have a trellis that stays upright during a summer storm than one that collapses and crushes your hard work.
Simple Wooden Trellis Design Ideas for Messy Gardens
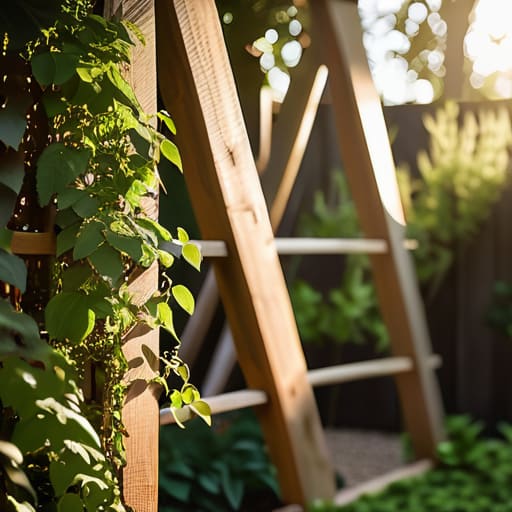
Look, I get it. Most of the time, your garden isn’t a perfectly manicured Pinterest board; it’s a collection of half-dead herbs and a patch of dirt that’s seen better days. When you’re looking for wooden trellis design ideas, don’t feel pressured to build something that looks like it belongs in a botanical garden. Sometimes the best vertical gardening solutions are the ones that look a little bit intentional but still feel relaxed. If you have a small corner or a cluttered fence line, try a simple A-frame setup using leftover scrap wood. It’s sturdy, it doesn’t require a degree in architecture, and it gives your vines a clear path to climb without looking like you’re trying too hard.
If you’re dealing with a particularly chaotic space, I’m a big fan of the “minimalist grid” approach. Instead of a massive, heavy structure, just use a few thin slats to create a loose lattice. These easy diy garden structures work perfectly for lightweight climbers like sweet peas or morning glories. The goal isn’t perfection; it’s just giving your plants a way to move upward so they aren’t taking over your walking paths. Keep it simple, keep it functional, and just focus on giving those vines a place to land.
A Few Things I Learned the Hard Way (So You Don't Have To)
- Don’t overthink the aesthetics. If your trellis is a little wonky or the wood isn’t perfectly straight, it actually looks better in a real garden. Perfection is the enemy of just getting the damn thing planted.
- Check your plant’s “vibe” before you build. If you’re growing heavy stuff like squash, you’re going to need some serious structural support, not just some flimsy twine and hope.
- Always over-engineer your anchors. There is nothing more soul-crushing than waking up to find your entire project face-down in the dirt because a summer thunderstorm decided to show up.
- Leave some breathing room. Plants need airflow just as much as we do. Don’t pack your trellis so tight that everything turns into a humid, moldy mess by mid-July.
- Keep a little extra hardware in your pocket notebook. I’ve learned that having a few spare zip ties or a bit of leftover wire on hand saves a massive amount of stress when a corner starts sagging mid-season.
The TL;DR for Your Garden Project
Don’t overthink the design; a simple, sturdy structure that supports your plants is way better than a complex masterpiece that falls over in the first rainstorm.
Focus on the quality of your connections—whether it’s heavy-duty screws or solid twine—because that’s what actually keeps the whole thing from becoming a pile of sticks.
Start small and scale up as you go; you don’t need to trellis the entire yard this weekend, just give a few key plants a place to climb and call it a win.
The Final Piece of the Puzzle
At the end of the day, building this trellis isn’t about achieving some flawless, Pinterest-perfect garden aesthetic. It’s really just about getting the right materials together—whether that’s basic cedar or some leftover scrap wood—and following a few simple steps to give your climbing plants a place to call home. We covered the design ideas, the essential gear, and the actual assembly, but the most important thing to remember is that it doesn’t have to be perfectly level to work. As long as it’s sturdy enough to hold the weight of your vines, you’ve successfully checked a major box off your list and created a little more structure in your outdoor space.
I know that sometimes even a small DIY project can feel like just another thing on an already overflowing to-do list. But there is something deeply satisfying about looking at a piece of wood you put together yourself and knowing it’s going to help something else grow. Don’t let the fear of a messy workspace or a slightly crooked screw stop you from starting. Just grab your tools, take it one step at a time, and focus on the small win of finishing the job. Once those first green tendrils start wrapping around your new trellis, you’ll realize that all that effort was worth it.