The Best Way to Patch Jeans for a Seamless Repair
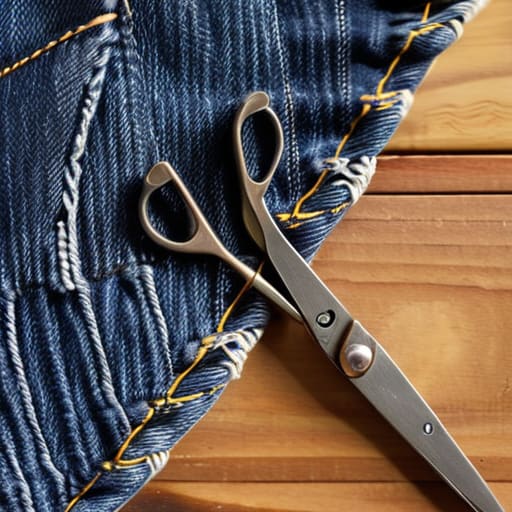
I was sitting at my desk, mid-way through a deep-focus session, when I felt that familiar, slightly cold draft against my knee. I looked down, and there they were: a jagged little tear in my absolute favorite pair of vintage denim, right where the fabric had finally given up. Most people would tell you that once the denim starts fraying like that, it’s time to head to the thrift store for a replacement, but I’ve always thought that’s a waste of a good story. Learning how to patch jeans isn’t about making them look brand new again; it’s about adding a bit of character to the pieces that actually fit your life.
I’m not here to give you some complicated, high-fashion sewing lesson that requires a professional studio setup. Instead, I want to show you how to handle this with a simple, low-fi approach that actually works when you’re busy. We’re going to walk through a few no-nonsense methods to fix those holes using stuff you probably already have in a junk drawer. Whether you want a patch that’s totally invisible or one that looks intentionally rugged, we’ll get your favorite pair back in rotation without the headache.
Guide Overview
Tools & Supplies
- Needle and thread or sewing machine for joining fabric
- Fabric scissors for cutting patch shapes
- Iron for flattening and setting seams
- Denim scrap or fabric patch 1 piece
- Thread matching denim color 1 spool
- Sewing pins to hold patch in place 1 pack
Step-by-Step Instructions
- 1. First, grab a pair of scissors and a needle, and find a scrap of fabric that actually looks decent. You don’t need a perfect color match—in fact, a slightly different shade of blue can look intentionally cool rather than just accidental. Just make sure the scrap is a bit larger than the hole you’re trying to fix so you have plenty of room to work with.
- 2. Turn your jeans inside out and position your patch fabric behind the hole. I like to use a few safety pins around the edges to hold everything in place; it saves a lot of frustration and keeps the fabric from sliding around while you’re trying to focus.
- 3. Now, grab your thread. If you want to play it safe, match the denim color, but if you’re feeling more experimental, go for a contrasting color like cream or even a deep orange. Start sewing from the back of the patch, using small, consistent stitches to secure the edges to the jeans. You want to make sure the patch is firmly anchored so it doesn’t bunch up later.
- 4. Once the edges are secure, start working your way toward the center of the hole. I usually use a “running stitch”—basically just a series of small up-and-down movements—to cover the actual gap. It doesn’t have to be perfect or look like a machine did it; the character of the hand-stitching is what makes it feel personal.
- 5. As you get closer to the middle, try to keep your tension even. If you pull the thread too tight, the denim will pucker and look weird, but if it’s too loose, the hole will just peek through again. Think of it like fine-tuning a mechanical keyboard; it’s all about that consistent, tactile rhythm.
- 6. When you’ve covered the entire hole and the patch feels sturdy, tie off your thread with a couple of small knots on the underside. Give the fabric a gentle tug to make sure nothing is loose. If it feels solid, you’re done.
- 7. Finally, flip your jeans right-side out and give them a quick inspection. If there are any stray threads hanging off, just snip them clean. Now, instead of a ruined pair of pants, you’ve got a customized piece of gear that’s ready for another few months of wear.
Mastering Visible Mending Techniques for Messy Tuesdays
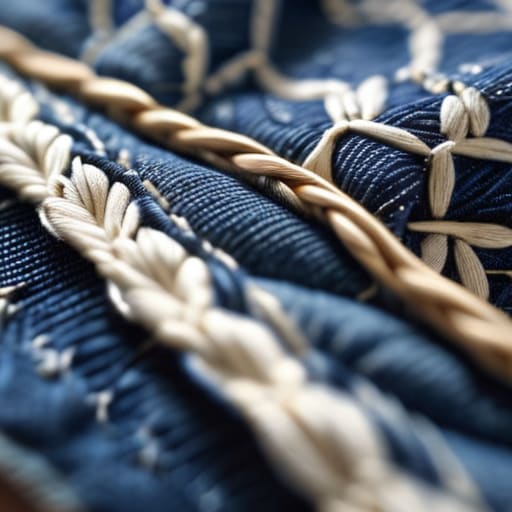
Sometimes, the goal isn’t to make the repair disappear, but to make it part of the story. If your patch looks a little wonky or the fabric doesn’t perfectly match, don’t sweat it. I’ve found that leaning into sashiko stitching for denim is a total game-changer when you’re having one of those days where nothing goes according to plan. Instead of stressing over a perfect match, use contrasting thread to create geometric patterns over the tear. It turns a mistake into a design choice, making the repair look intentional rather than accidental.
When you’re picking out your materials, keep in mind that different denim patch fabric types will behave differently under your needle. A heavy raw denim scrap will provide a sturdy structure, while a lighter piece might feel more fluid. If you’re feeling particularly low-energy and just want the job done, you can always look into how to use iron-on patches as a base layer before sewing over them. It gives you that extra bit of stability without requiring you to be a master tailor. Honestly, the best repair is the one that actually gets your favorite pair back into rotation.
The Right Sewing Tools for Jeans Repair and Darning Denim Holes
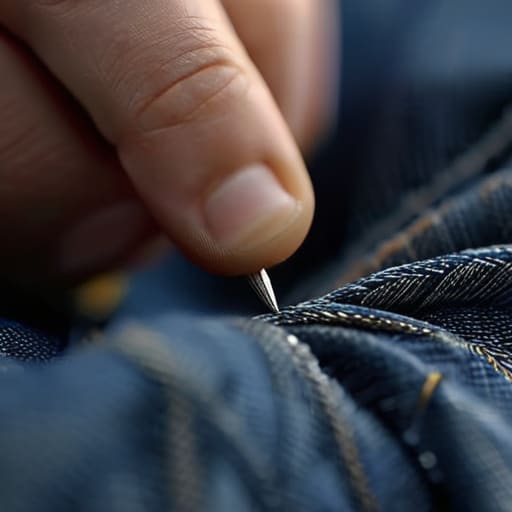
You don’t need a professional tailor’s studio to get this done, but you also shouldn’t try to wing it with a dull kitchen needle and some random thread from a junk drawer. If you’re serious about darning denim holes so they actually stay put, I highly recommend grabbing a heavy-duty embroidery needle and some high-quality upholstery thread. Denim is a beast; it’s thick, stubborn, and meant to take a beating. Standard sewing thread is going to snap the second you put tension on it, so look for something slightly thicker that can handle the friction of the weave.
When it comes to the actual material you’re adding, your choice of denim patch fabric types makes a huge difference in how the repair feels. If you want something low-key, grab some scrap denim from an old pair of jeans that were already headed for the bin. But, if you’re leaning into that more intentional, artistic vibe, I’ve been loving sashiko stitching for denim lately. It uses a thicker cotton thread to create beautiful, geometric patterns that turn a mistake into a design choice. Just keep your kit minimal: a good pair of fabric shears, a handful of sturdy needles, and maybe a small hoop to keep your fabric taut while you work.
Pro-Tips for When the Thread Gets Tangled
- Don’t overthink the tension. If you pull your thread too tight while darning, you’ll end up with a puckered, wavy mess that looks more like a topographical map than a repair. Keep it loose and even.
- Match the weight, not just the color. If you’re using a super thin embroidery thread on heavy-duty denim, it’s going to snap the second you sit down. Aim for something sturdy, like heavy-duty cotton or even a bit of wool if you’re going for that visible mending look.
- Work from the inside out. If you’re dealing with a hole that’s starting to fray, pin a scrap of fabric behind it first. It gives you a solid foundation to stitch into so you aren’t just sewing air and making the hole bigger.
- Test your knot before you commit. I’ve definitely learned the hard way that a knot that looks secure in my hand can easily unspool once it hits the friction of denim. Give it a good, firm tug before you start your first row of stitches.
- Embrace the “good enough” mindset. You don’t need it to look like a factory-made garment. If a stitch is a little crooked, that’s just character. The goal is to make the jeans wearable again, not to win a sewing competition.
The Lowdown: What to Remember When You're Mid-Repair
Don’t stress about perfection; whether you’re doing a clean invisible patch or a messy visible mend, the goal is just to keep the fabric from fraying further.
Invest in a decent heavy-duty needle and some sturdy thread—trying to fix denim with basic sewing kit scraps is a one-way ticket to a headache.
Treat mending as a small win for your routine rather than a chore; fixing one pair of jeans is a lot easier (and better for the planet) than hunting for a replacement.
One Stitch at a Time
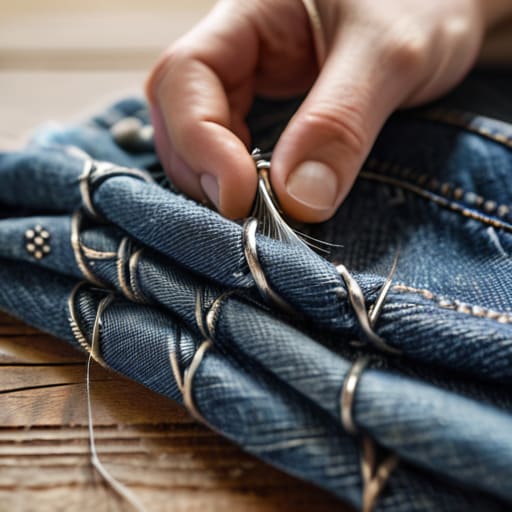
At the end of the day, patching your jeans isn’t about achieving some kind of flawless, runway-ready perfection. It’s really just about having the right tools on hand—whether that’s a sturdy needle or a bit of scrap denim—and being willing to sit down for twenty minutes to actually fix the problem instead of letting it sit in the “to-do” pile. We’ve covered everything from the basics of darning to the more creative side of visible mending, and the main takeaway is simple: you don’t need to be a master tailor to keep your favorite clothes in rotation. Just grab your notebook, prep your workspace, and focus on the small repairs that keep your wardrobe functional.
I know life gets chaotic, and sometimes the last thing you want to do after a long day of remote meetings is pick up a sewing needle. But there is something weirdly grounding about the repetitive motion of stitching. It’s a tiny, tactile way to reclaim a sense of control when everything else feels a bit messy. Don’t look at a hole in your jeans as a sign that they’re broken; look at it as an opportunity to add a little character to something you already love. We aren’t aiming for a total life overhaul here—we’re just making sure you’re ready to tackle Wednesday in your favorite pair of pants.