The Secret to Caulking Like an Expert Without the Cleanup Headache
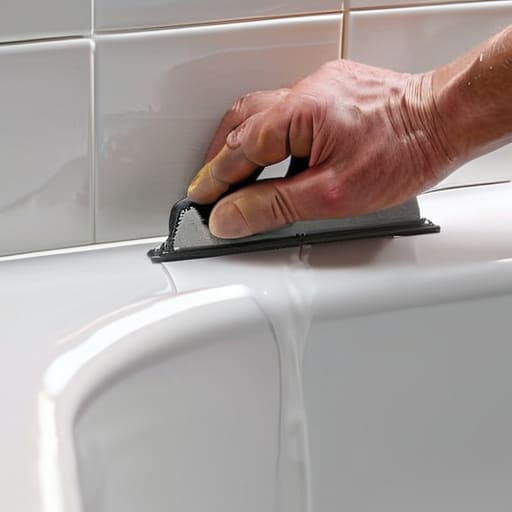
I was standing in my bathroom last Tuesday, staring at a jagged, peeling strip of old silicone that looked more like a crime scene than a seal, feeling completely defeated. I had this idea that learning how to caulk required some kind of professional-grade precision or a steady hand that I simply didn’t possess. I thought if I didn’t get it perfect on the first pass, I’d just end up with a massive, expensive-looking mess that ruined the whole vibe of the room. But honestly? The biggest myth is that you need to be a master craftsman to make this work; you really just need a steady rhythm and the right mindset.
In this guide, I’m skipping the overly technical jargon and the “perfect finish” pressure that usually makes DIY feel impossible. I’m going to walk you through the actual, messy process of getting the job done so you can stop stressing about that gap in your tile. We’ll cover the essential tools, how to prep the surface without losing your mind, and the simplest way to pull a clean line. My goal is to show you that mastering how to caulk is really just about small, manageable steps that turn a chaotic weekend project into a quick, satisfying win.
Guide Overview
Tools & Supplies
- Caulking gun to apply the sealant
- Putty knife or scraper to remove old caulk
- Microfiber cloth to clean the surface
- Caulk tube (silicone or acrylic depending on surface)
- Caulk remover or chemical stripper for old residue
- Painter's tape to create clean edges
Step-by-Step Instructions
- 1. First things first, you have to clear the slate. If there’s old, crusty caulk hanging on by a thread, don’t try to build over it—it’ll just fail. Grab a utility knife or a specialized caulk removal tool and gently scrape away the old stuff. It’s tedious, I know, but if the foundation isn’t clean, nothing else matters.
- 2. Once the old gunk is out, grab a vacuum or a damp cloth to get rid of every bit of dust and debris. I usually keep a small microfiber cloth handy because if there’s even a tiny speck of grit left in that gap, your new bead won’t stick. You want the surface to be completely bone-dry and spotless before you even think about touching the tube.
- 3. Now, grab your caulk gun and prep the nozzle. Cut the tip of the tube at a slight angle—think of it like a controlled release rather than a floodgate. You don’t want to cut it too wide right away; you can always make the hole bigger, but you can’t make it smaller once you’ve started squeezing.
- 4. This is the part where most people panic, but just breathe. Hold the gun at a steady angle and apply consistent pressure as you pull it along the joint. Don’t try to do the whole room in one go; just focus on one smooth line at a time. If you feel like you’re going too fast or too slow, just stop, reset, and keep moving.
- 5. If your line looks a little wonky (and let’s be real, it probably will), don’t stress. Take a spray bottle with a little bit of water and a tiny drop of dish soap and lightly mist the bead. Then, take a damp finger or a smoothing tool and lightly glide over the caulk to level it out. It’s much easier to fix a mistake while the material is still wet.
- 6. Finally, just step back and let it do its thing. Most silicone caulks need at least 24 hours to fully cure, so try your absolute best to leave it alone. I know the urge to poke it and see if it’s dry is real, but patience is the secret ingredient to making sure this project actually lasts.
The Messy Part Removing Old Caulk for a Fresh Start
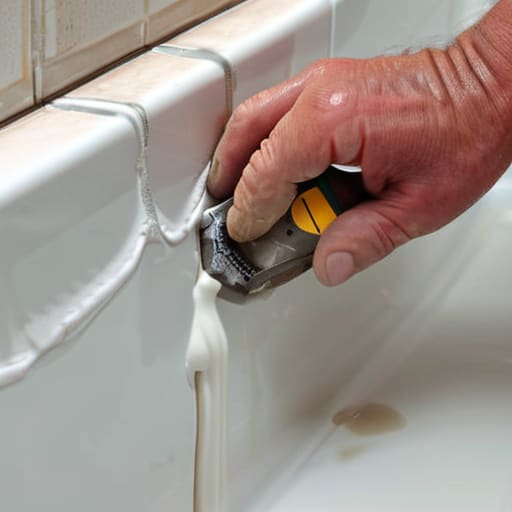
Look, I’ll be real with you: the most tedious part of this whole process isn’t actually applying the new stuff—it’s the cleanup. If you try to layer new sealant over the old, crusty stuff, it’s going to look terrible and, more importantly, it won’t actually work. You’ve got to commit to removing old caulk completely if you want a seal that actually lasts. I usually grab a utility knife or a specialized caulk removal tool and just start peeling. It’s a bit of a mindless, repetitive task, but honestly, there’s something weirdly satisfying about seeing that old, moldy line disappear to reveal a clean surface.
Once you’ve scraped away the bulk of it, don’t just jump straight into the new application. This is where most people trip up. You need to grab a damp cloth or even a little bit of rubbing alcohol to wipe down the area. If there’s any leftover residue or dust sitting in that gap, your new bead won’t bond, and you’ll be back here doing this again in three months. Think of it as setting the stage. You want that surface to be as pristine as possible before you even touch your caulk gun, ensuring your fresh start is actually a permanent one.
Choosing Your Weapon Silicone vs Acrylic Caulk
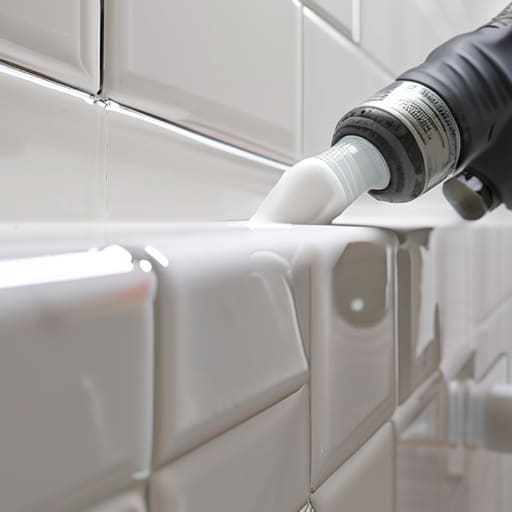
Before you even touch that caulk gun, you need to decide which tube to grab. It sounds trivial, but picking the wrong one is how a quick weekend project turns into a “why did I do this to myself” afternoon. If you’re caulking bathroom fixtures or anything that’s going to get constantly splashed with water, you want silicone. It’s basically the heavyweight champion of waterproofing. It’s flexible, it’s waterproof, and it’s not going to crack when the temperature shifts. The only catch? It’s a bit of a diva to work with—once it touches a surface, it’s really hard to wipe away, so you have to be intentional with your movements.
On the other hand, if you’re sealing window gaps or doing some light trim work in a dry room, acrylic is your best friend. It’s much more forgiving, easier to clean up with a damp rag, and you can actually paint over it once it dries. Silicone is for the wet zones; acrylic is for the dry zones. I usually tell myself to treat it like choosing a tool for a specific task—you wouldn’t use a hammer to fix a watch, right? Match the material to the environment, and you’ve already won half the battle.
Pro Tips for When You’re Definitely Not a Professional
- Clean your surface like your life depends on it. If there’s even a tiny bit of dust or old residue left, that new bead of caulk is going to peel off in a week, and you’ll just be back here doing this all over again.
- Use a spray bottle with soapy water. This is my favorite low-tech hack. Once you lay the bead down, lightly mist your finger with soapy water before smoothing it out. It prevents the caulk from sticking to your skin and keeps the line looking clean instead of a smeary mess.
- Don’t try to do the whole bathroom in one go. If you’re feeling overwhelmed, just tackle one corner or one sink. It’s way better to do three inches perfectly than thirty inches of absolute chaos.
- Keep a pack of wet wipes within arm’s reach. Caulk is surprisingly easy to get on your clothes or the floor, and once it starts to skin over, it’s a much bigger headache to clean up. Trust me, you’ll thank me later.
- Practice on a scrap piece first. If you’ve never held a caulk gun, the pressure can feel a bit twitchy and unpredictable. Give it a quick squeeze on a piece of cardboard just to get the hang of the flow before you commit to the actual tile.
The TL;DR for a Stress-Free Project
Don’t aim for a masterpiece on your first try; focus on a steady hand and a single, continuous bead to keep things manageable.
Pick the right tool for the job—silicone for the wet stuff like showers, and acrylic if you’re planning to paint over it later.
The secret is in the prep; if you don’t take the time to clear out the old, crusty caulk first, the new layer will never actually hold.
One Last Thing Before You Clean Up
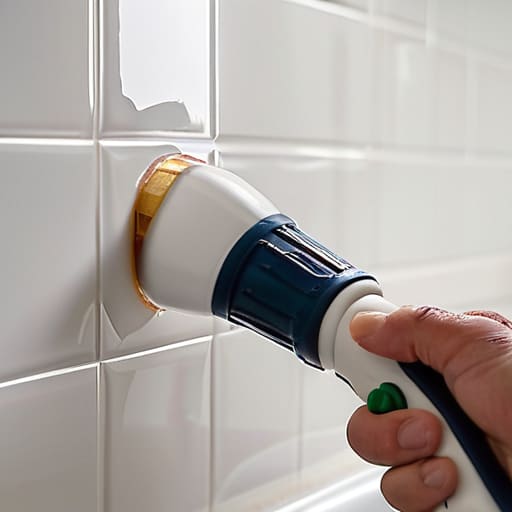
Look, I know it’s not exactly the most glamorous way to spend a Saturday, but you’ve done the hard part. You’ve cleared out that old, crusty residue, picked the right material for the job, and actually sat there long enough to pull a steady, clean bead along the edge. Whether you went with silicone for the shower or acrylic for the baseboards, the goal was the same: stopping the slow creep of water damage before it turns into a weekend-ruining disaster. Just remember to keep your tools handy and don’t rush the smoothing process; that’s where the real magic happens.
At the end of the day, caulking is a lot like everything else I try to tackle in my freelance life. It’s easy to look at a cracked seam or a messy bathroom and feel like the whole place is falling apart, but you can’t fix everything at once. You just fix the one line in front of you. Once that caulk dries and everything looks seamless, you’ll realize that small, intentional wins are what actually keep our spaces—and our heads—from getting messy. Now, go grab a coffee, step away from the sink, and enjoy the fact that you actually got something done today.