The Ultimate Beginner’s Guide to Homemade Soap Making
I was staring at a mountain of half-empty, neon-colored plastic bottles in my shower last Tuesday, wondering when my bathroom became a graveyard for questionable chemicals. Most people think that learning how to make soap requires a degree in organic chemistry or a dedicated laboratory space, but honestly? That’s a total myth. I spent my first few attempts feeling like a failed scientist, making batches that were either too oily or way too harsh, until I realized it isn’t about perfection—it’s just about understanding the rhythm of the ingredients.
In this guide, I’m stripping away the intimidating jargon and the “lifestyle influencer” fluff to show you the actual, messy reality of the process. I’ll walk you through a straightforward method for small-batch making that fits into a busy schedule, focusing on the essential steps that actually matter. You aren’t going to find any complex equipment lists here; just a practical, low-stress way to create something useful. We’re going to focus on getting the basics right so you can stop buying junk and start enjoying the small, tactile satisfaction of making something with your own two hands.
Guide Overview
Tools & Supplies
- Digital scale for precise measurements
- Stick blender for emulsifying oils and lye
- Stainless steel or heat-safe plastic bowls
- Silicone molds for shaping soap
- Infrared thermometer to check temperatures
- Sodium hydroxide (Lye) 5-10 oz
- Coconut oil 16 oz
- Olive oil 16 oz
- Distilled water 8-10 oz
- Essential oils for scent 1 oz
Step-by-Step Instructions
- 1. First things first, you need to clear some space. I’m talking a dedicated corner of your kitchen or a utility room where you won’t be interrupted by a sudden craving for toast. Lay down some old newspapers or a silicone mat because things will get messy. Grab your safety gear—goggles and gloves are non-negotiable. I know, it feels a bit intense, but treating lye with respect is the only way to keep this hobby fun rather than a trip to the ER.
- 2. Next, let’s handle the chemistry part without losing our minds. Weigh out your distilled water and your lye (sodium hydroxide) separately using a digital scale. Always remember the golden rule: add the lye to the water, never the other way around. If you pour water into lye, it can react violently and splash. Stir it gently until the lye is fully dissolved, then set that container aside in a safe spot to cool down. It’s going to get hot, so don’t rush this part.
- 3. While your lye solution is chilling out, prep your oils. Melt your solid fats—like coconut oil or shea butter—into your liquid oils (like olive oil) using a double boiler or a very low heat setting. You want everything to be in a liquid state, but you don’t want it boiling. Once they’re combined, let the oils cool until they’re roughly the same temperature as your lye water. If the temperature gap is too huge, the whole process can stutter and fail.
- 4. Now comes the actual “magic” moment: the emulsification. Slowly pour your lye-water mixture into your oil container. Grab a stick blender—don’t even try to do this with a whisk unless you want a forearm workout that lasts three hours—and pulse it in short bursts. You’re looking for “trace,” which is basically when the mixture reaches the consistency of thick pudding. Once it leaves a visible trail when you lift the blender, you’re officially in the clear.
- 5. If you’re feeling a little creative, this is the window to add your extras. This is where you can drop in some essential oils for scent or even a bit of dried botanicals for aesthetics. Stir these in by hand with a spatula to ensure everything is evenly distributed throughout the batch. It’s the one part of the process that feels less like a science experiment and more like actual art.
- 6. Pour your mixture into your mold. I usually use a simple silicone loaf mold because it’s low-maintenance and easy to pop things out of later. Tap the mold firmly on the counter a few times to release any trapped air bubbles that might leave unsightly holes in your finished bars. Once it’s poured, cover it with a piece of parchment paper and a towel to keep the heat in, then just let it sit undisturbed.
- 7. Finally, we play the hardest game of all: the waiting game. You’ll need to let your soap sit in the mold for about 24 to 48 hours until it’s firm enough to unmold. Once it’s out, slice it into bars using a sharp knife. But don’t go scrubbing your face with it just yet! You need to let those bars cure for four to six weeks in a well-ventilated area. This allows the water to evaporate, making your soap harder, milder, and much better for your skin.
Mastering Cold Process Soap Making Methods in Small Batches
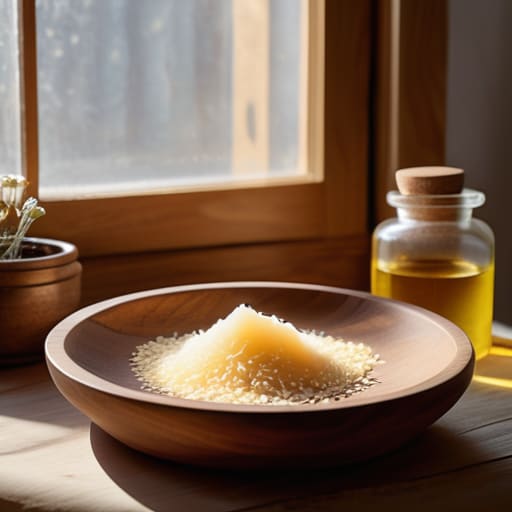
If you’re feeling a bit overwhelmed by the chemistry aspect, don’t sweat it. When I first started, I thought I needed a lab-grade setup, but the secret to mastering cold process soap making methods is really just about controlling the variables. Since we’re working in small batches, the most important thing to get right is your lye and oils ratio. If you’re off by even a few grams, the whole batch can turn out too soft or, worse, feel greasy on your skin. I always keep a small digital scale on my desk—it’s much more reliable than trying to eyeball measurements with a measuring cup.
Another thing I’ve learned is that you don’t need a massive inventory of fancy additives to make something great. I tend to stick to a few high-quality natural soap ingredients like olive oil or shea butter, and then I let the scent do the heavy lifting. If you’re using essential oils for soap, try adding them right at the “trace” stage to make sure that lovely aroma actually sticks around. It’s a bit of a delicate dance, but once you find your rhythm, it becomes a meditative part of my weekly reset rather than just another chore on my to-do list.
Finding Balance With Natural Soap Ingredients and Essential Oils for Soap
When you start playing around with different scents, it’s tempting to just go heavy on the fragrance, but I’ve learned the hard way that less is usually more. If you’re using essential oils for soap, remember that they behave differently once they hit the lye. Some scents vanish into thin air during the curing process, while others can actually change the consistency of your soap. I like to keep a little notebook next to my workspace to jot down exactly how many drops I used and how the scent evolved after a week. It turns a messy experiment into a predictable ritual rather than a guessing game.
Beyond just the smell, I’m a big believer in sticking to high-quality natural soap ingredients that actually treat your skin well. It’s easy to get caught up in the chemistry, but at the end of the day, this is something you’re using on your body every single morning. If you’re feeling a bit overwhelmed by the precision required for a perfect lye and oils ratio, don’t sweat it too much on your first try. Focus on getting a clean, simple base first. Once you feel confident with the fundamentals, then you can start getting fancy with clays, botanicals, or complex scent profiles.
Five ways to keep your soap making from becoming a total disaster
- Don’t try to scale up too fast. I know it’s tempting to make a massive batch to save time, but starting with small, manageable amounts means you won’t be staring at fifty pounds of wasted oils if your measurements are slightly off.
- Treat your safety gear like non-negotiables. Lye isn’t something you want to play around with when you’re distracted; put on your goggles and gloves before you even touch the scale. It’s better to be a little extra cautious than to deal with a chemical burn on a Tuesday afternoon.
- Get your workspace ready before you start the timer. There is nothing more stressful than realizing you’re halfway through mixing your oils and you can’t find your silicone molds. Prep everything—your scales, your bowls, your scents—so you can just flow through the process.
- Embrace the “ugly” phase. Your soap is going to look weird, lumpy, or totally unappealing while it’s saponifying. Don’t panic and try to stir it more; just let the chemistry do its thing and trust the process.
- Keep a dedicated notebook for your recipes. I use a physical one because digital notes can get lost in the shuffle, and there is nothing worse than making a perfect batch of lavender soap only to realize you can’t remember the exact oil ratio you used.
The TL;DR for your first batch
Don’t aim for a professional apothecary vibe on day one; just focus on getting the lye-to-oil ratio right so you actually end up with something usable.
Keep your workspace small and manageable—trying to make a massive batch when you’re already short on time is a recipe for a messy kitchen and a burnt-out brain.
Use scent and ingredients as a way to reset, not as another complex chore on your to-do list; simple, single-note essential oils are your best friend here.
The Beauty of the Batch
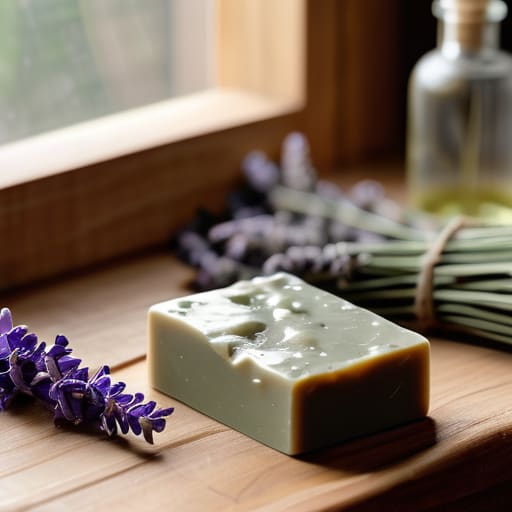
At the end of the day, soap making isn’t about achieving some flawless, factory-standard perfection. It’s about understanding how your specific oils react, getting comfortable with the rhythm of the lye-to-oil mix, and learning that a little bit of mess is just part of the process. Whether you’re experimenting with a new essential oil blend or finally nailing that cold process technique we talked about, remember that every single batch is a chance to refine your personal formula. You’ve got the basics down—now it’s just about letting the science and your intuition do their thing while you wait for that cure time to pass.
I know life can feel like a constant scramble of deadlines and digital noise, but there is something deeply grounding about working with your hands to create something tangible. Making soap is a perfect example of my whole philosophy: you don’t need to master a complex craft overnight to find a sense of accomplishment. You just need to show up for the small, repetitive steps that lead to something beautiful. So, don’t stress if your first bar looks a little rustic; just enjoy the small wins and keep creating. You’re doing better than you think.