Getting Started With Resin: a Simple Guide for New Crafters

I was sitting at my desk last Tuesday, surrounded by half-finished projects and a mounting sense of “why did I buy all this?”, staring at a puddle of sticky, clouded mess that was supposed to be a coaster. There’s this massive myth that you need a pristine, laboratory-grade studio to get into resin, but honestly? That’s just a recipe for burnout. Most people dive into resin crafts for beginners expecting instant, glass-like perfection, only to end up frustrated by bubbles, tacky surfaces, and a workspace that looks like a crime scene. I learned the hard way that you don’t need a professional setup; you just need to stop overcomplicating the process before you even start.
In this guide, I’m stripping away the fluff and the expensive, unnecessary gear. I want to show you how to navigate the messy middle of learning this craft without losing your mind or your security deposit. We’re going to focus on the tiny, repeatable wins—like mastering your mixing ratios and controlling bubbles—so you can actually enjoy the process. This isn’t about creating a museum piece on your first try; it’s about finding your flow through small, successful pours that actually work when life gets busy.
Guide Overview
Tools & Supplies
- Silicone molds for shaping the resin
- Mixing cups for combining components
- Wooden stir sticks for blending
- Heat gun or lighter to remove bubbles
- Protective gloves to prevent skin contact
- Epoxy resin kit (Resin and Hardener) 8oz-16oz
- Liquid pigment or glitter for coloring
- Measuring scale or graduated cylinders for precision
- Sandpaper for smoothing edges
Step-by-Step Instructions
- 1. First things first, you need to set up your workspace like you’re prepping for a science experiment. Resin is messy—honestly, it’s a nightmare if you aren’t careful—so clear off a flat surface and lay down some silicone mats or even just a few layers of cheap plastic tablecloths. Make sure you’re in a room with plenty of ventilation, because breathing in those fumes is definitely not part of the vibe we’re going for here.
- 2. Next, let’s talk gear. You don’t need a professional studio, but you do need the basics: a digital scale, silicone molds, mixing cups, and wooden stir sticks. I highly recommend using a scale instead of measuring cups because resin is all about precision. If your ratio is even slightly off, you’ll end up with a sticky, half-cured mess that’s basically impossible to fix, and we’re aiming for small wins, not a cleanup disaster.
- 3. Once your station is ready, it’s time to mix. Pour your resin and hardener into a cup according to your specific brand’s instructions, and then start stirring. This is the part where most people rush, but you need to go slow and steady. Scrape the sides and the bottom of the cup constantly to ensure everything is fully incorporated; if you see streaks or “swirls” that won’t go away, you haven’t stirred enough yet.
- 4. Now for the fun part: adding your personality. Whether you’re dropping in some dried flowers, glitter, or tiny charms, do this after you’ve mixed the resin but before you pour it into the mold. If you’re using pigments, add them a tiny bit at a time. It’s much easier to make it darker than it is to fix something that’s become an opaque blob of color.
- 5. Carefully pour your mixture into your silicone molds. Try to do this in a single, continuous stream to minimize air bubbles. If you see little bubbles rising to the surface, don’t panic—just take a toothpick or a long lighter and gently pop them. It’s a weirdly meditative process, kind of like cleaning a mechanical keyboard, if you just lean into the rhythm of it.
- 6. Cover your molds with a box or a container to keep dust from settling on the surface while they cure. This is the hardest part: you have to wait. Depending on the brand, this could take anywhere from 12 to 24 hours. Resist the urge to peek every twenty minutes; just let the chemistry do its thing and go do something else while the resin sets.
- 7. Finally, once everything feels rock-solid, pop your creations out of the molds. If the edges feel a little sharp or uneven, you can use a fine-grit sandpaper to smooth them out. Don’t worry if your first attempt isn’t a museum-quality piece; the goal is just to get the process down so you can try something even cooler next Tuesday.
Mastering Essential Resin Art Supplies on a Tuesday
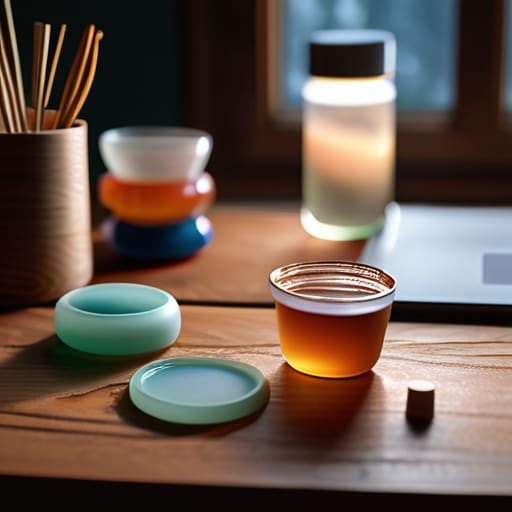
Look, I know the idea of buying a whole studio’s worth of gear feels overwhelming, especially when you’re just trying to squeeze a hobby into a Tuesday night. But honestly? You don’t need a professional setup to get started. When I first started tinkering, I realized that the most important part of my essential resin art supplies wasn’t the fancy molds, but actually getting the basics right. Grab a decent set of silicone cups and some stir sticks. It sounds basic, but having the right tools prevents that frantic, mid-pour scramble that usually ends in a sticky mess on your desk.
One thing I learned the hard way is that precision is your best friend. If you’re messing with resin mixing ratios for beginners, please, do not eyeball it. Even a tiny error in your math can leave your project feeling tacky or never fully hardening. I always keep a small notebook next to my workspace to jot down exactly how much resin and hardener I’ve used for each batch. It’s a small habit, but it saves so much frustration. Also, if you’re feeling ambitious and want to try something small, look for the best resin for jewelry making—it tends to be a bit more forgiving and clear, which makes those first few wins feel a lot more rewarding.
Small Steps Perfecting Resin Mixing Ratios for Beginners
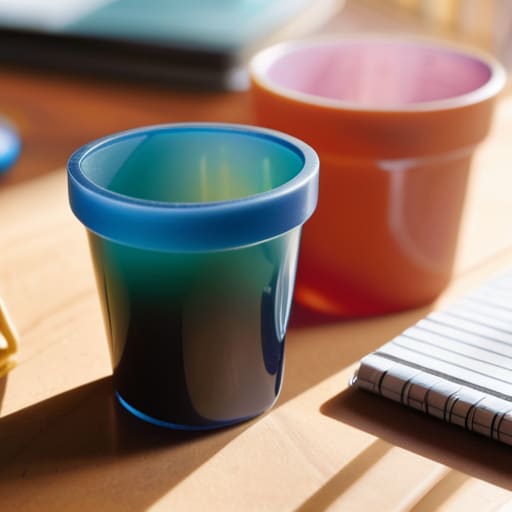
This is where most people hit a wall, and honestly, I’ve been there too. You’ve got all your supplies laid out, you’re feeling inspired, and then suddenly you’re staring at a sticky, half-cured mess that looks more like a science experiment gone wrong than art. The secret isn’t some magic technique; it’s just being obsessive about your resin mixing ratios for beginners. Most epoxy resins require a precise 1:1 or 2:1 ratio by volume, and even being off by a tiny fraction can ruin the entire batch. I always keep a small physical notebook next to my workspace to jot down exactly how much I’m pouring—it sounds extra, but it saves me from the heartbreak of a failed pour when I’m tired on a Tuesday night.
Once you’ve got the math down, the next hurdle is the texture. If you see tiny air pockets forming, don’t panic; it’s usually just a result of stirring too aggressively. To get that crystal-clear finish, try stirring slowly and steadily, like you’re mixing a delicate sauce rather than beating eggs. If you’re still seeing those annoying little spheres, a quick pass with a butane torch or a heat gun is a game-changer for how to prevent resin bubbles from getting trapped in your design. Take it slow, watch the clock, and remember that patience is just as much a tool as your mixing cups.
Five Small Ways to Keep Your Resin Project from Turning Into a Disaster
- Give your workspace a “safety perimeter.” Resin is messy by nature, and if you don’t define your zone with a silicone mat or even just some cheap parchment paper, you’ll end up finding tiny, sticky droplets in your keyboard switches for the next three months.
- Don’t rush the bubble battle. It’s tempting to pour and go, but if you have time, let your mixed resin sit for a minute or use a lighter to gently pop those surface bubbles. It’s a small, meditative step that makes the final result look way more professional.
- Watch the clock, not just the timer. Every resin brand has its own rhythm. Instead of strictly following a generic guide, pay attention to how your specific mix is thickening. If it feels like it’s getting “gloopy” too fast, stop adding things and just let it settle.
- Keep a “mistake log” in your notebook. If a pour goes cloudy or a color bleeds more than you wanted, don’t just toss it and forget it. Jot down what went wrong. It turns a frustrating mess into a data point for your next successful Tuesday.
- Work in small batches. It is so easy to get ambitious and try to mix a massive amount of resin all at once, but that’s how you end up with half-cured sludge. Start with tiny, manageable pours. It’s better to have three small, perfect pieces than one giant, sticky failure.
Three Things to Keep in Mind When Things Get Sticky
Don’t aim for perfection on your first pour; focus on getting the bubbles out and the ratios right, and let the rest be a learning experience.
Protect your space and your lungs—resin is fun, but it’s not worth a messy apartment or a cough, so keep that ventilation running.
Treat every small project as a win, because mastering one tiny coaster is way more productive than staring at a massive, intimidating blank canvas.
Small Wins and Sticky Fingers
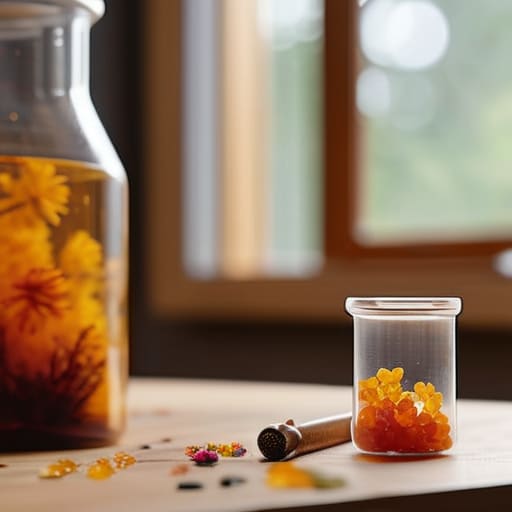
Look, I know it feels like a lot when you’re staring at a pile of bottles and wondering if you’re about to ruin your kitchen table. But if you’ve followed along, you’ve already tackled the hardest parts: getting your supplies sorted, understanding your ratios, and realizing that you don’t need a professional studio to make something cool. Just remember that resin is a bit of a temperamental beast. It requires a little patience and a lot of intentionality with your measurements. If your first pour comes out a little cloudy or a bit lopsided, don’t sweat it. That’s just part of the process of learning the rhythm of the material.
At the end of the day, I don’t care if your first coaster looks like a piece of modern art or a colorful accident. The real win isn’t the finished product sitting on your shelf; it’s the thirty minutes you spent actually doing something with your hands instead of scrolling through a feed. We spend so much time chasing these massive, life-changing transformations, but there is so much quiet magic in just mastering a single, messy hobby. So, go ahead and make that first pour. Even if it’s a total disaster, it’s a small victory for your Tuesday, and that’s more than enough for me.