How to Install Shelving That Is Actually Secure
I was staring at a pile of half-unpacked boxes and a single, lonely wooden plank on my floor when it finally hit me: my apartment wasn’t messy because I lacked space, it was messy because I lacked verticality. I spent three hours yesterday watching “professional” DIY videos that made it look like a breeze, only to realize they all skipped the part where you actually hit a stud or realize your level is lying to you. If you’re currently staring at a wall and wondering how to install a shelf without ending up with a handful of drywall dust and a crooked piece of lumber, trust me, I’ve been there.
I’m not here to give you a lecture on advanced carpentry or suggest you go out and buy a workshop full of power tools you’ll never use again. Instead, I want to show you how to get this done with the basic stuff you probably already have in a junk drawer. We’re going to focus on a no-nonsense approach to getting that shelf up straight, secure, and actually useful. Let’s stop letting your stuff live in boxes and finally make some room to breathe.
Guide Overview
Tools & Supplies
- Drill/Driver for making holes and driving screws
- Level to ensure the shelf is straight
- Pencil for marking installation points
- Stud finder to locate wall supports
- Shelf and brackets 1 set
- Screws and wall anchors 1 pack
Step-by-Step Instructions
- 1. First things first, you need to gather your gear so you aren’t running back and forth to the junk drawer mid-project. Grab a drill, a level (this is non-negotiable unless you want your plants sliding off), a pencil, a stud finder, and your hardware. I always keep a small dedicated toolkit nearby just to avoid that specific kind of mid-task frustration.
- 2. Next, grab that stud finder and scan your wall. I know, it’s tempting to just screw directly into the drywall and call it a day, but trust me on this one. If you can hit a stud, your shelf is going to stay put. If you can’t find one, don’t panic—you’ll just need to grab some heavy-duty drywall anchors from the hardware store later.
- 3. Once you know where the support is, grab your pencil and mark your spots. This is where the level comes in. Hold your bracket up against the wall, place the level on top, and mark the holes only when the bubble is perfectly centered. It feels a bit tedious, but it’s the difference between a clean look and a messy tilt.
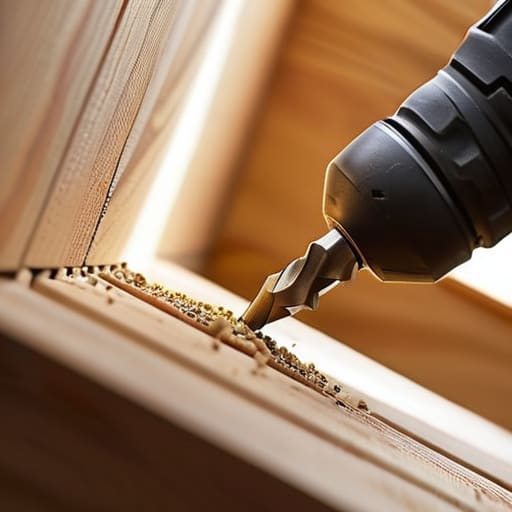
- 4. Now, it’s time to actually drill. If you’re hitting a stud, just drill straight in. If you’re using anchors, you’ll need to drill a slightly larger hole first to accommodate them. I like to go slow and steady here; you don’t want to power through the drywall and end up with a giant, jagged crater that ruins the aesthetic.
- 5. Slide your anchors into the holes (if you’re using them) and give them a little tap with a hammer until they’re flush. Then, line up your brackets and drive your screws in. Make sure they are tight but not overdone—you want them secure, but you don’t want to strip the screw head or crack the bracket.
- 6. Finally, set the shelf on top of your brackets and screw it into place from underneath. Give the whole thing a gentle little wiggle to make sure nothing feels wobbly. If it holds, you’re officially done. Now, go ahead and add one meaningful thing to it—a book, a small plant, or even just your favorite mug—and enjoy that tiny win.
The Essential Tools for Shelf Mounting and Prep
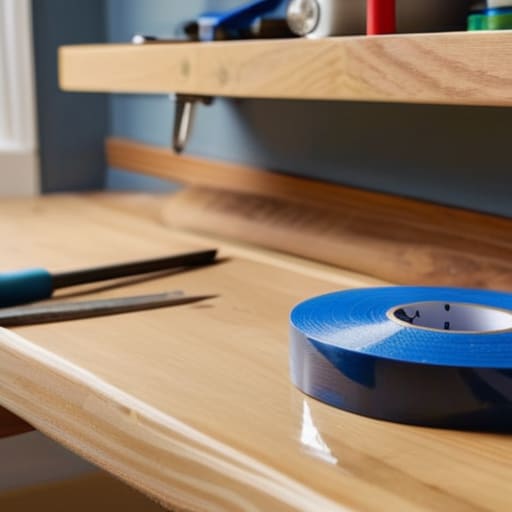
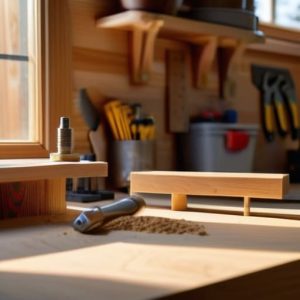
Before you even touch a screwdriver, you need to get your kit ready. I used to think I could just wing it with whatever was in my junk drawer, but that’s a one-way ticket to a hole in your wall and a broken shelf. Beyond the basics like a drill and a screwdriver, you really want a decent level. Trust me, leveling a floating shelf is much harder to fix once the holes are already drilled than it is to double-check it now. I also highly recommend grabbing a small pencil and some painter’s tape; it makes marking your spots way less stressful.
The real secret to making this work long-term, though, is knowing what’s actually behind your wall. This is where you need to decide on drilling into drywall vs studs. If you’re planning on displaying something heavy—like a collection of thick art books or a heavy ceramic planter—you absolutely have to find a stud. If you can’t hit a stud, make sure you’re using high-quality anchors. It’s one of those shelf weight capacity tips that sounds boring until you’re staring at a pile of debris on your floor. Take the extra five minutes to prep; your future self will thank you.
Drilling Into Drywall vs Studs Finding Your Anchor
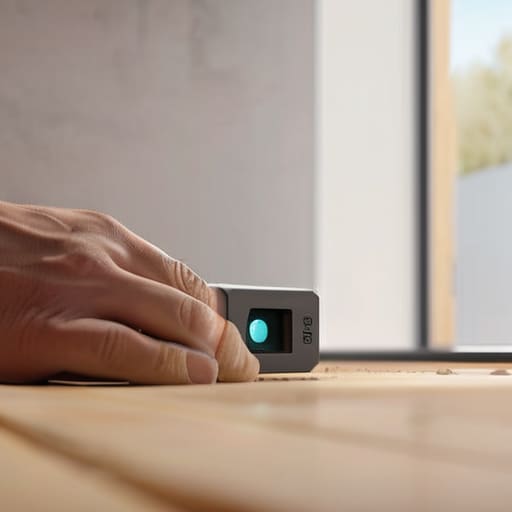
This is where most people hit a wall—literally. Before you even touch the drill, you need to decide if you’re aiming for the wooden bones of your house or just the plasterboard. If you’re planning on loading that shelf with heavy ceramic mugs or a stack of hardcover books, you absolutely cannot skip the step of drilling into studs. I usually pull out my stud finder first thing; if you’re feeling lost, a quick wall stud finder guide online can save you from a very expensive mistake. Finding that solid wood means your shelf isn’t going anywhere, no matter how much clutter you add.
Now, if your layout doesn’t align perfectly with the studs, don’t panic. You can still make it work using heavy-duty anchors, but you have to be smart about it. This is where shelf weight capacity tips become your best friend. Always check the packaging on your anchors to see exactly how much weight they’re rated for. If you’re using lightweight shelf bracket types for just a few succulents or some polaroids, drywall anchors are fine. But if you’re going for that heavy, chunky look, aim for the studs every single time to keep your sanity (and your decor) intact.
Five ways to keep your shelf from becoming a disaster
- Double-check your weight limits before you get too attached to that stack of heavy art books; nothing kills a productive Tuesday like a shelf bowing in the middle.
- Use a level—and I mean a real one, not just “eyeballing it”—because there is nothing more frustrating than realizing your decor is slowly sliding toward the floor.
- If you’re mounting on a wall that’s a bit older or finicky, always grab a few extra drywall anchors just in case; it’s better to have them and not need them than to be stuck with a hole in your wall.
- Clear a small “work zone” on the floor or a nearby table before you start; keeping your screws and bits organized in a small tray saves you from the inevitable frantic search halfway through.
- Don’t overthink the placement; mark your holes with a pencil first, step back, and look at it for a second to make sure it actually fits the vibe of the room before you commit to the drill.
The Bottom Line: Making It Stick
Don’t skip the stud check; if you’re hanging anything heavier than a single Polaroid, finding that solid wood is the difference between a cool new shelf and a pile of drywall dust on your floor.
Perfection is the enemy of progress—if your drill hole is a little wonky or the level is off by a hair, just keep moving. You can always adjust later, but getting the shelf up is the real win.
Prep your workspace before you start drilling. Having your tools laid out and a trash bag ready for the dust saves you from that mid-project chaos where you end up hunting for a screwdriver while covered in white powder.
The Finish Line
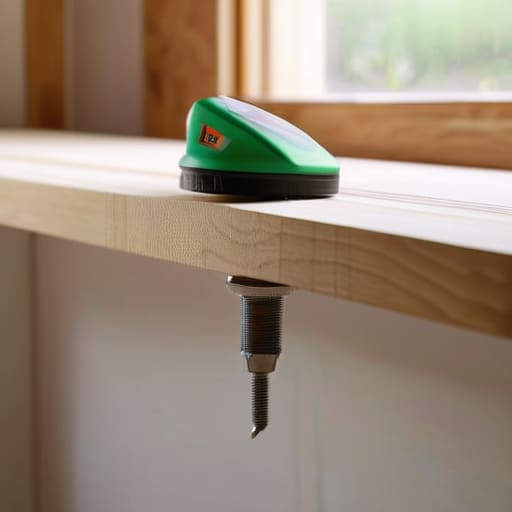
So, there you have it. We went from staring at a blank wall to actually having a functional piece of storage. Just remember the core basics: double-check your measurements, don’t skip the step of finding a stud if you’re hanging anything heavy, and make sure your anchors are actually rated for the weight you’re planning to pile on there. It’s easy to rush through the prep work because you just want to see the shelf on the wall, but taking that extra five minutes to level things out is what separates a professional-looking setup from one that ends up crooked by next week. Once those screws are tight and the dust is cleared away, you’re officially done.
At the end of the day, this isn’t just about adding some extra surface area for your books or your plants. It’s about the fact that you looked at a small, overwhelming task and decided to just handle it. There is something incredibly grounding about fixing a small corner of your world with your own two hands. Don’t worry if the hole isn’t perfectly centered or if you had to restart once; the goal isn’t perfection, it’s progress. You tackled the project, you organized your space, and you successfully navigated a little bit of DIY chaos. That’s a win in my book.