How to Repair a Hole in Your Wall Like a Pro
I was mid-way through a deep-focus sprint on a project when the sound of my heavy desk chair hitting the drywall echoed through my apartment like a gunshot. I stared at that fresh, jagged crater in the plaster and felt that immediate, sinking sensation of everything being slightly broken. We often think that fixing a mistake like that requires a professional contractor or a massive weekend project, but that’s just not true. Learning how to patch a hole in the wall isn’t about mastering construction; it’s really just about reclaiming your space from a tiny, annoying imperfection so you can get back to your flow.
I’m not going to give you a lecture on structural engineering or suggest you buy a whole workshop of power tools. Instead, I’m going to show you how to handle this with just a few basic supplies and a bit of patience. We’ll walk through the low-stress steps of cleaning the area, applying the spackle, and sanding it down until it’s virtually invisible. My goal is to help you knock out this small task in under thirty minutes so you can stop staring at the damage and start feeling like your home is back in order.
Guide Overview
Tools & Supplies
- Putty knife (for applying compound)
- Sanding block (for smoothing surfaces)
- Utility knife (for trimming edges)
- Spackling compound (1 small tub)
- Patch kit or mesh tape (1 pack)
- Sandpaper (medium and fine grit)
Step-by-Step Instructions
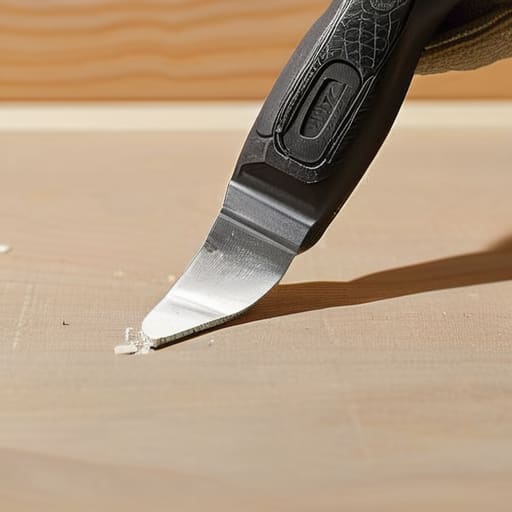
- 1. First things first, grab a utility knife and trim away any loose bits of drywall or peeling paint around the edges of the hole. You want a clean, flat surface to work with, so if there are any jagged edges sticking out, just slice them off. It’s a tiny bit of extra work now, but it makes the whole process so much smoother later on.
- 2. Once the area is clean, it’s time to get some spackle. If the hole is small—like a nail hole or a tiny dent—you can just grab a small tub of lightweight spackle and a putty knife. If it’s a bigger gap, you might need to grab a piece of mesh patch first, but for most of the stuff we deal with, a simple layer of filler is all you need to get started.
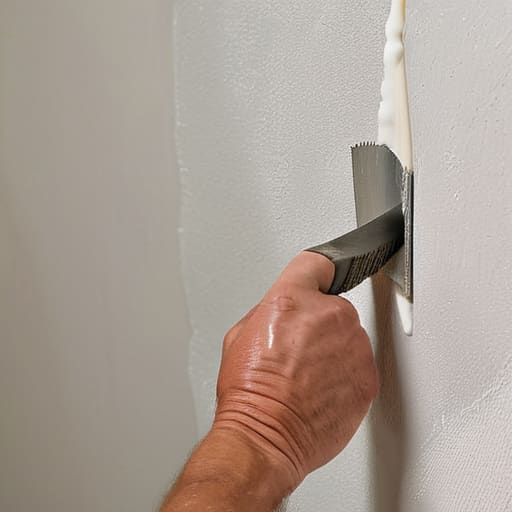
- 3. Now, take your putty knife and scoop up a bit of spackle, pressing it firmly into the hole. You want to make sure you’re actually filling the void and not just skimming the surface. Don’t worry about making it perfect on the first pass; just focus on getting the material in there so there are no air pockets left behind.
- 4. After you’ve filled the hole, use the edge of your putty knife to swipe across the surface and smooth out the excess. You’re aiming for a surface that is relatively level with the rest of the wall. I usually try to “feather” the edges, meaning I spread the spackle a little wider than the hole itself so the transition looks almost invisible once it dries.
- 5. This is the hardest part: waiting. Spackle needs to dry completely before you can do anything else. Depending on the brand and how thick you applied it, this could take anywhere from twenty minutes to a few hours. I usually find it helpful to set a timer on my phone so I don’t keep hovering over it, checking it every five minutes like a crazy person.
- 6. Once it’s bone dry, grab a piece of fine-grit sandpaper and give the area a gentle sanding. You aren’t trying to sand down the whole wall; you just want to buff out any ridges or bumps left by the putty knife. Run your hand over it—if it feels smooth to the touch, you’ve done it right.
- 7. Finally, it’s time for the victory lap: a little bit of touch-up paint. If you have the original paint handy, dab it on with a small brush or a sponge to mimic the texture of the wall. It doesn’t have to be a masterpiece; the goal is just to make that spot blend back into the background so you can stop thinking about it and get back to your day.
Grab a Drywall Patch Kit for Small Holes and Start Small
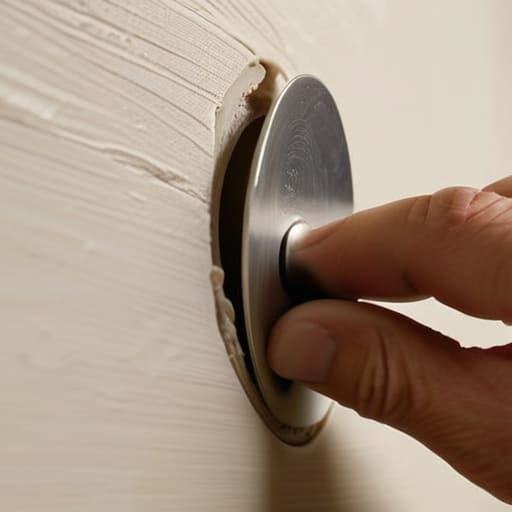
If you’re staring at a tiny puncture from a door handle or a stray nail, don’t go out and buy a bucket of heavy-duty mud and a massive trowel. That’s overkill, and honestly, it just makes the project feel more daunting than it actually is. Instead, I highly recommend picking up a drywall patch kit for small holes from your local hardware store. These kits are lifesavers because they usually come with everything you need—pre-measured amounts of compound, a small putty knife, and sometimes even a bit of mesh—all scaled down for these exact “oops” moments. It turns a potential weekend-long headache into something I can knock out in twenty minutes between client calls.
The trick to making it look like the damage never happened is all in the prep. If you’re dealing with something slightly more stubborn, like fixing dents in plaster, you might need to be a bit more intentional about how you level the surface. When you start the spackling process, don’t try to fill the entire crater in one go. It’s much better to do two thin, light layers than one thick, messy glob that’s going to crack when it dries. Think of it like building a habit; you want to layer it on incrementally so the finish stays clean and manageable.
Mastering Spackling Compound Application for a Mess Free Tuesday
This is where most people get a little nervous, but honestly, it’s all about the rhythm. When you’re working on your spackling compound application, the biggest mistake is trying to do too much at once. I used to think I could just slap a thick layer on and call it a day, but that just leads to a mountain of sanding later. Instead, think of it like layering a skincare routine—thin, even coats are your best friend. If the hole is a bit deeper, just apply one layer, let it dry completely, and then add another. It’s much easier to build up the surface than it is to try and flatten out a massive, uneven glob.
Once the compound is dry, you’ll move into the part that actually makes the repair feel “finished.” You want to sand drywall smooth using a fine-grit sanding sponge. I usually keep a small piece of sandpaper in my toolkit specifically for this because it makes the transition between the patch and the rest of the wall almost invisible. Don’t go overboard with the pressure; you aren’t trying to grind the wall down, just smoothing out the edges until your hand can’t feel the bump anymore. It’s one of those small, tactile wins that makes the whole project feel worth it.
A few little things to keep the chaos at bay
- Don’t try to be a hero with one thick layer; it’s much better to do two thin, easy swipes of spackle than one massive, messy glob that takes forever to dry.
- Keep a damp microfiber cloth nearby because, honestly, cleaning up white dust before it settles into your rug is a massive win for your future self.
- If you’re working under harsh lighting, grab a flashlight or a desk lamp to shine across the wall—it’s the only way you’ll actually see if the surface is flat or if you’ve accidentally left a bump.
- Sanding can get intense, so grab a fine-grit sanding sponge rather than the heavy-duty stuff; we’re aiming for a smooth finish, not turning your entire room into a construction zone.
- Give it real time to dry. I know it’s tempting to just slap paint on immediately to get it over with, but waiting an extra hour saves you from that annoying texture change later.
The quick wins to remember
Don’t aim for perfection on the first pass; it’s much easier to add a second thin layer of spackle than it is to scrape off a giant, dried-up mess.
Keep your tools simple—a small patch kit and a steady hand are all you really need to turn a distracting dent into a non-issue.
Treat these little repairs as small wins for your space; fixing one small thing makes the whole room feel a lot more intentional and dialed in.
Small Fixes, Big Wins
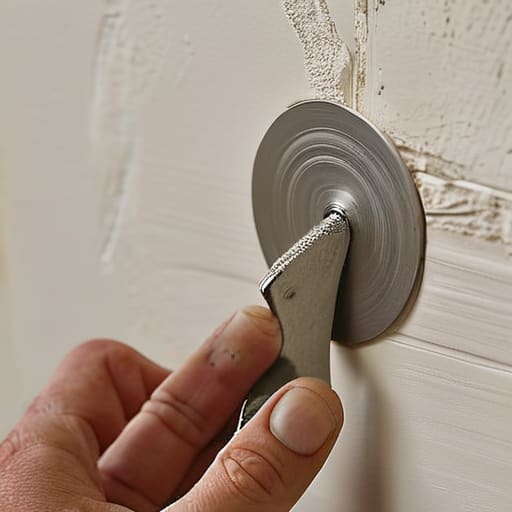
At the end of the day, fixing that hole doesn’t require a professional contractor or a massive weekend renovation project. It really just comes down to having the right kit, a steady hand with the spackle, and a little bit of patience while things dry. By focusing on the small details—like making sure your surface is clean before you start or sanding down the edges so they’re smooth—you turn a stressful eyesore into a non-issue. You’ve gone from staring at a literal gap in your wall to having a surface that looks seamless again, and honestly, that’s a massive win for your living space.
I know that sometimes life feels like it’s full of these little cracks and dents, whether it’s a messy apartment or a chaotic work week. But if you can handle a bit of drywall repair, you can handle the rest of the week, too. Don’t let the imperfections make you feel like you need to scrap everything and start over. Just take it one small patch at a time, and before you know it, everything will feel right again. You don’t need a perfect life; you just need a better way to handle Tuesday, and today, you definitely handled it.