Tiling Your Own Kitchen Backsplash Without Calling a Contractor
I was sitting on my kitchen floor last Tuesday, surrounded by half-empty bags of grout and a pile of subway tiles that looked significantly more intimidating than they did in the store, wondering where it all went wrong. I had this grand vision of a Pinterest-perfect renovation, but instead, I was just staring at a crooked line and feeling the heavy weight of impending failure. Most DIY guides make learning how to tile a backsplash seem like some high-stakes architectural feat that requires a degree and a massive budget, but that’s honestly just noise. The truth is, you don’t need a showroom-ready masterpiece on day one; you just need to figure out how to keep your rows straight and your expectations grounded in reality.
In this guide, I’m stripping away the professional jargon and the “perfect” filtered photos to give you a real-world roadmap. I’ll walk you through the actual tools you’ll need, the messy parts of the process that no one warns you about, and the small, repetitive steps that turn a chaotic kitchen into a space you actually love. We aren’t aiming for perfection here—we’re aiming for functional progress. Let’s get into the grit of it.
Guide Overview
Tools & Supplies
- Manual tile cutter for making straight cuts
- Notched trowel for spreading mortar
- Rubber grout float for applying grout
- Tile spacers to maintain even lines
- Level to ensure straight rows
- Ceramic or glass tiles (area + 10% extra)
- Tile adhesive or thin-set mortar (1 bag)
- Grout (1 bag)
- Tile sealant (1 bottle)
Step-by-Step Instructions
- 1. First things first, you need to clear the decks. I’m talking about moving the toaster, the coffee maker, and anything else sitting on your counters. Once the space is clear, grab a sponge and some cleaner because gunk hides in the cracks, and you want a surface that’s actually clean before you start sticking things to it.
- 2. Next, you’ve got to prep your layout. This is the part where most people rush and end up with a tiny, awkward sliver of tile in the corner that looks totally weird. I like to use painter’s tape to mark out where my first row will go, making sure I center the pattern so the edges look intentional rather than accidental.
- 3. Now, grab your thin-set mortar. Don’t try to eyeball this; you want a consistent layer, but you don’t want it so thick that the tiles start sliding down the wall while you’re trying to work. Use a notched trowel to spread it, and aim for those combed lines—they help the tile grab onto the wall like it’s meant to be there.
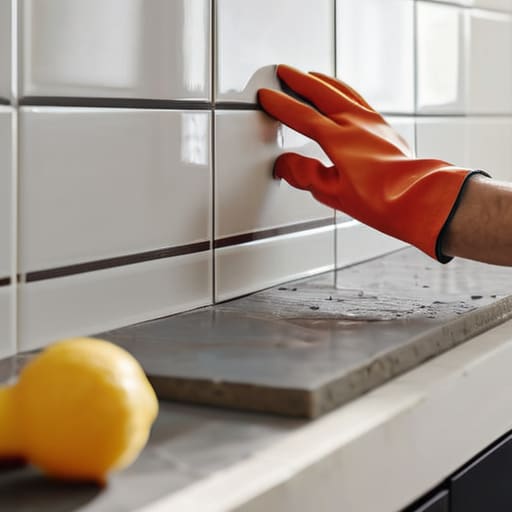
- 4. Once the mortar is down, it’s time to press the tiles in. This is actually the most meditative part of the whole process. Just take your time, press them firmly into the mortar, and give them a tiny little wiggle to make sure they’re seated. If you’re feeling extra meticulous, use a level to make sure your first row is dead straight, because if that’s off, everything else will be too.
- 5. Don’t forget the spacers. I know it feels like extra work, but if you don’t use them, your grout lines are going to look like a jagged mountain range. Pop them in between every tile to keep the gaps perfectly uniform. It’s the small, repetitive stuff like this that keeps the whole project from looking messy.
- 6. After the tiles have been sitting for at least 24 hours (patience is a virtue, even if it’s a frustrating one), it’s time for grouting. Mix your grout to a peanut butter consistency and push it into the gaps using a rubber grout float. Work in small sections and don’t try to do the whole wall at once; you want to keep it manageable so the grout doesn’t dry out before you can clean it.
- 7. The final stretch is the cleanup. Take a damp (not soaking wet!) sponge and wipe away the excess grout from the tile surfaces. You’ll probably need to do this a couple of times. Once it’s mostly clean, let it cure, and then go back with a dry microfiber cloth to buff away that cloudy haze. It’s incredibly satisfying to see the actual color of the tile pop through for the first time.
Mastering Backsplash Layout Planning and Essential Kitchen Wall Tiling Tool
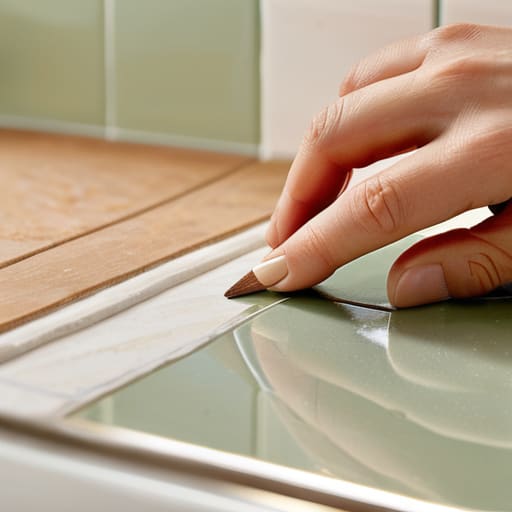
Before you even touch a single piece of ceramic, you need to get serious about your backsplash layout planning. I know, it sounds tedious, but trust me: nothing kills the vibe faster than ending up with a tiny, awkward sliver of tile in a corner where you can actually see it. Grab a pencil and a level, and literally map it out on the wall first. I usually find it helpful to find the center point of my stove or sink and work outwards from there. It’s all about finding that visual balance so the pattern looks intentional rather than accidental.
As for the gear, don’t just wing it with whatever is in the junk drawer. You’ll want a solid kit of kitchen wall tiling tools to keep things from turning into a disaster zone. A notched trowel is your best friend for consistent tile adhesive application, and please, for the love of everything, buy a pack of spacers. They might seem extra, but they are the only thing standing between a professional-looking finish and a wavy, crooked mess. Think of them as the little stabilizers that keep your tiny universe in order while you’re working.
Small Wins Ceramic Tile Installation Steps and Tiling Spacers Guide
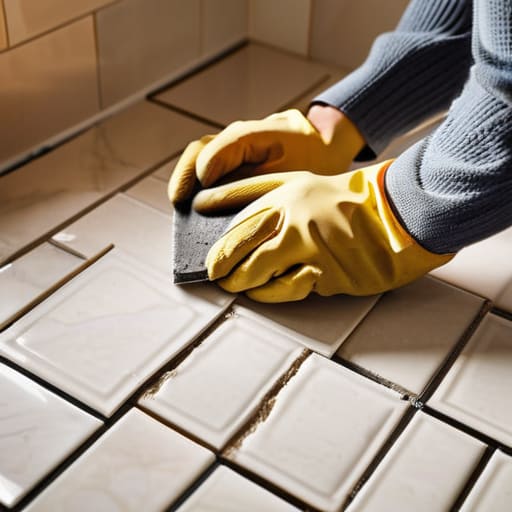
Once you’ve got your layout mapped out, it’s time to actually get your hands dirty. When it comes to the actual ceramic tile installation steps, the secret isn’t in how much force you use, but in how consistent you are. I usually start with the tile adhesive application, spreading it in small sections rather than trying to do the whole wall at once. If you spread too much at once, it starts to skin over and won’t grab the tile properly. Think of it like prepping a workspace for a project—if the foundation is messy, the finished product will be too.
Now, let’s talk about the unsung heroes of this whole process: the spacers. If you’re looking for a quick tiling spacers guide, just remember that they are your best friends for maintaining sanity. I used to try and “eye it” to save time, but I ended up with crooked lines that drove me crazy every time I made coffee. Using spacers ensures those gaps stay uniform, which makes the eventual cleanup so much easier. Once the tiles are set and the adhesive is cured, you’ll move on to the grout, but for now, just focus on keeping those lines straight. It’s a small, repetitive win that makes the final reveal feel earned.
A Few Things I Learned the Hard Way
- Don’t skip the dry run. Lay your tiles out on the counter or a table before you even touch the adhesive. It’s much easier to realize your pattern looks wonky when you aren’t staring at wet mortar on a wall.
- Keep a bucket of clean water and a sponge nearby at all times. If you get grout on the face of your tiles, wipe it off immediately. Once it dries, you’ll be scrubbing for hours, and that’s a vibe nobody wants.
- Be realistic about your grout color. What looks like a subtle, sophisticated grey in the store can look like a bright neon stripe once it’s sandwiched between your tiles. Grab a sample or check it under your actual kitchen lights first.
- Don’t aim for perfection; aim for consistency. Your walls probably aren’t perfectly level, and that’s okay. Just focus on keeping your spacers even so the lines stay straight enough to satisfy your eyes.
- Work in small, manageable sections. If you try to tile the whole kitchen in one frantic afternoon, you’re going to burn out and make mistakes. Treat it like a slow Sunday project—just one corner at a time.
The Tuesday Takeaways: Keeping it Real
Don’t sweat the perfectionism. Your kitchen isn’t going to look like a Pinterest board by sunset, so just focus on getting one row straight at a time.
Prep is your best friend. Taking an extra twenty minutes to layout your tiles and double-check your spacers saves you an hour of frustration and a lot of wasted grout later.
Respect the process. Tiling is just a series of small, repetitive tasks; if you treat it like a marathon instead of a sprint, you’ll actually enjoy the result.
The Final Polish
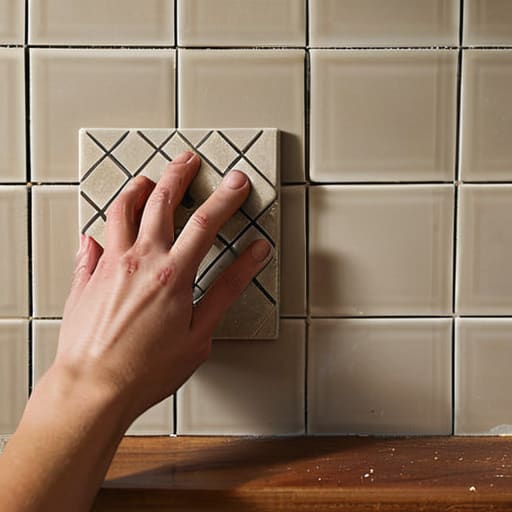
At the end of the day, tiling a backsplash isn’t about achieving some impossible level of architectural perfection; it’s about the process of showing up. We’ve covered the heavy lifting—from mapping out your layout and gathering the right tools to the actual rhythmic work of setting tiles and using spacers to keep everything aligned. It can feel overwhelming when you’re staring at a pile of ceramic and a bucket of mortar, but once you break it down into these smaller, manageable movements, the chaos starts to settle. Just remember to take your time with the grout and don’t rush the cleanup. If a line is slightly off, don’t sweat it. The goal was to get the job done, and you’re already miles ahead of where you were when you first pulled that box of tiles out of the garage.
My kitchen isn’t a showroom, and yours doesn’t need to be either. There is a specific kind of quiet satisfaction that comes from looking at a wall you transformed with your own two hands, even if there’s a tiny imperfection hidden near the outlet. It’s a reminder that we can actually shape the spaces we live in. So, if your Tuesday feels a bit heavy, maybe pick up a trowel and just focus on one row at a time. You don’t need to renovate your entire life to feel a sense of accomplishment; sometimes, you just need to finish a single project to prove you’ve got this.